
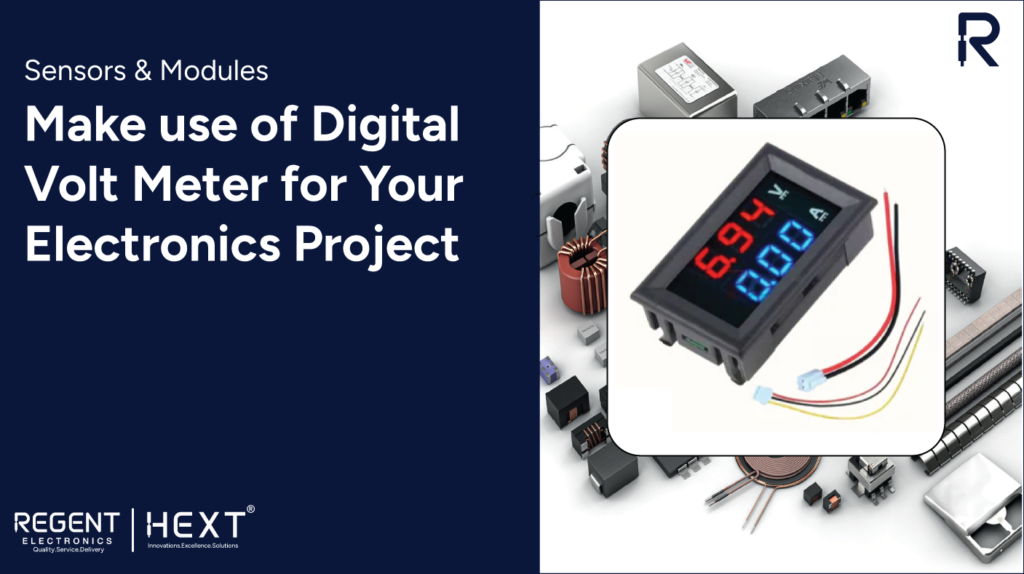
Maximize Your Electronics Projects with a Digital Volt Meter
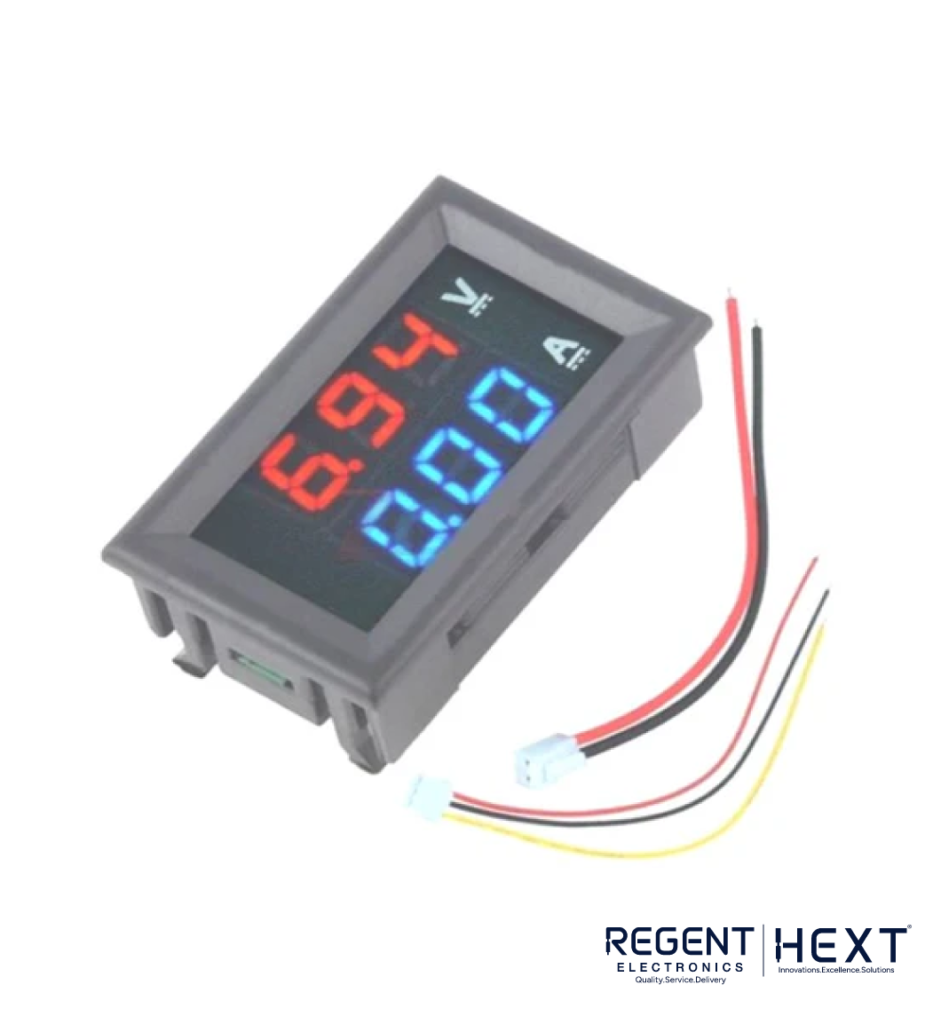
A digital volt meter (DVM) is a versatile and essential tool for any electronics project. Designed to measure both voltage and current simultaneously, it offers precision and convenience in a single device. The voltage is displayed in red at the top, while the current is shown in blue at the bottom. With a supply range of 4–30V, this device can measure voltages from 0–100V and currents from 0–10A. Featuring five wires divided into two groups (three wires in one set and two in the other), this meter is highly adaptable for various configurations.
Why Choose a Digital Volt Meter from Regent Electronics?
Regent Electronics offers premium-quality digital volt meters, ensuring durability, precision, and ease of use for your electronics projects. Whether you’re a hobbyist or a professional, our meters help you measure and troubleshoot with confidence.
How to Use the Digital Volt Meter?
The digital volt meter can be used in two primary configurations depending on your project’s requirements:

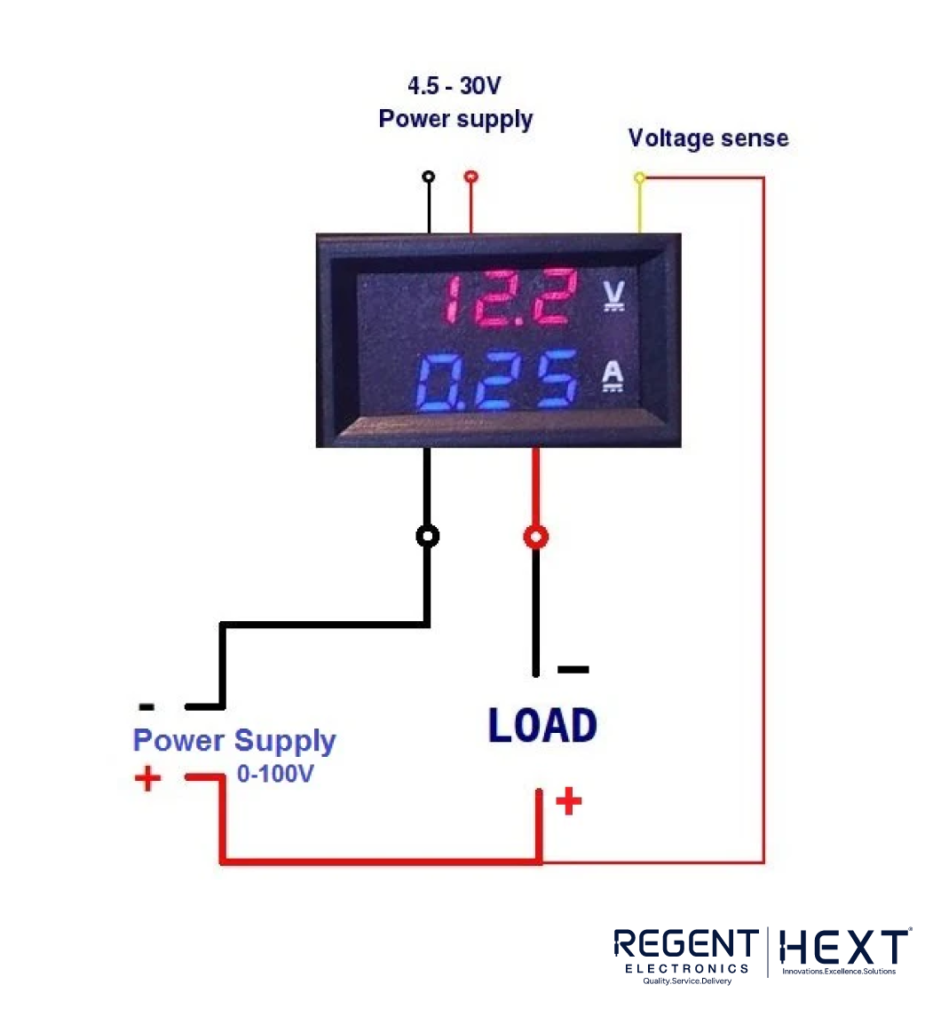
1. External Power Source Configuration
This setup uses a separate power source to supply power to the digital volt meter.
Steps:
- Connect the thin red and black wires of the meter to a separate power source (ensure it’s within the 4–30V range).
- Attach the thin yellow wire to the positive terminal of the power supply powering the load.
- Connect the thick black wire to the negative terminal of the load’s power supply.
- Attach the thick red wire to one end of the load.
- Link the positive terminal of the load’s power supply to the other end of the load.
Refer to the schematic provided to simplify the process.
2. Same Power Source Configuration
Here, the meter and the load share the same power supply.
Steps:
- Connect the thin red and yellow wires to the positive terminal of the power supply.
- Leave the thin black wire unconnected.
- Connect the power supply’s positive terminal to one end of the load.
- Attach the thick black wire to the negative terminal of the power supply.
- Connect the thick red wire to the other end of the load.
Refer to the provided schematic for clarity.
Key Usage Tips
- Use Configuration 2 when the voltage to be measured is less than 30V.
- Opt for Configuration 1 when measuring voltages between 30V and 100V, requiring an external power source.
This adaptability ensures accurate readings regardless of your project requirements.
Practical Applications of a Digital Volt Meter
- Testing Power Supplies: Quickly verify voltage and current levels.
- Fault Detection: Diagnose and troubleshoot issues in electronic systems.
- Feedback Loop Systems: Use the DVM as part of control systems for precise monitoring.
Why Regent Electronics?
At Regent Electronics, we prioritize accuracy, durability, and innovation in all our products. Our digital volt meters are designed to meet the demands of modern electronics enthusiasts and professionals alike. With user-friendly configurations and a wide measurement range, our meters are ideal for a variety of applications.
Equip your electronics toolbox with a digital volt meter from Regent Electronics today and take your projects to the next level. Explore our range of high-quality meters tailored for precision and performance.