
Create a Smart Wireless Plant Moisture Monitoring System with IoT Integration
Introduction to Smart Plant Moisture Monitoring
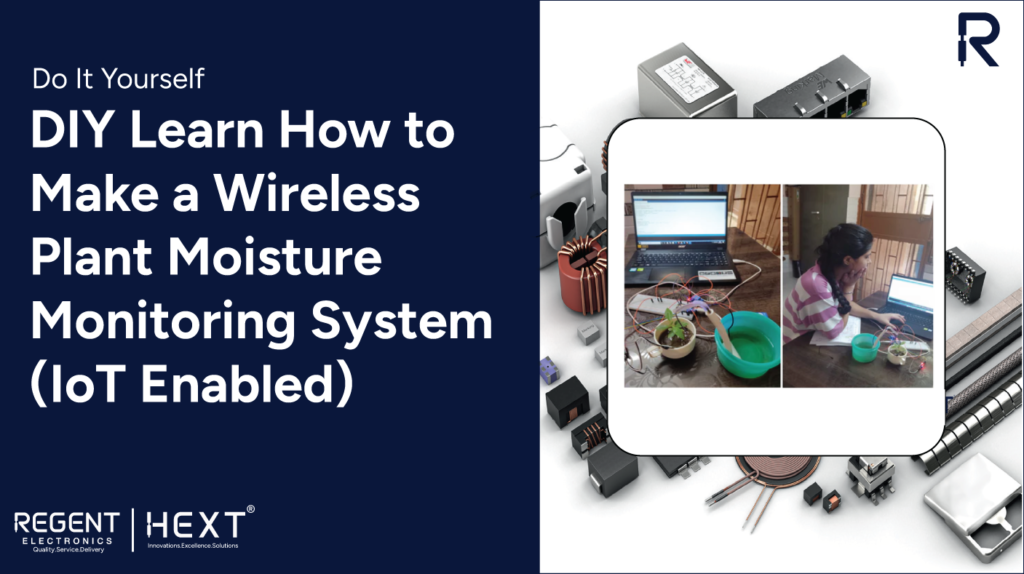
In today’s fast-paced world, it’s not always easy to find time to care for our plants, especially when it comes to watering them regularly. Overwatering or underwatering can lead to problems, often causing plants to suffer. To tackle this challenge, advanced technologies have emerged to automate plant care, making the process more efficient and saving us time. This IoT-enabled wireless plant moisture monitoring system allows users to ensure their plants are well-watered without constant attention. Here’s how you can build your own IoT-based smart plant monitoring system using NodeMCU (ESP8266).
Objectives of the Project
The primary goal of this DIY project is to design and implement a wireless plant moisture monitoring system that efficiently waters plants when needed. The objectives include:
- Detecting soil dryness using a moisture sensor and providing the right amount of water.
- Preventing unnecessary water wastage by automating the watering process.
- Allowing users to monitor soil moisture levels and control watering remotely via the Blynk app.
This system not only ensures that plants are hydrated but also saves water, time, and effort by eliminating the need for manual watering.
Components Required
Here’s a list of the essential components for your wireless plant moisture monitoring system:

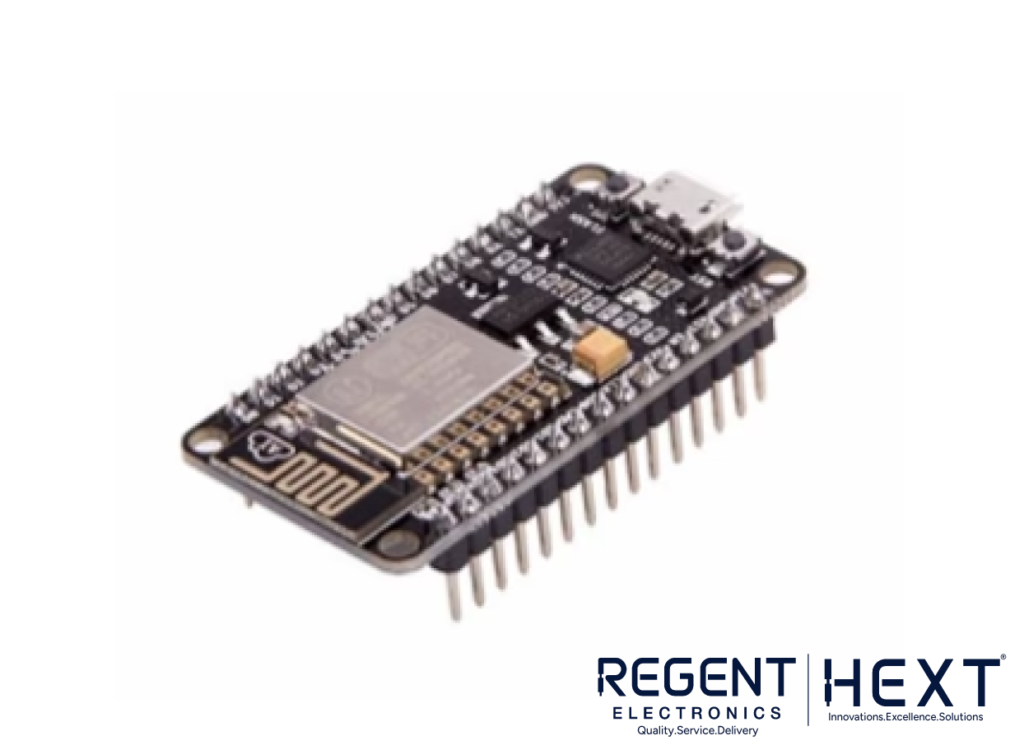


- NodeMCU ESP8266: This Wi-Fi development board is essential for connecting the system to the internet, enabling remote monitoring via the Blynk app.
- Soil Moisture Sensor: This sensor measures the moisture level in the soil and provides digital and analog output to control the watering system.
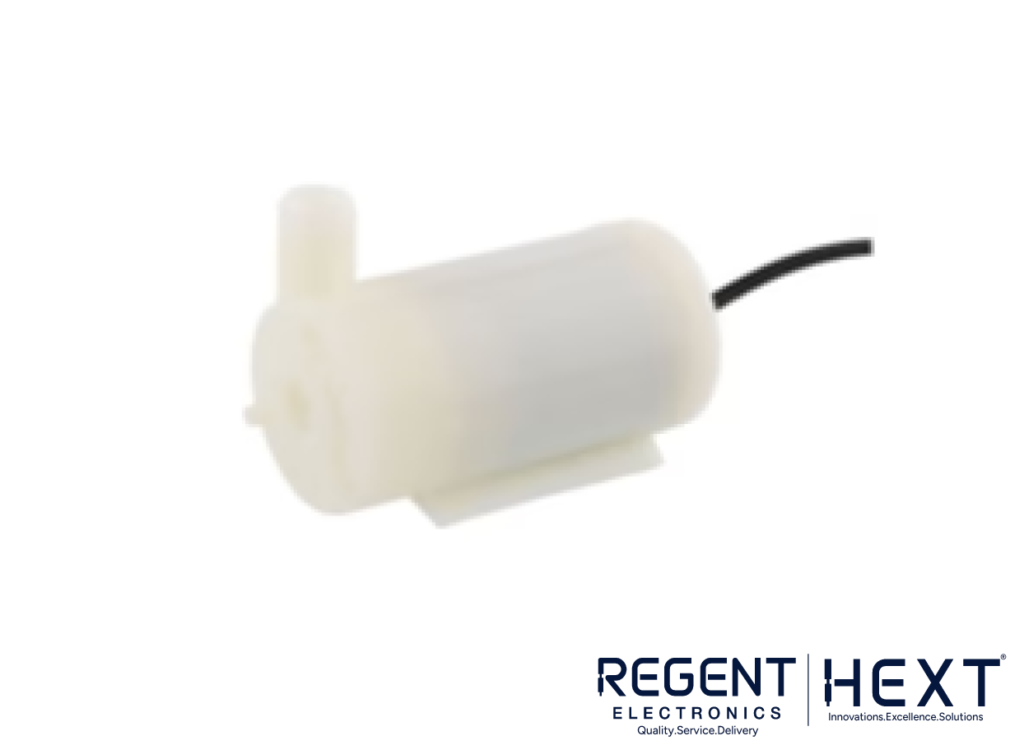
- Mini Water Pump (3-6V): This small submersible pump is used to transfer water to the plants when moisture levels fall below the desired threshold.
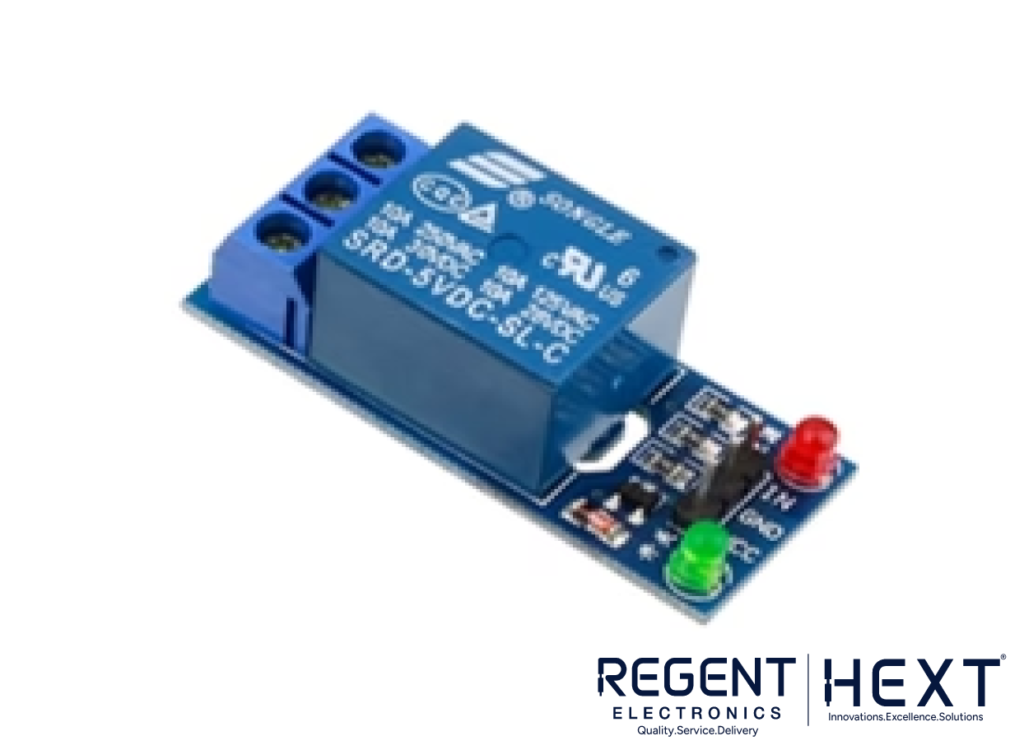
- Relay Module: This module acts as an electrical switch, controlled by the NodeMCU, to activate the water pump when needed.
- Breadboard: A breadboard allows you to set up temporary connections between components for easy prototyping.
- Jumper Wires: These wires help connect various components without soldering.
- BC547 Transistor: This NPN transistor amplifies current to control the pump’s operation.
- 9V Battery: This serves as the power source for the entire system.
Software Tools
- Blynk App: This mobile app allows you to control and monitor the system remotely. It provides a graphical interface for managing the plant moisture levels and pump operation.
Get the Blynk IoT Application for this DIY project here. - Arduino IDE: This open-source platform helps you write and upload code to your NodeMCU board.
Get the Arduino IDE here.
How the System Works
The wireless plant moisture monitoring system works in three main stages:
- Data Acquisition (Sensor Stage):
The soil moisture sensor detects the water content in the soil and converts the data into an electronic signal, which is sent to the NodeMCU microcontroller. - Control and Decision Making:
The NodeMCU processes the data from the moisture sensor. It compares the soil moisture level with a pre-set threshold value. If the moisture level is below the threshold, the NodeMCU sends a signal to activate the relay, which turns on the water pump. - Wireless Monitoring and Control:
The system uses Blynk to display real-time sensor data on a smartphone. If the moisture level drops below the threshold, the user receives a notification to turn the pump on. Once the moisture level reaches an acceptable level, the user can switch off the pump via the app.
Step-by-Step Implementation of the Moisture Monitoring System
Once the power supply is turned on, the NodeMCU reads the moisture content from the sensor. If the level is below the threshold, it sends a notification to the user’s phone via the Blynk app. The user can then activate the water pump to irrigate the plants. When the soil moisture exceeds the set threshold, the app notifies the user, and the pump is turned off.
Advantages of the IoT Plant Monitoring System
- Cost-effective: Automates plant watering, reducing the need for manual labor.
- Water Conservation: Reduces water wastage by only watering plants when necessary.
- Efficient and Easy to Use: The system is simple to set up and manage remotely via the Blynk app.
- Real-time Monitoring: Allows users to monitor soil moisture levels on the go and control the watering system remotely.
Flowchart for Automated Plant Watering System
- Soil moisture level < threshold → Activate water pump
- Soil moisture level ≥ threshold → Deactivate water pump
- Notifications sent to user for control.
Circuit Diagram and Connections
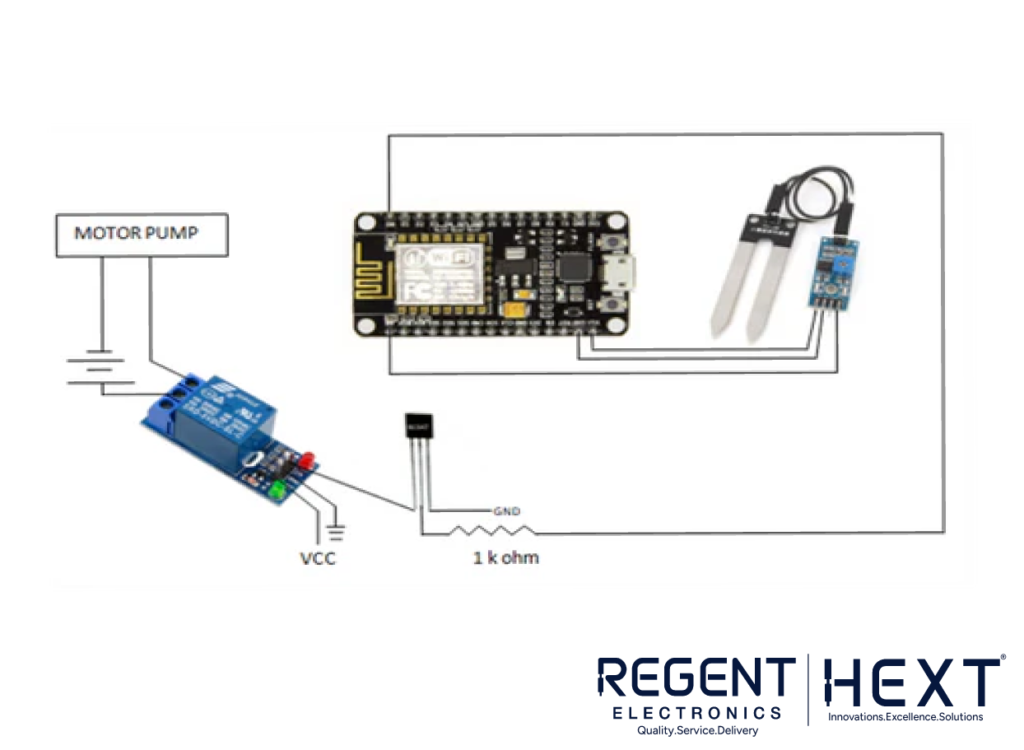
- A0: Connect to the analog pin of the soil moisture sensor.
- Vin: Connect to the VCC of the soil moisture sensor.
- GND: Connect to the GND of the sensor and the emitter of the NPN transistor.

Outcome of the Project
This smart plant moisture monitoring and watering system provides an automated solution for plant care, ensuring that your plants receive the right amount of water at the right time. The integration of sensors, NodeMCU, and Blynk app creates an efficient system that can be monitored remotely, saving you both time and water.

By adopting this IoT-based plant monitoring system, you’ll be able to ensure healthier plants and minimize water wastage, all while enjoying the convenience of remote control via your smartphone.
Conclusion
With the growing need for smart solutions in everyday life, this IoT-enabled plant moisture monitoring system is a perfect example of how technology can simplify our tasks. Whether you’re a hobbyist or a gardening enthusiast, this project helps maintain your plants efficiently and effectively. Start building your smart garden today and enjoy the convenience of automated plant care!