

Build a Password-Based Door Lock System Using Arduino Uno for Enhanced Security
Introduction to Password-Based Door Lock Systems
Security is a top priority for homeowners and businesses alike, especially with the growing number of thefts and break-ins. Traditional mechanical locks and keys are becoming outdated, and a modern, more secure alternative is now within reach. A password-based door lock system, powered by Arduino, provides an efficient, easy-to-implement, and cost-effective solution. In this project, you will learn how to replace conventional lock-and-key mechanisms with a secure password-protected entry system that opens the door only when the correct password is entered.
Project Objective
The aim of this project is to develop a password-based door lock system using an Arduino Uno, which can replace traditional mechanical locks. The key features of this system include:
- Low Power Consumption
- Simple to Implement
- Economical Solution for Enhanced Security
Required Components
To build your password-based door lock system, you will need the following components:
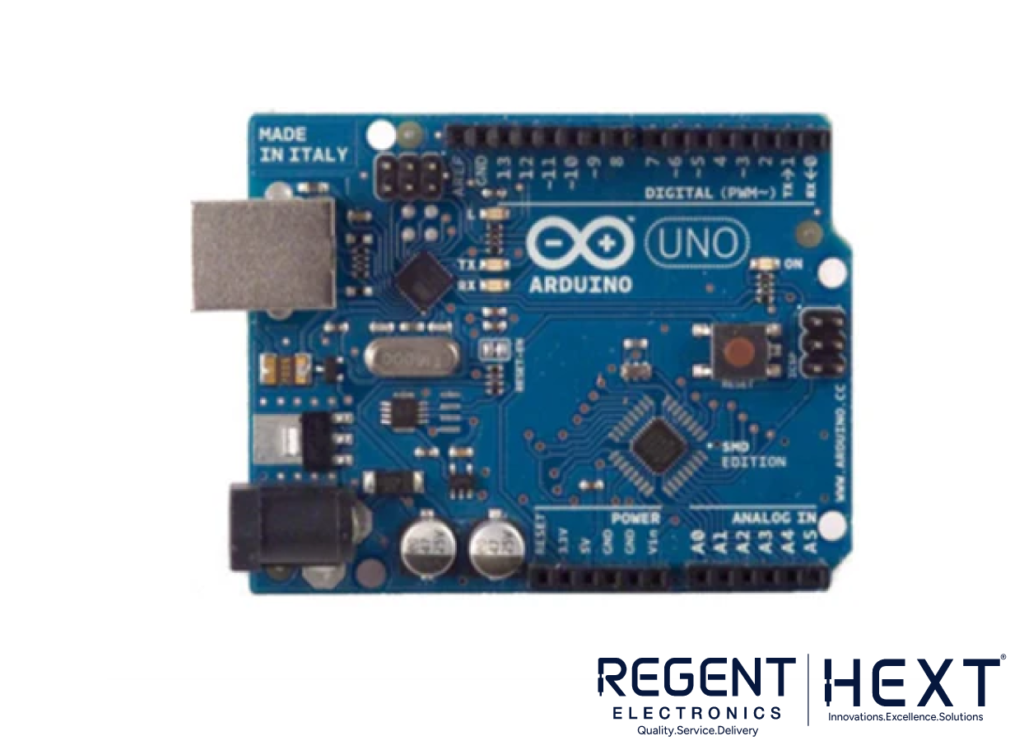
- Arduino UNO: The Arduino Uno is a popular microcontroller board that forms the core of this project. It provides digital and analog I/O pins, enabling easy interaction with various components.
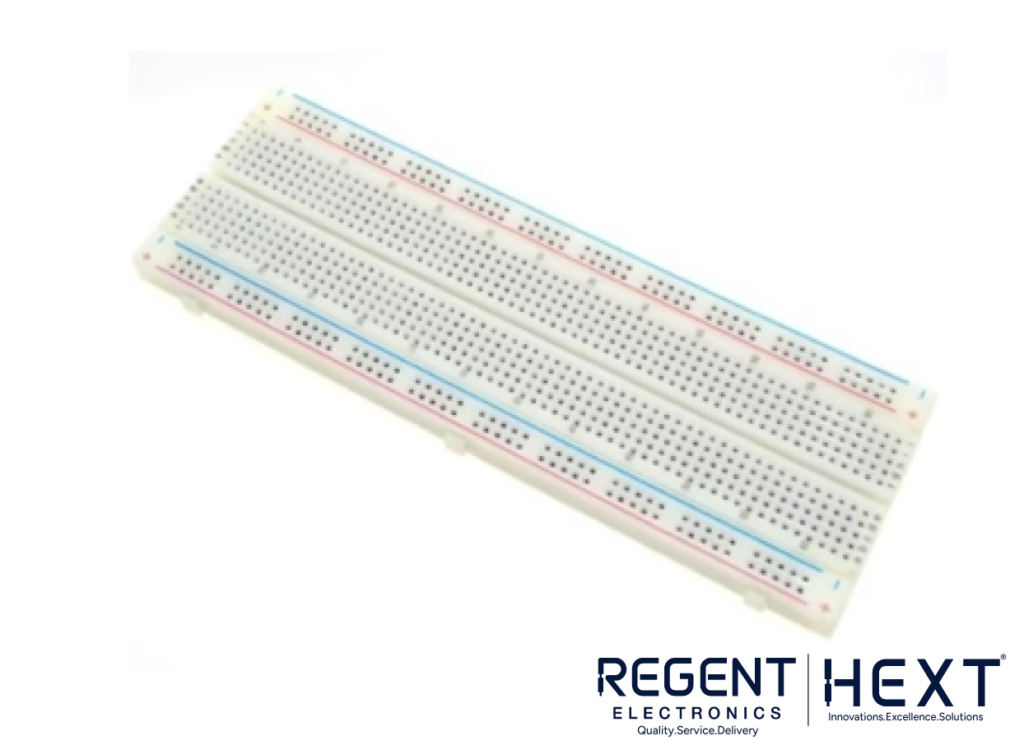
Buy it here: Arduino Uno - Breadboard: A breadboard is essential for connecting components without soldering. It allows for easy experimentation and adjustment of connections.
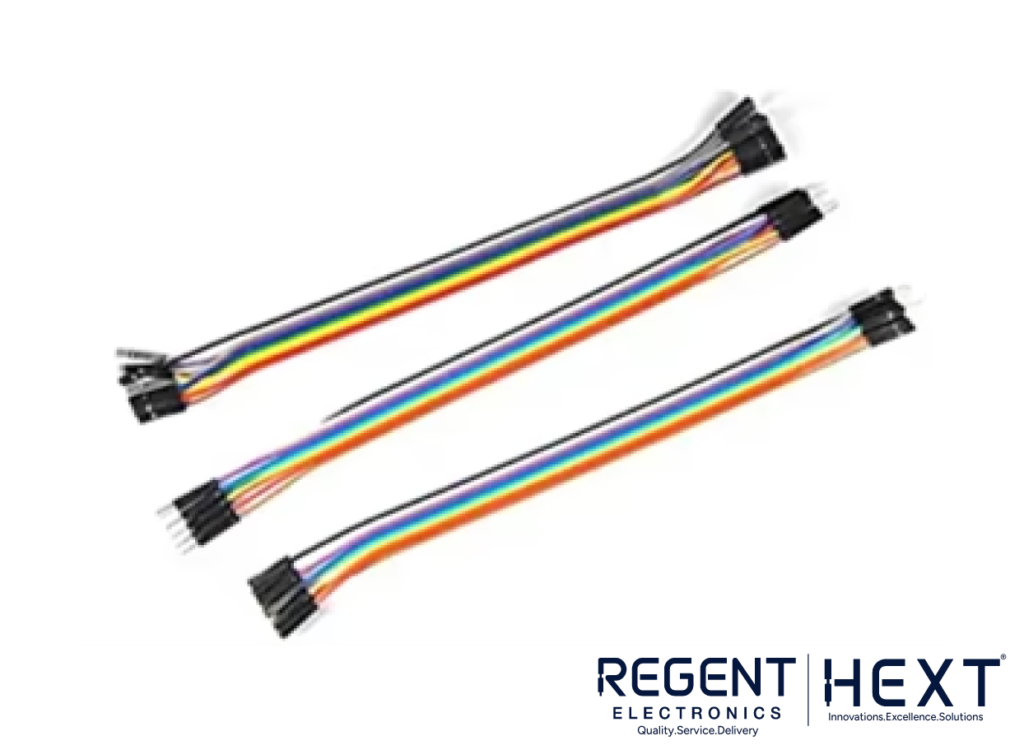
Buy it here: 830 Points Breadboard - Jumper Wires: These wires are used to establish connections between different components without permanent soldering, making the assembly process easier.
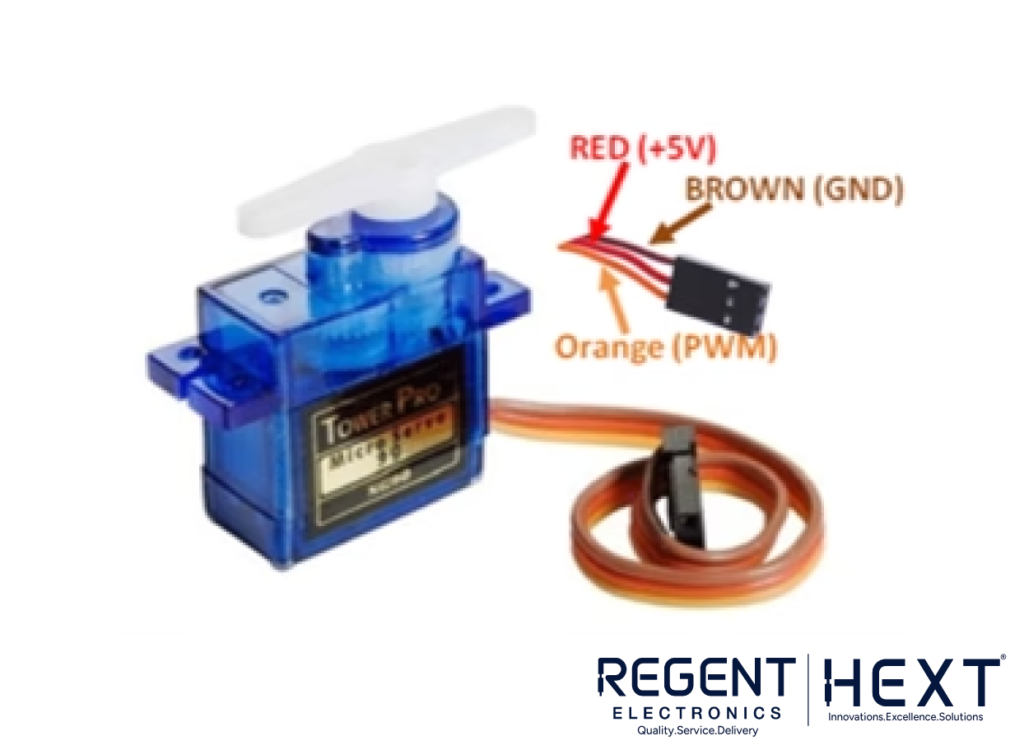
Buy it here: Male-to-Male, Male-to-Female, and Female-to-Female Jumper Wires - SG-90 Servo Motor: The SG-90 is a small, lightweight servo motor that will be used to control the door latch. It can rotate by 90 degrees in both directions, perfect for opening or closing the door.
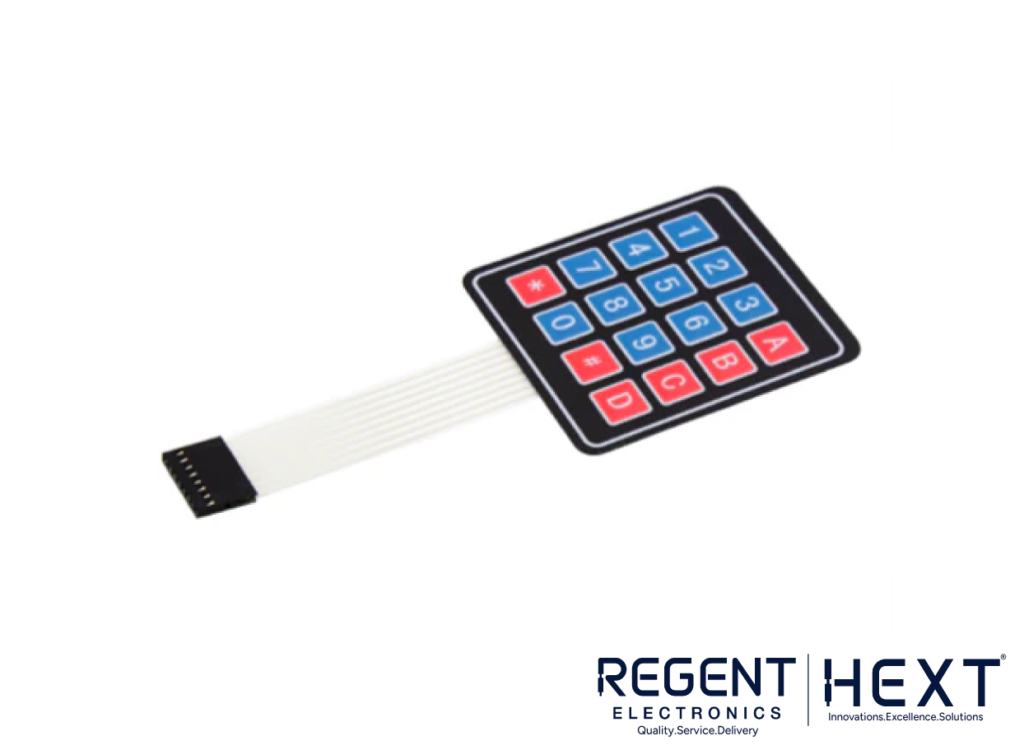
Buy it here: SG-90 Servo Motor - 4×4 Matrix Keypad: This keypad is used for entering the password. It consists of 16 keys arranged in a 4×4 matrix, making it ideal for projects requiring numeric input.
Buy it here: 4×4 Keypad Matrix - Cardboard: A piece of cardboard can be used as the base to mount all the components for the project.
- Door Latch: A simple latch mechanism that will be controlled by the servo motor to lock and unlock the door.

Software Requirements
- Arduino IDE: This open-source software is used to write and upload the code to the Arduino Uno. It is compatible with Windows, macOS, and Linux.
Download the Arduino IDE here.
How the System Works
This password-based door lock system utilizes a 4×4 keypad to input a password. Here’s how it works:
- The user enters a predefined password through the keypad.
- The Arduino Uno compares the entered password with the stored password.
- If the password is correct, the servo motor unlocks the door by rotating the latch.
- If the password is incorrect, the door remains locked.
Wiring and Connections
- Keypad to Arduino:
- Pin 1 → Pin 2
- Pin 2 → Pin 3
- Pin 3 → Pin 4
- Pin 4 → Pin 5
- Pin 5 → Pin 9
- Pin 6 → Pin 6
- Pin 7 → Pin 7
- Pin 8 → Pin 8
- Servo to Arduino:
- Positive (Red) → +5V
- Negative (Brown) → GND
- Signal (Yellow) → Pin 11
Arduino Code for Password-Based Lock System
cpp
CopyEdit
#include <Servo.h>
#include <Keypad.h>
Servo ServoMotor;
char* password = “953”; // Change the password here
int position = 0;
const byte ROWS = 4;
const byte COLS = 4;
char keys[ROWS][COLS] = {
{‘1′,’2′,’3′,’A’},
{‘4′,’5′,’6′,’B’},
{‘7′,’8′,’9′,’C’},
{‘*’,’0′,’#’,’D’}
};
byte rowPins[ROWS] = {8, 7, 6, 9};
byte colPins[COLS] = {5, 4, 3, 2};
Keypad keypad = Keypad(makeKeymap(keys), rowPins, colPins, ROWS, COLS);
int RedpinLock = 12;
int GreenpinUnlock = 13;
void setup() {
ServoMotor.attach(11);
LockedPosition(true); // Lock the door initially
}
void loop() {
char key = keypad.getKey();
if (key == ‘*’ || key == ‘#’) {
position = 0;
LockedPosition(true); // Lock the door when * or # is pressed
}
if (key == password[position]) {
position++;
}
if (position == 3) {
LockedPosition(false); // Unlock the door if the password is correct
}
delay(100);
}
void LockedPosition(int locked) {
if (locked) {
digitalWrite(RedpinLock, HIGH);
digitalWrite(GreenpinUnlock, LOW);
ServoMotor.write(11); // Door is locked
} else {
digitalWrite(RedpinLock, LOW);
digitalWrite(GreenpinUnlock, HIGH);
ServoMotor.write(90); // Door is unlocked
}
}
Conclusion
With the rise in security concerns, replacing traditional mechanical locks with modern password-based systems is a wise choice. This project offers an affordable, efficient, and easy-to-implement solution using Arduino. By automating the locking mechanism, you ensure enhanced security for your home, office, or any secure area. With the use of an Arduino Uno, keypad, and servo motor, you can build a robust password-protected lock system that meets your security needs.