
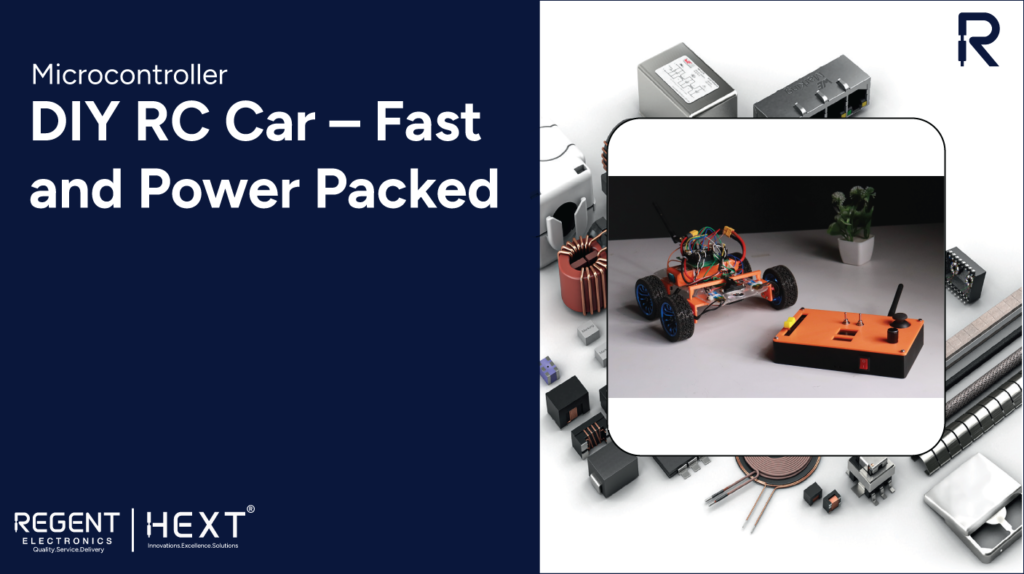
DIY RC Car – High-Speed, Power-Packed Build Guide
Are you ready to build your own powerful and fast DIY RC car? In this guide, we’ll walk you through the complete process of assembling an RC car and controlling it using a previously made RC remote. Let’s dive right in!
Table of Contents
- What is an RC Car?
- Understanding the Arduino Nano
- Required Hardware Components
- Required Software
- Circuit Diagram & Hardware Interfacing
- Coding
- Working Mechanism
- Conclusion
What is an RC Car?
An RC (Radio-Controlled) car is a miniature model vehicle that can be operated remotely using a transmitter. These cars come in various types, including trucks, buggies, and high-speed racing models. RC cars utilize radio signals for communication between the transmitter and the receiver, making them highly responsive and fun to operate.
Understanding the Arduino Nano
The Arduino Nano is a compact, fully functional microcontroller board based on the ATmega328. It is ideal for projects requiring a small footprint while maintaining the full capabilities of a standard Arduino board.
Key Features of Arduino Nano:
- ATmega328 Microcontroller
- 2kB RAM
- Operating Voltage: 7-12V
- Communication Interfaces: UART, I2C, SPI
- 6 PWM Output Channels
Required Hardware Components
To build your DIY RC car, you’ll need the following components:
- Arduino Nano
- Ready to SKY BLDC Motor
- Ready to SKY 20A ESC
- NRF24L01+PA+LNA with adapter board
- Transparent Robot Smart Car Chassis
- 65mm Robot Smart Car Wheels
- Orange OT5316M 7.4V 15kg.cm Metal Gear Digital Servo Motor
- Orange 11.1V 2200mAh 40C 3S Lithium Polymer Battery Pack
- LM2596S DC-DC Buck Converter
- Universal PCB Prototype (7 x 9 cm)
- Screw Terminal Block
- Male and Female Headers
Required Software
- Arduino IDE
Circuit Diagram & Hardware Interfacing
Circuit Diagram
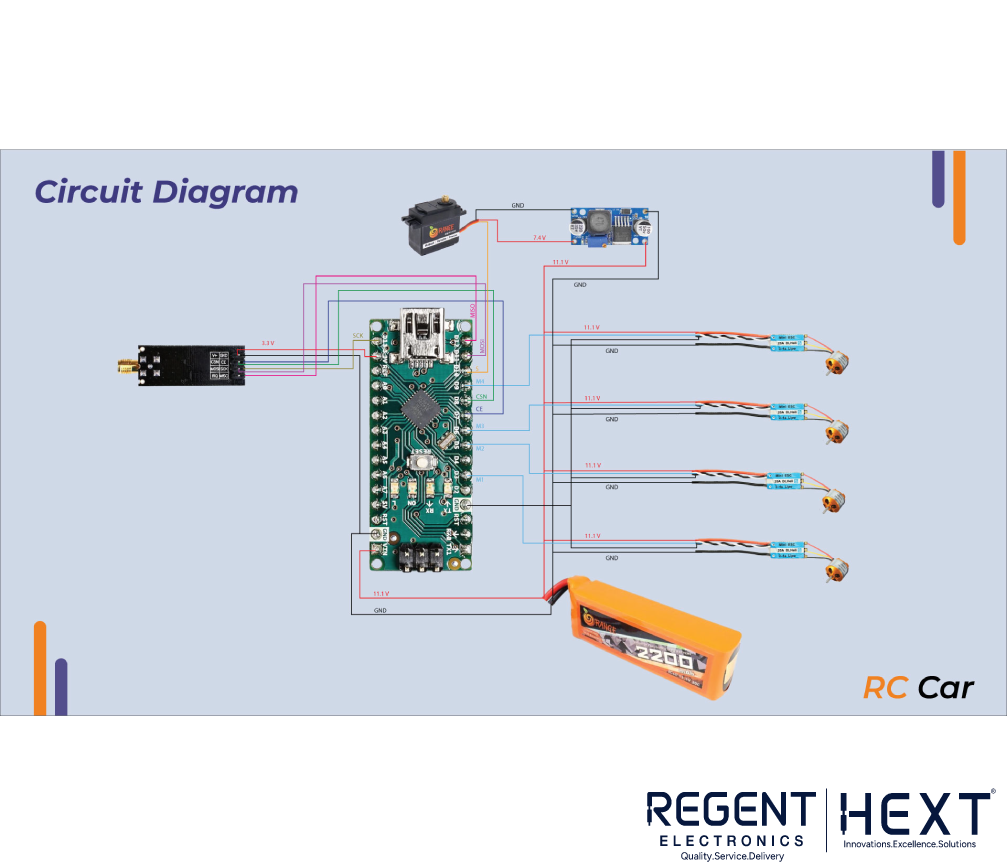
Proper wiring is essential for efficient performance. The circuit diagram will guide you on how to connect each component correctly.
Hardware Interfacing
Connecting NRF24L01 to Arduino Nano:
| NRF24L01 Pin | Arduino Nano Pin |
| CE | 7 |
| CSN | 8 |
| SCK | SCK |
| MISO | MISO |
| MOSI | MOSI |
Motor Signal Wires to Arduino Nano:
| Motor Signal Wire | Arduino Nano Pin |
| M1 | 3 |
| M2 | 5 |
| M3 | 6 |
| M4 | 9 |
| Servo Signal | 10 |
Coding
Below is the essential code to control the RC car. Copy and paste it into the Arduino IDE, upload it, and test your car. Ensure the wheels are not attached when running the initial tests for safety.
#include <SPI.h>
#include <nRF24L01.h>
#include <RF24.h>
#include <Servo.h>
RF24 radio(7, 8); // CE, CSN
const byte addresses[][6] = {“00001”, “00002”};
struct pack {
int spot = 0, x = 0, y = 0, jsw = 1, trim = 0;
};
struct drone {
int batt;
};
pack data;
drone stat;
Servo m1, m2, m3, m4, stere;
void setup() {
Serial.begin(9600);
m1.attach(3, 1000, 2000);
m2.attach(5, 1000, 2000);
m3.attach(6, 1000, 2000);
m4.attach(9, 1000, 2000);
stere.attach(10);
pinMode(A0, INPUT);
pinMode(A2, OUTPUT);
radio.begin();
radio.setRetries(15, 15);
radio.openWritingPipe(addresses[0]);
radio.openReadingPipe(1, addresses[1]);
radio.setPALevel(RF24_PA_MIN);
delay(100);
}
int throttle = 0, turn = 0;
void loop() {
delay(25);
radio.startListening();
if (radio.available()) {
radio.read(&data, sizeof(data));
if (data.y < 480) throttle = map(data.spot, 0, 1023, 1300, 1350);
else if (data.y > 520) throttle = map(data.spot, 0, 1023, 1300, 1200);
else throttle = 1300;
turn = map(data.x, 0, 1023, 95, 45);
if (data.jsw == 0) digitalWrite(A2, HIGH);
else digitalWrite(A2, LOW);
m1.writeMicroseconds(throttle);
m2.writeMicroseconds(throttle);
m3.writeMicroseconds(throttle);
m4.writeMicroseconds(throttle);
stere.write(turn);
}
}
Working Mechanism
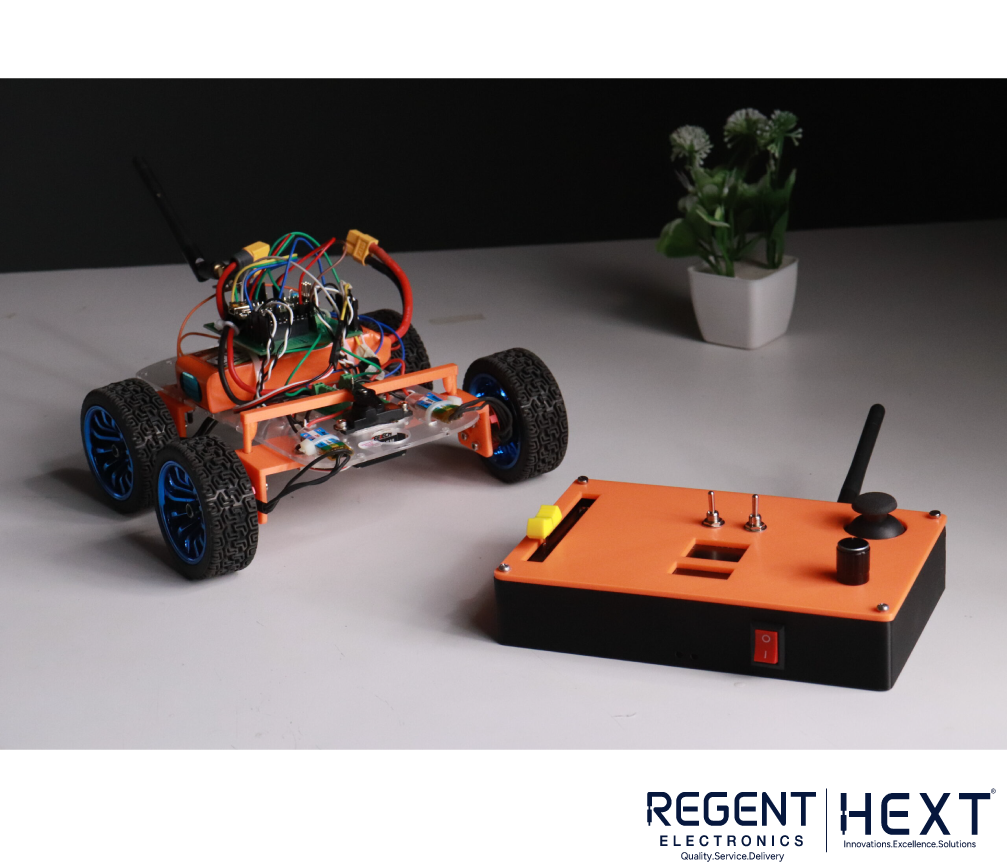
This project utilizes the NRF24L01 module for wireless communication, enabling remote control of the car. The RC remote transmits signals, which the Arduino Nano processes to control the motors and servo steering.
The LM2596S DC-DC Buck Converter steps down the 11.1V battery voltage to 7.4V, ensuring the servo motor receives the correct power supply.
Conclusion
By following this guide, you have successfully built a fully functional RC car using Arduino Nano and an NRF24L01 module. This project serves as an excellent introduction to wireless communication and robotics. With further modifications, you can enhance the performance and add advanced features such as GPS tracking or obstacle avoidance.
Congratulations on completing your DIY RC car project! 🚗💨