
PuTTY Configuration: Connecting Raspberry Pi to a Laptop
If you’ve recently invested in a Raspberry Pi and are wondering if you can connect it to your laptop instead of using a separate monitor or TV, the answer is yes! This guide will walk you through setting up PuTTY to establish a connection between your Raspberry Pi and your laptop.
Step 1: Download Required Software
Before starting, you need PuTTY. You can download it from the official website:
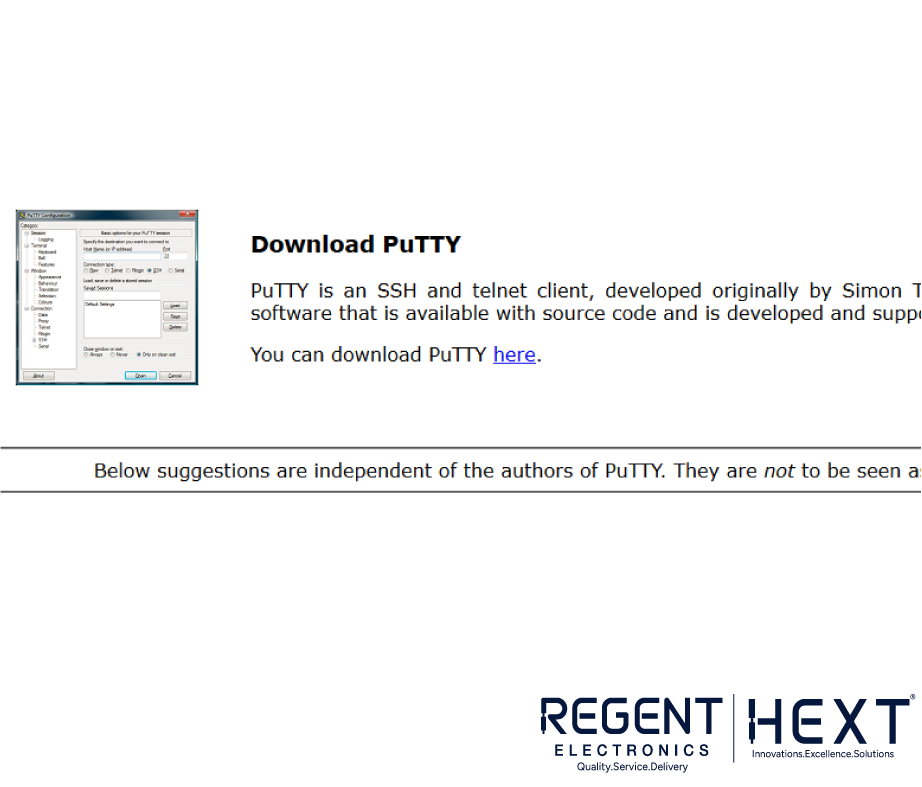
When downloading, select the correct installer based on your operating system (Windows 32-bit, 64-bit, or Unix tarball).

Important Note:
Before proceeding, ensure you create a blank file named “SSH” in the BOOT partition of your Raspberry Pi’s microSD card. This step is necessary to enable SSH access.
Once PuTTY is downloaded, install it on your laptop. Now, let’s move to the connection process.
Step 2: Find Your Raspberry Pi’s IP Address
To connect, you need your Raspberry Pi’s IP address. There are several ways to find it, which are covered in another guide. Click here to learn how to find your Raspberry Pi’s IP address.
Once you have the IP address, open PuTTY and enter it into the Host Name (or IP address) field. Keep the default Port: 22 and select the SSH option.
Click Open to proceed.
Step 3: Establishing an SSH Connection
When prompted, click Yes to accept the security alert.
Next, you’ll see a terminal window asking for login credentials. Enter the default credentials:
- Username: pi
- Password: raspberry
(Note: When typing the password, nothing will appear on the screen. This is normal, so just type and press Enter.)
After a successful login, you will see the Raspberry Pi terminal, meaning you are now connected via SSH!
Step 4: Setting Up VNC for Remote Desktop Access

If you want to view your Raspberry Pi’s desktop interface on your laptop, you need to enable VNC.
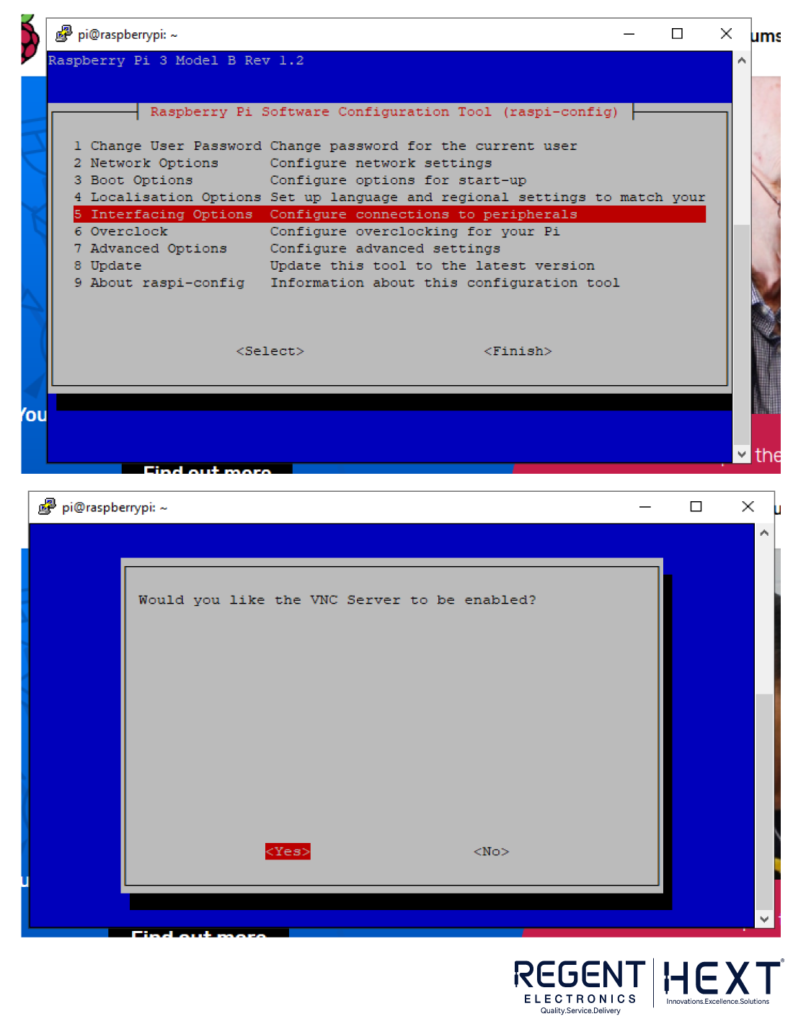
Steps to Enable VNC:
- In the PuTTY terminal, type:
- sudo raspi-config
- Navigate to Interfacing Options > VNC > Enable.
- Restart your Raspberry Pi by typing:
- sudo reboot
After the reboot, open VNC Viewer on your laptop and enter the Raspberry Pi’s IP address. This will allow you to access the full desktop environment of your Raspberry Pi remotely.
Conclusion
You’ve successfully connected your Raspberry Pi to your laptop using PuTTY. Now, you can execute commands and even access the Raspberry Pi desktop through VNC. This setup is particularly useful for developers and hobbyists who prefer a more compact and portable workspace.
If you found this guide helpful, share it with your friends! Have any suggestions for future tutorials? Let us know. Happy coding!
Stay tuned for more Raspberry Pi tutorials from Regent Electronics!