

Orange Raspberry Pi Zero 2W Basic Kit
Welcome to this blog where we will explore the Orange Raspberry Pi Zero 2W Basic Kit, available exclusively at Regent Electronics.
Raspberry Pi Zero 2W: A Step Up from Its Predecessor

The Raspberry Pi Foundation recently introduced the Raspberry Pi Zero 2W, which brings several enhancements compared to the original Raspberry Pi Zero.
When comparing performance, the Raspberry Pi Zero 2W stands out due to its quad-core 64-bit ARM Cortex-A53 SoC processor and 512MB SDRAM. This is the same processor used in the Raspberry Pi 3, making it significantly more powerful than its predecessor. Additionally, it comes with heat sinks, helping prevent overheating issues.
Design and Port Configuration
The Raspberry Pi Zero 2W maintains the same dimensions and mounting holes as the original Raspberry Pi Zero W, ensuring compatibility with existing accessories. It also retains all the essential input/output ports found on its predecessor.
Since its initial launch in 2015, the Raspberry Pi Zero series had not received a major upgrade—until now. Recognizing the demand for a compact, energy-efficient, and cost-effective computing module, the Raspberry Pi Foundation introduced the Zero 2W, making it a perfect choice for projects that do not require high-power platforms like the Raspberry Pi 4.
Now, you can confidently use the Raspberry Pi Zero 2W for applications that previously required more computing power in a small form factor.
Setting Up Your Raspberry Pi Zero 2W
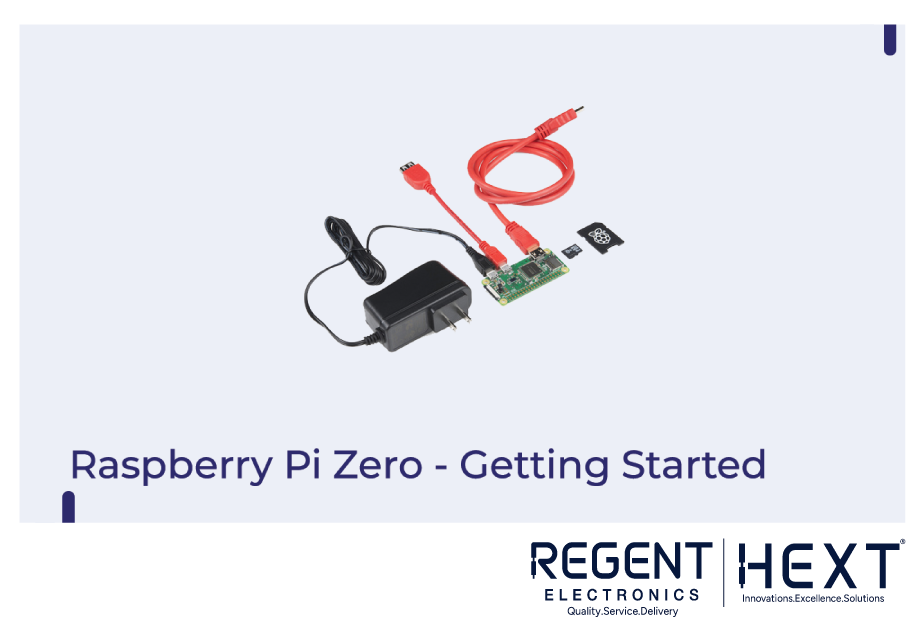
To get started, you’ll need to install an operating system (OS) on your Raspberry Pi Zero 2W. The Orange Raspberry Pi Zero 2W Starter Kit includes all the necessary accessories to help you set up your board effortlessly.
Downloading a Compatible OS
To write the OS image to an SD card, we recommend using balenaEtcher, but other tools like Win32DiskImager or imgFlasher can also be used. You can download the latest Raspbian OS from the official Raspberry Pi website.
Writing the OS Image (Windows Users)
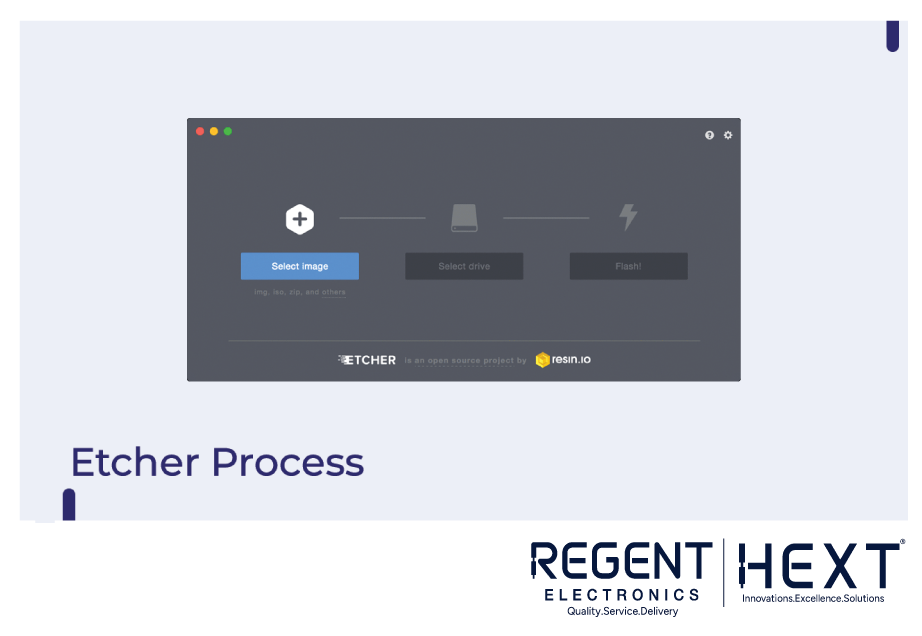
Once the OS image is downloaded, use balenaEtcher to write it to the SD card. If you haven’t installed balenaEtcher, you can download it from the official website.
Booting Up the Raspberry Pi Zero 2W
Once the OS is written to the SD card, follow these steps to boot up your Raspberry Pi Zero 2W:
- Connect an HDMI cable to the board.
- Plug the power adapter into the power port of the Raspberry Pi Zero 2W.
- After a brief moment, your Raspberry Pi Zero 2W will be up and running.
Conclusion
In this blog, we explored the differences between the Raspberry Pi Zero 2W and the original Raspberry Pi Zero. We also walked through the steps to install an operating system on the Raspberry Pi Zero 2W.
If you have any questions, feel free to drop them in the comments section below. Stay tuned for more exciting updates from Regent Electronics!