
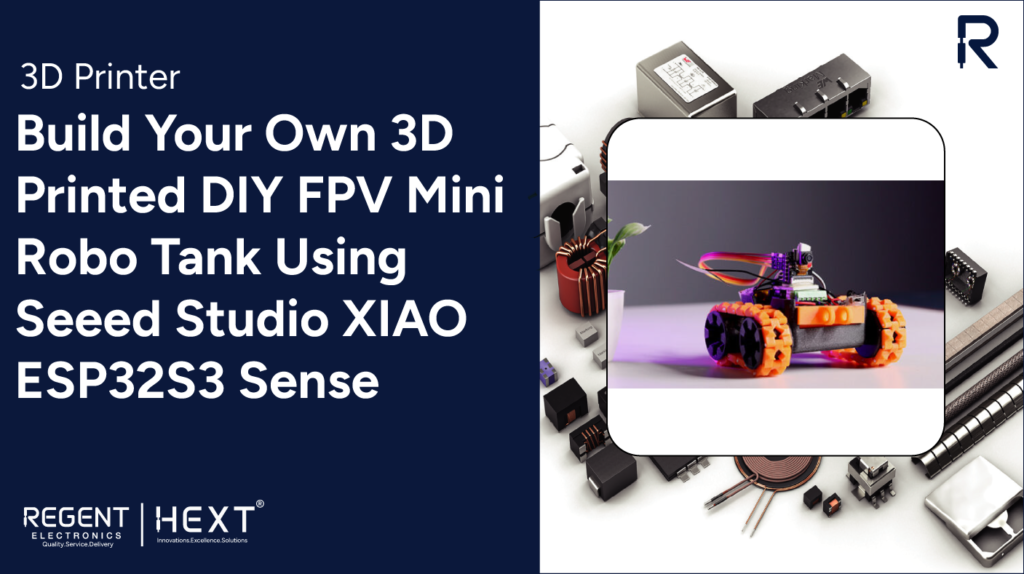
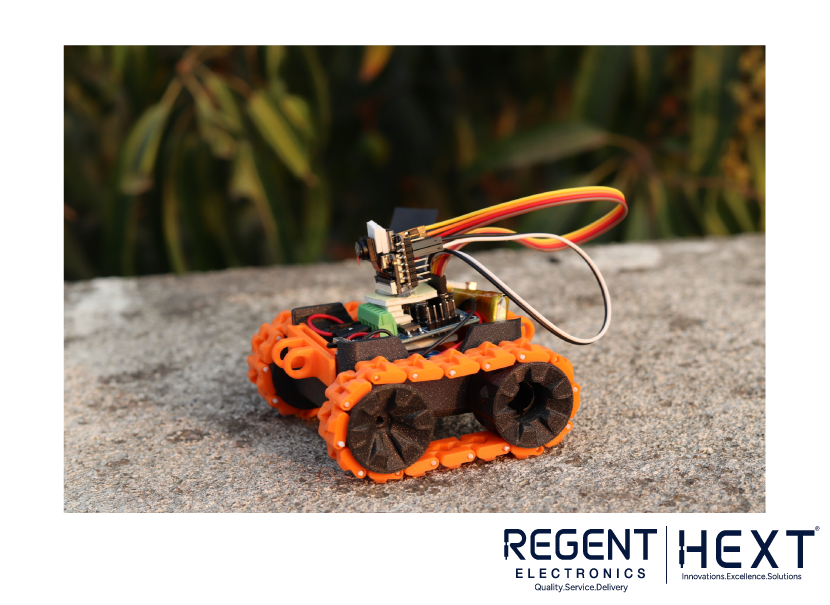
Build Your Own 3D Printed DIY FPV Mini Robo Tank Using Seeed Studio XIAO ESP32S3 Sense
Are you ready to dive into the world of DIY robotics and create your own FPV (First-Person View) mini Robo tank? In this blog, we’ll guide you through building an awesome FPV Robo tank using the Seeed Studio XIAO ESP32S3 Sense, which can be controlled via a local server-based remote controller. This project is not only fun but also provides you with hands-on experience in both robotics and 3D printing.
Let’s get started and explore how to build this exciting Robo tank!
What is Seeed Studio XIAO ESP32S3 Sense?
The Seeed Studio XIAO ESP32S3 Sense is a powerful microcontroller board that combines the capabilities of the Seeed Studio XIAO ESP32S3 with the added benefit of an OV2640 camera sensor module. This makes it ideal for applications such as image processing, video monitoring, and much more. The camera module is detachable, offering flexibility for a range of use cases, while other features remain similar to the XIAO ESP32S3.
For more information, visit the official Seeed Studio website for the latest documentation and specs.
Components Required for the FPV Robo Tank Project:
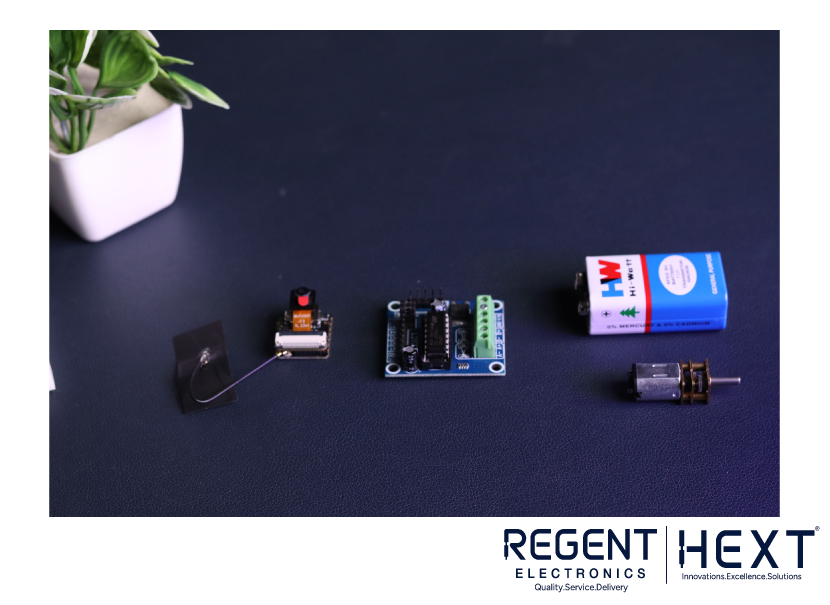
- Seeed Studio XIAO ESP32S3 Sense
- LM239D Motor Driver
- N20 Motors
- 3.7V LiPo Battery
- 9V Battery
- Jumper Wires
- Battery Connector
- Switches
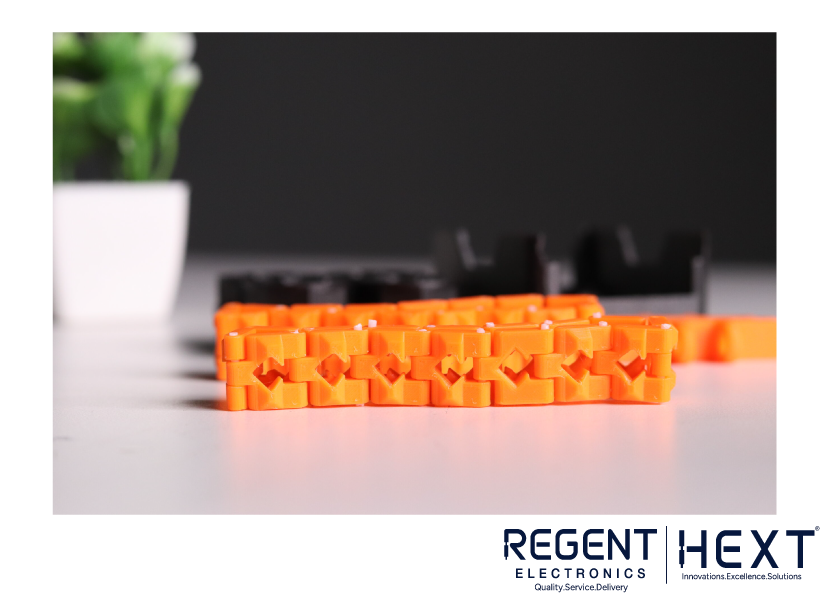
- 3D Printed Parts (e.g., wheels, chassis, battery holder, wheel tracks)
- Soldering Iron and Soldering Wire
- Type C Cable
- Breadboard
Software Requirements:
- Arduino IDE: To program the microcontroller and control the FPV tank.
- PrusaSlicer: For 3D printing the parts of the tank.
3D Printing the FPV Robo Tank Parts:
The components for the Robo tank, including the chassis, wheels, and other mechanical parts, are available as STL files on GitHub. Here’s the process for 3D printing:
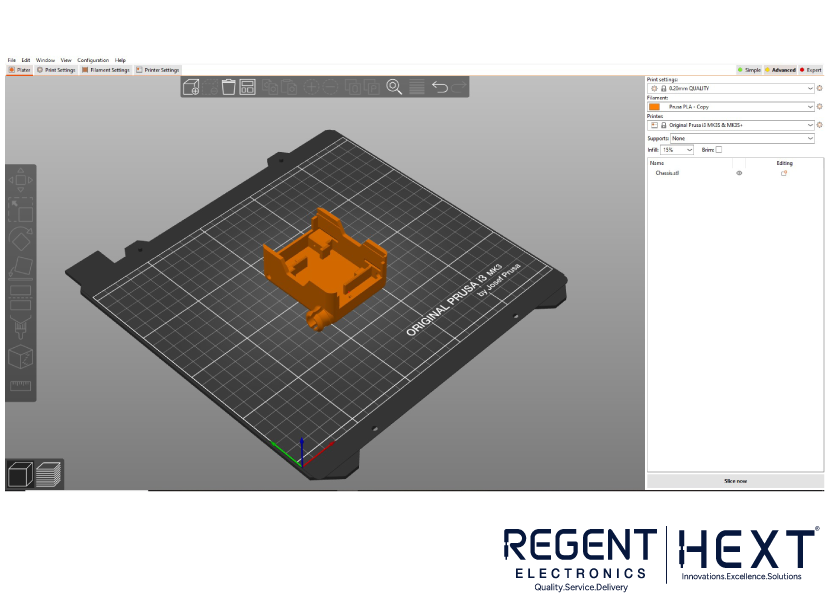
- Download STL Files: Download the STL files from this GitHub repository.
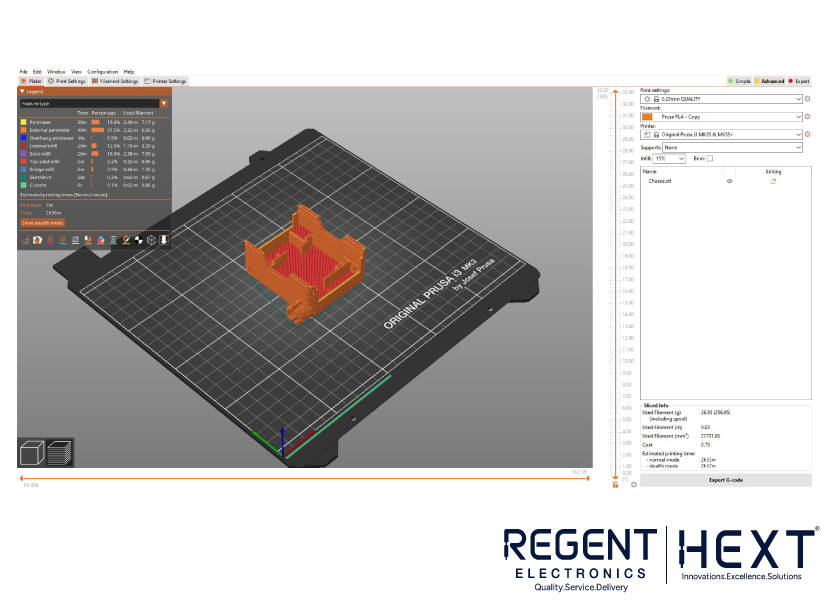
- Prepare the Print: Upload the STL files to your 3D printer’s slicer software. Adjust settings such as infill percentage, material (e.g., PLA), and color.
- Convert to G-code: Slice the 3D models and convert them to G-code.
- Start Printing: Transfer the G-code to an SD card, insert it into the 3D printer, and start the printing process.
- Finish and Remove Prints: Once the printing is completed, carefully remove the parts from the print bed.
Circuit Design:
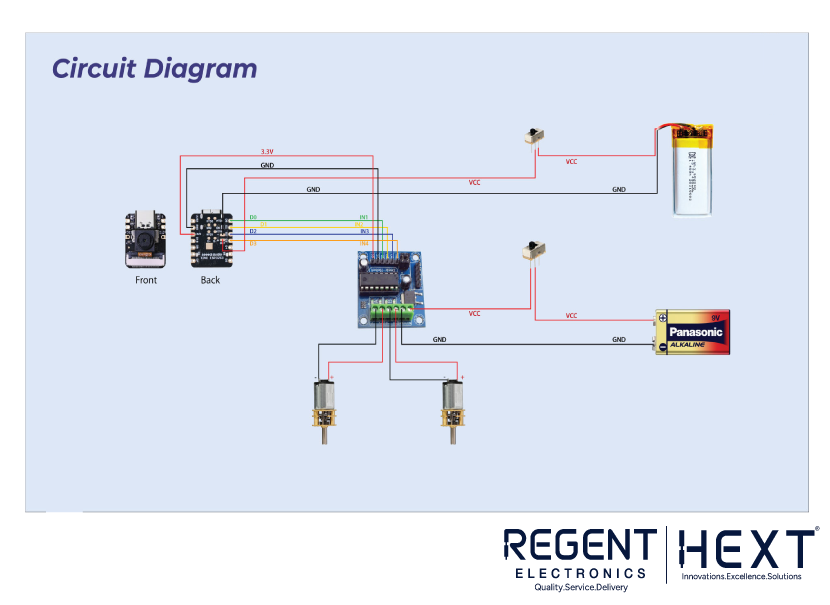
The circuit design for this project is straightforward. Here’s a simple breakdown:
- Motor Driver Connection: Connect the LM239D motor driver to control the N20 motors.
- Power Supply: Use the 3.7V LiPo battery to power the motors and the board.
- Connecting the Board: Wire the Seeed Studio XIAO ESP32S3 Sense to the motor driver and other components according to the circuit diagram.
Assembling the Components:
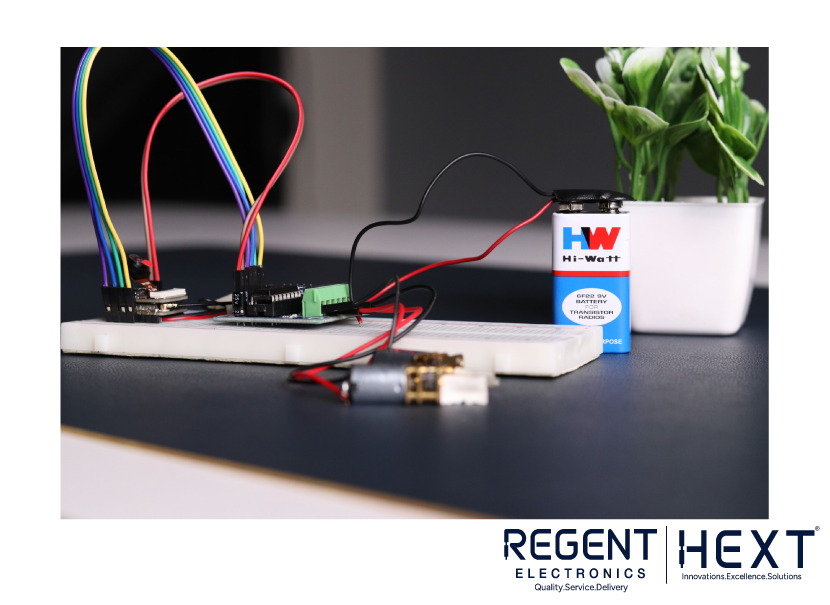
- Attach the 3D Printed Parts: Place the 3D printed parts (such as wheels, chassis, and battery holder) together to form the body of the FPV Robo tank.
- Secure the Components: Use double-sided tape or hot glue to fix the microcontroller, motor driver, and battery securely in place.
Programming the FPV Robo Tank:
Now, it’s time to upload the code to the Seeed Studio XIAO ESP32S3 Sense board. The full code can be found on the GitHub repository.
Here’s a quick overview of the steps:
- Set up the Board: Open Arduino IDE and select the Seeed Studio XIAO ESP32S3 Sense board from the board manager.
- Upload the Code: After selecting the correct board and port, upload the code.
- Connect to the Tank: Once the code is uploaded, connect your device to the Robo tank’s Wi-Fi network. The IP address will be displayed on the serial monitor (e.g., 192.168.4.1).
- Access the Control Panel: Open your browser and input the displayed IP address. The FPV stream and control panel will be available on this page.
Final Setup and Testing:
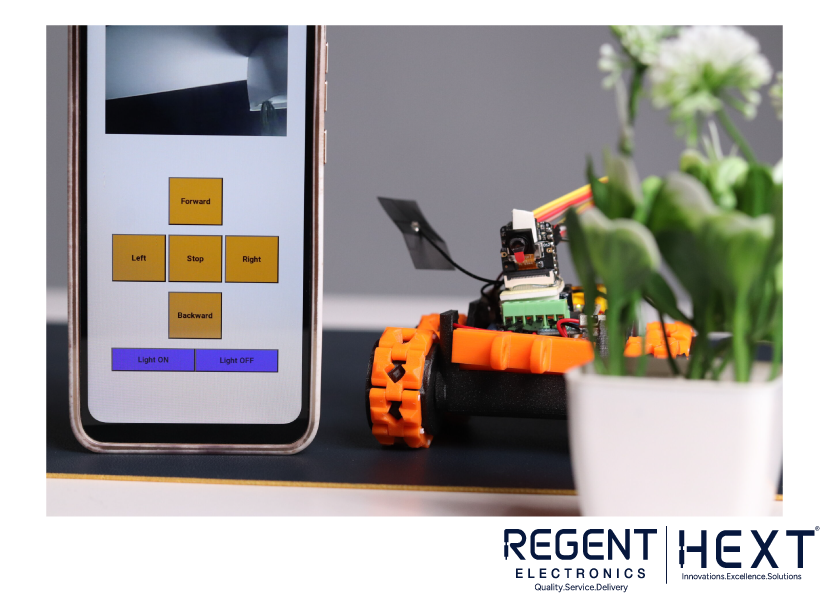
- Assemble the Robo Tank: Attach all the components into the 3D printed chassis.
- Fix Components: Secure the components in place using double-sided tape or glue.
- Test the Tank: Power on the FPV Robo tank and use the local server control panel to drive the tank and view the live camera feed.
Conclusion:
You’ve successfully built a 3D printed FPV Robo tank that you can control via a server-based remote control system. By following this guide, you not only created a functional robot but also gained insight into the integration of robotics, wireless communication, and 3D printing.
Improvements: You can enhance the tank’s performance by using higher RPM motors and more powerful batteries. You could also explore additional features like better image processing or adding sensors for obstacle avoidance.
For more projects, tutorials, and resources, visit Regent Electronics and explore our full range of IoT, robotics, and electronics guides!
Feel free to leave any questions or comments below. Happy building!