
Interfacing Nokia 5110 LCD with Arduino
Introduction
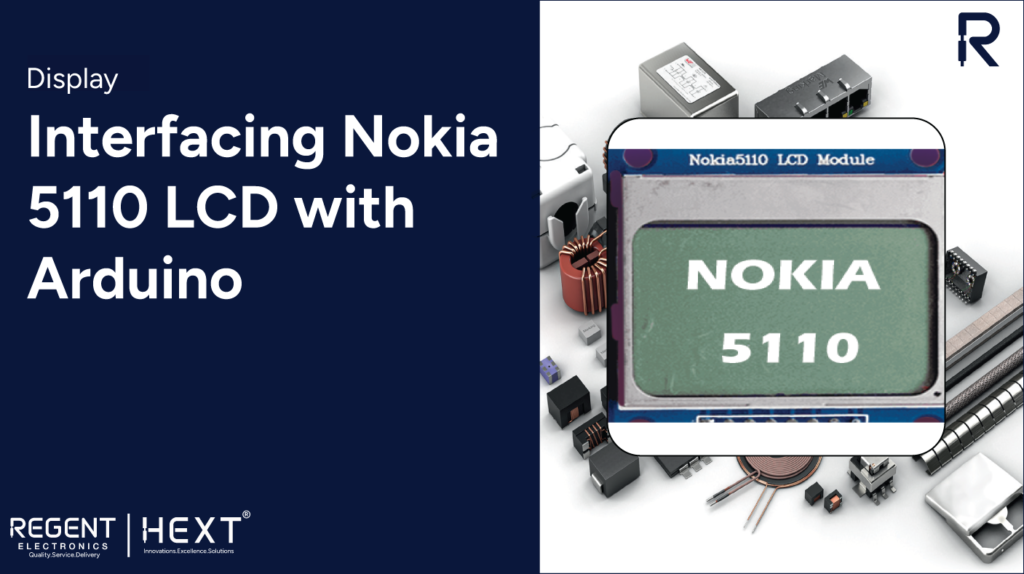
The Nokia 5110 LCD is a highly versatile display module ideal for showcasing text and bitmap images. In this guide, we will explore how to interface and program this display using an Arduino.
Objectives:
- Understand the basics of the Nokia 5110 LCD
- Learn how to interface it with an Arduino
- Write a simple program to display text on the LCD
Basics of Nokia 5110 LCD

The Nokia 5110 LCD incorporates an internal controller named PCD8544, which helps display information on the screen. This low-power CMOS LCD controller/driver is designed for an 84×48 pixel display. It features an integrated power supply and bias voltage generation, reducing the need for external components and lowering power consumption.
The PCD8544 controller communicates with microcontrollers via a serial bus interface, making it highly efficient for various display applications.
Specifications:
- 84×48 pixel LCD
- SPI interface with a maximum speed of 4.0 Mbits/s
- Integrated PCD8544 controller
- LED backlight
- Operates between 2.7V and 5.0V
- Low power consumption
- Temperature range: -25°C to +70°C
Pinout and Connections

Understanding the pin configuration is essential for proper interfacing:
| Pin | Function |
| RST | Reset signal for LCD |
| CE | Chip Enable |
| D/C | Selects between Data and Command |
| DIN | Serial Data Input (MOSI) |
| CLK | Serial Clock |
| VCC | Power supply (3.3V) |
| BL | Backlight control |
| GND | Ground |
Components Required:
To interface the LCD with an Arduino, you will need:


- Arduino Board
- Nokia 5110 LCD Module
- Breadboard
- Jumper wires


Wiring the Nokia 5110 LCD with Arduino

Connect the Nokia 5110 LCD to the Arduino as follows:
| Nokia 5110 LCD | Arduino |
| RST | Pin 3 |
| CE | Pin 4 |
| D/C | Pin 5 |
| DIN | Pin 6 |
| CLK | Pin 7 |
| VCC | 3.3V |
| BL | 3.3V (via 220Ω resistor) |
| GND | GND |
Installing Required Libraries

Before writing the code, install the following libraries in Arduino IDE:
- Adafruit PCD8544 Nokia 5110 LCD Library
- Adafruit GFX Library
To install these:

- Go to Tools > Manage Libraries
- Search for the respective libraries and click Install
Arduino Code for Displaying Text on Nokia 5110 LCD
#include <SPI.h>
#include <Adafruit_GFX.h>
#include <Adafruit_PCD8544.h>
// Initialize the LCD
Adafruit_PCD8544 display = Adafruit_PCD8544(7, 6, 5, 4, 3);
void setup() {
// Initialize the Display
display.begin();
// Set contrast level
display.setContrast(57);
// Clear display buffer
display.clearDisplay();
// Display text
display.setTextColor(WHITE, BLACK);
display.setCursor(4, 8);
display.setTextSize(1);
display.println(“|Regent|”);
display.setCursor(28, 20);
display.println(“|Electronics| “);
display.setCursor(12, 32);
display.setTextColor(BLACK);
display.println(“Nokia 5110”);
display.display();
delay(1000);
}
void loop() {
// Implement display logic here
}
Output

Upon uploading this code to your Arduino, the Nokia 5110 LCD will display the text “Regent Electronics.”
Conclusion
In this tutorial, we successfully interfaced a Nokia 5110 LCD with an Arduino and displayed text. This basic project serves as a foundation for more advanced applications, such as displaying bitmap images.
If you have any questions or need further assistance, feel free to leave a comment below!