
Interfacing SmartElex Sensors – A Comprehensive Guide for Users
Welcome to this informative guide on SmartElex sensors. In this blog, we will explore various SmartElex sensors, including capacitive, imaging, IR, distance, RFID, movement, force, and current sensors. This guide will also cover software and hardware requirements, interfacing methods, and practical applications.
SmartElex Environmental Sensors
SmartElex offers a diverse range of sensors, including:
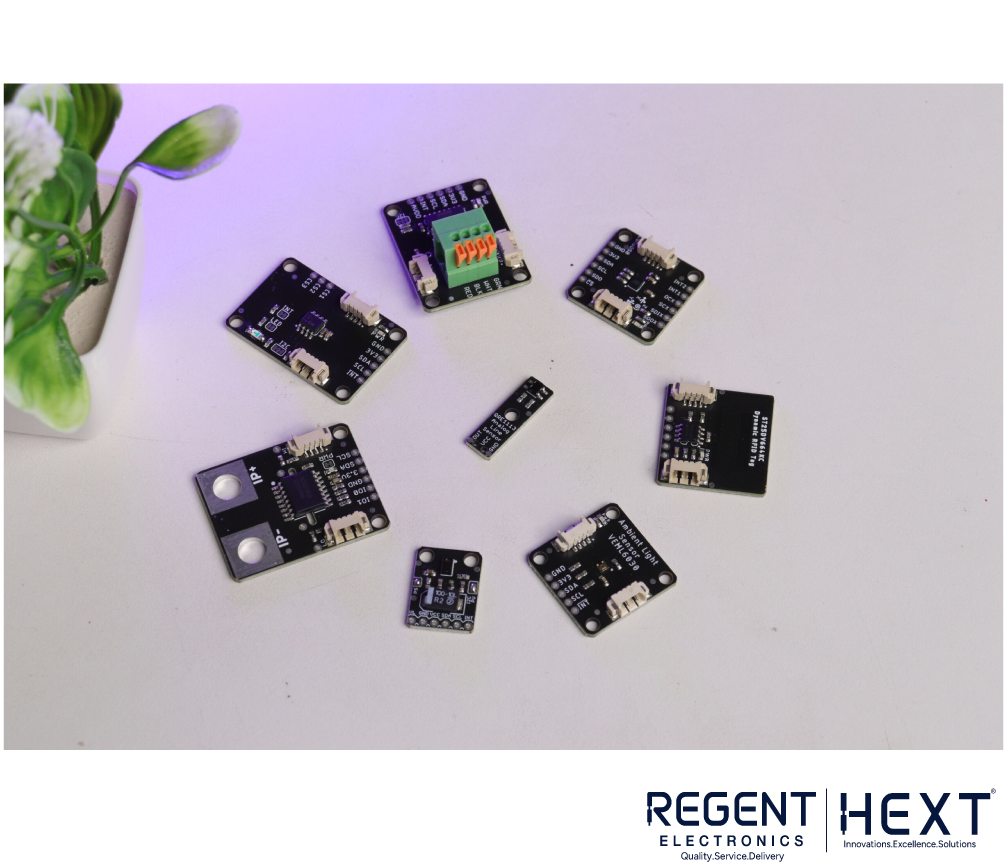
- Capacitive Sensor (CAP1203)
- Imaging Sensor (VEML 6030)
- IR/Line Sensor (QRE1113)
- Distance Sensor (APDS 9960)
- RFID Tag (ST25DV64KC)
- Movement Sensor (LSM 6DSO)
- Flex/Force Sensor (NAU7802)
- Current Sensor (ACS37800)
These sensors are designed for various applications, from motion detection to environmental monitoring.
Software and Hardware Requirements
Software Requirement:
- Arduino IDE (For coding and testing)
Hardware Requirement:
- SmartElex Sensors
- Arduino UNO
- Arduino Cable
- Breadboard
- Jumper Wires
Interfacing SmartElex Sensors
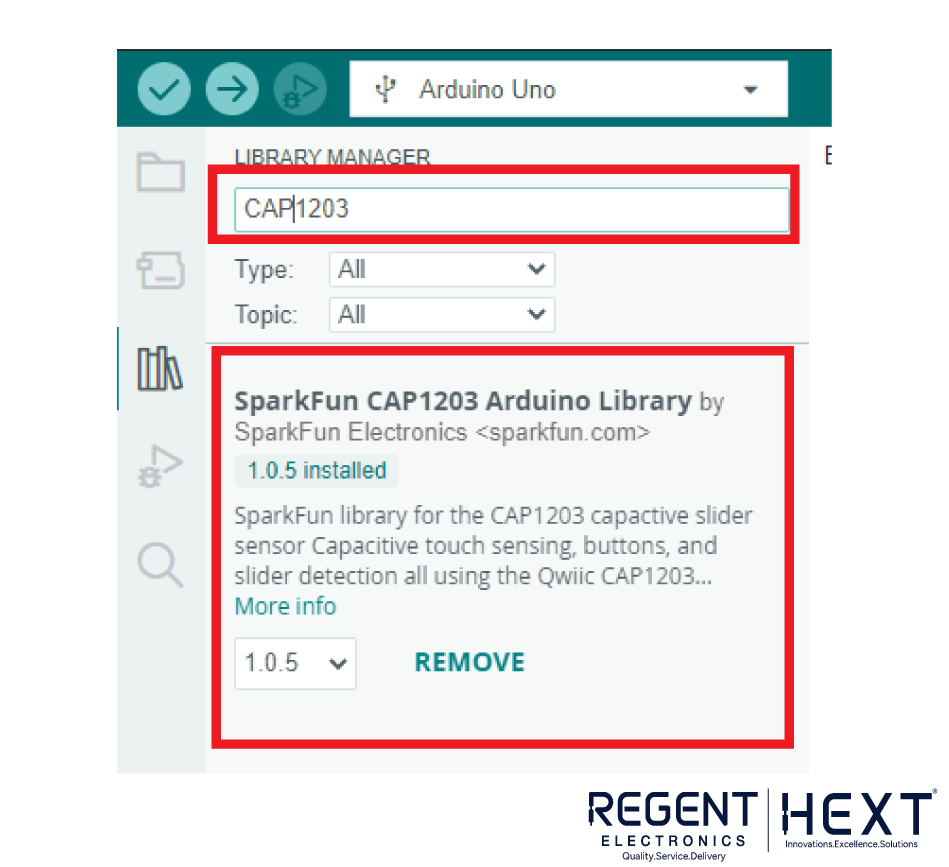
1. SmartElex Capacitive Sensor (CAP1203)
The CAP1203 is a multi-channel capacitive touch sensor with three touch pads, making it ideal for touch or slider applications. It operates on 3.3V to 5V and features I2C connectivity.
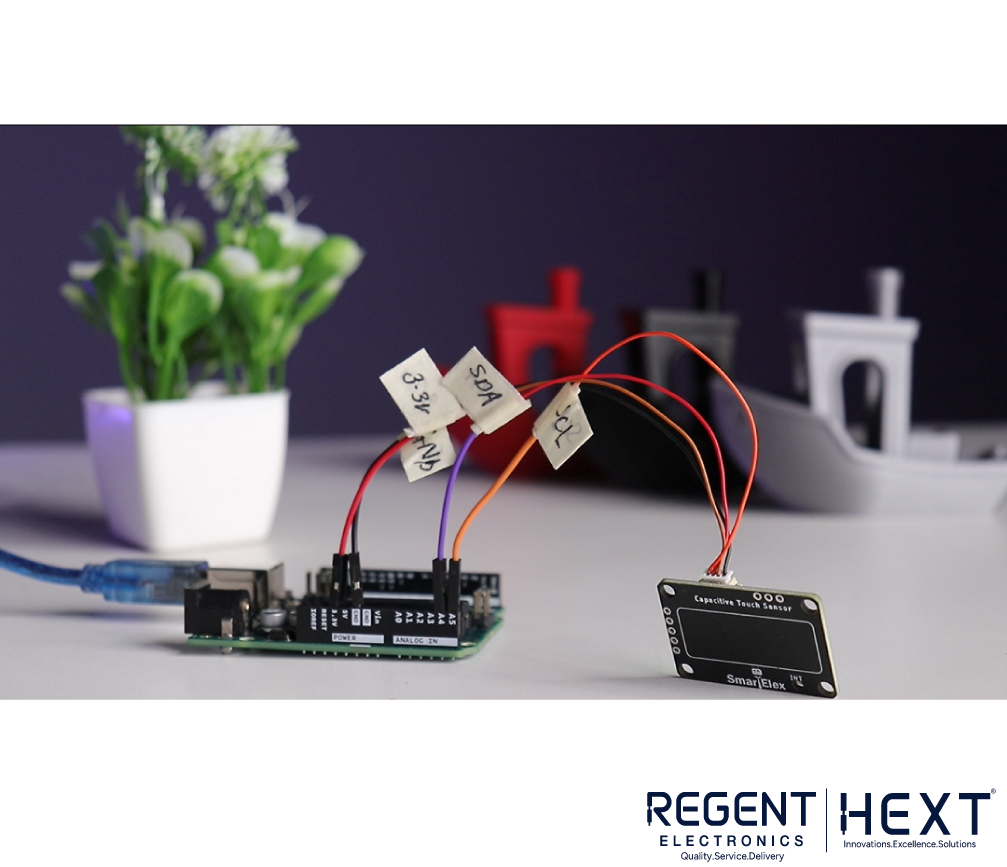
Connections:
- SCL → SCL
- SDA → SDA
- VCC → 3.3V
- GND → GND
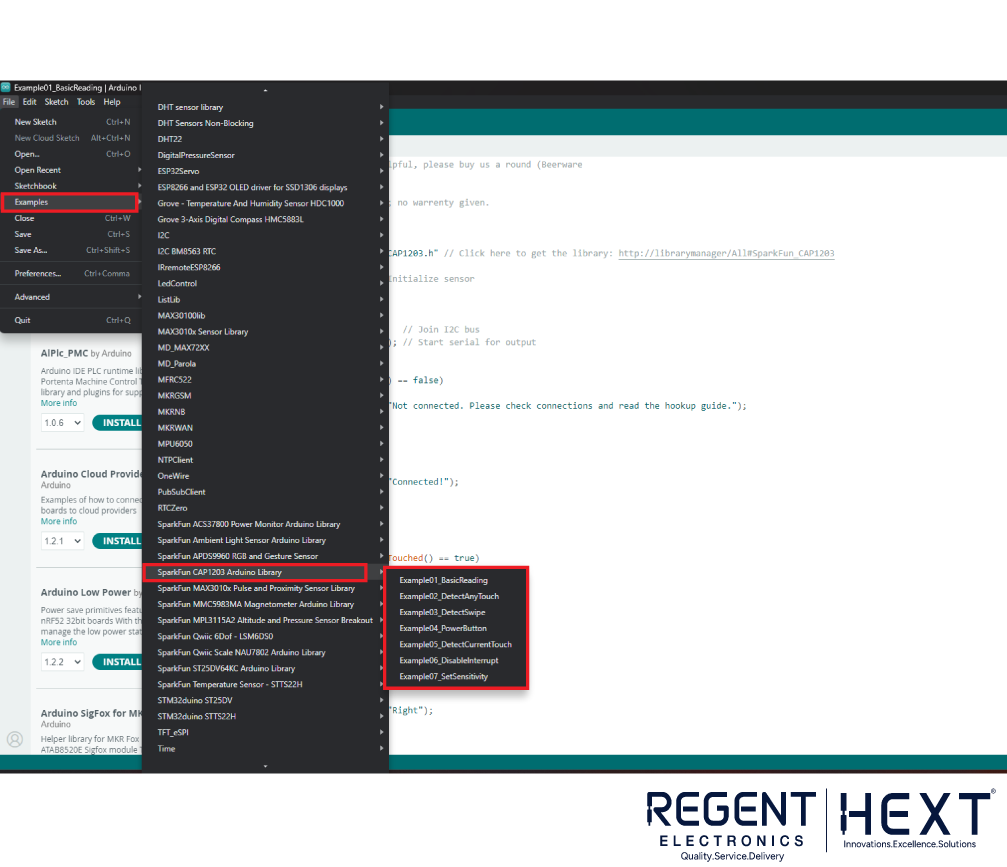
Install the CAP1203 library in Arduino IDE, upload the sample code, and start detecting touch inputs.
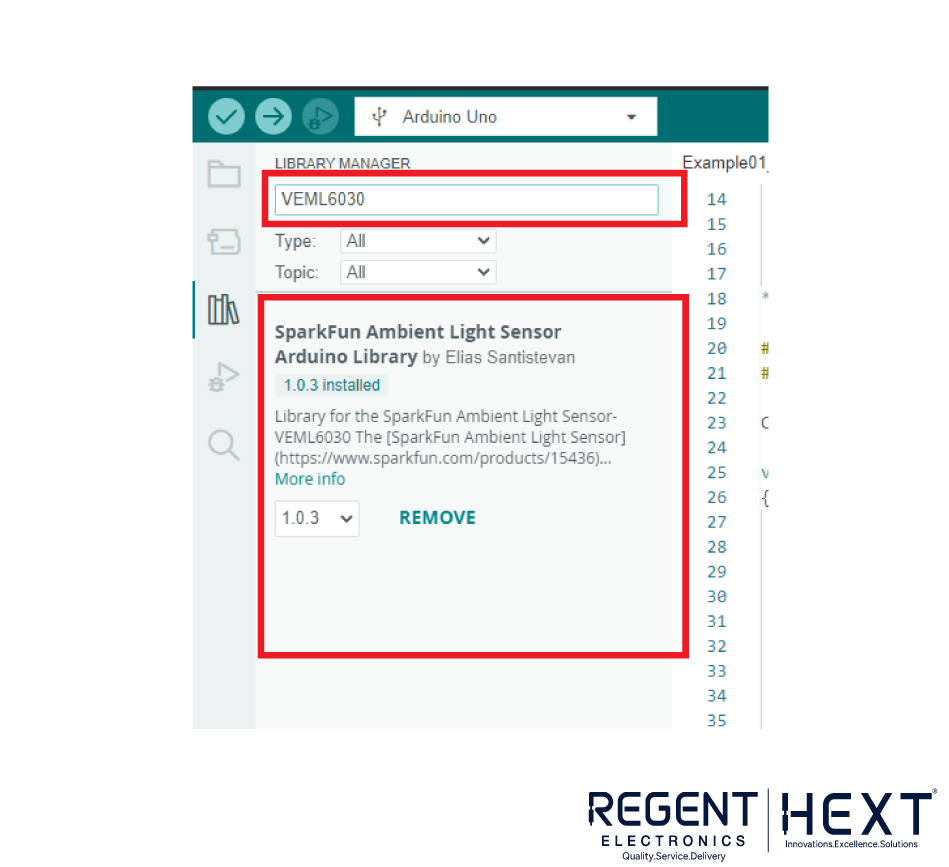
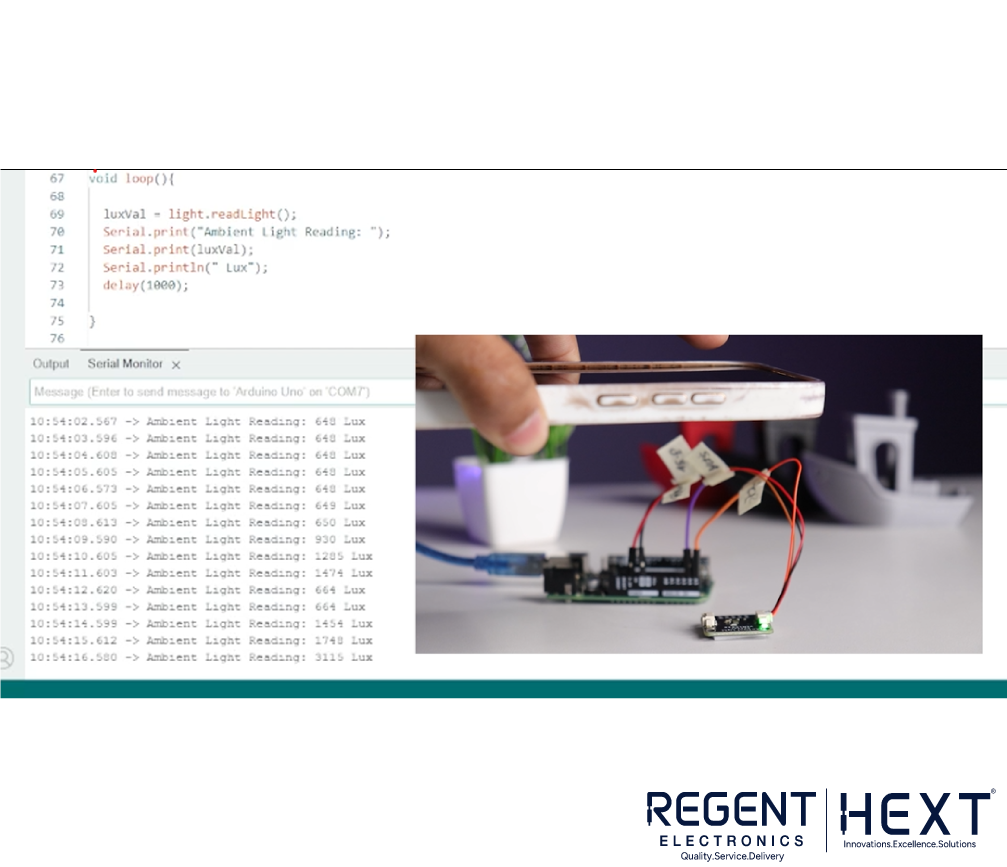
2. SmartElex Imaging Sensor (VEML 6030)

The VEML6030 is a high-accuracy ambient light sensor with an I2C interface and a lux range of 0 to 120,000.
Interfacing Steps:

- Connect the sensor using the I2C connector.
- Install the VEML6030 library.
- Upload example code for light detection.
- Open the serial monitor to observe light intensity changes.
3. SmartElex IR/Line Sensor (QRE1113)
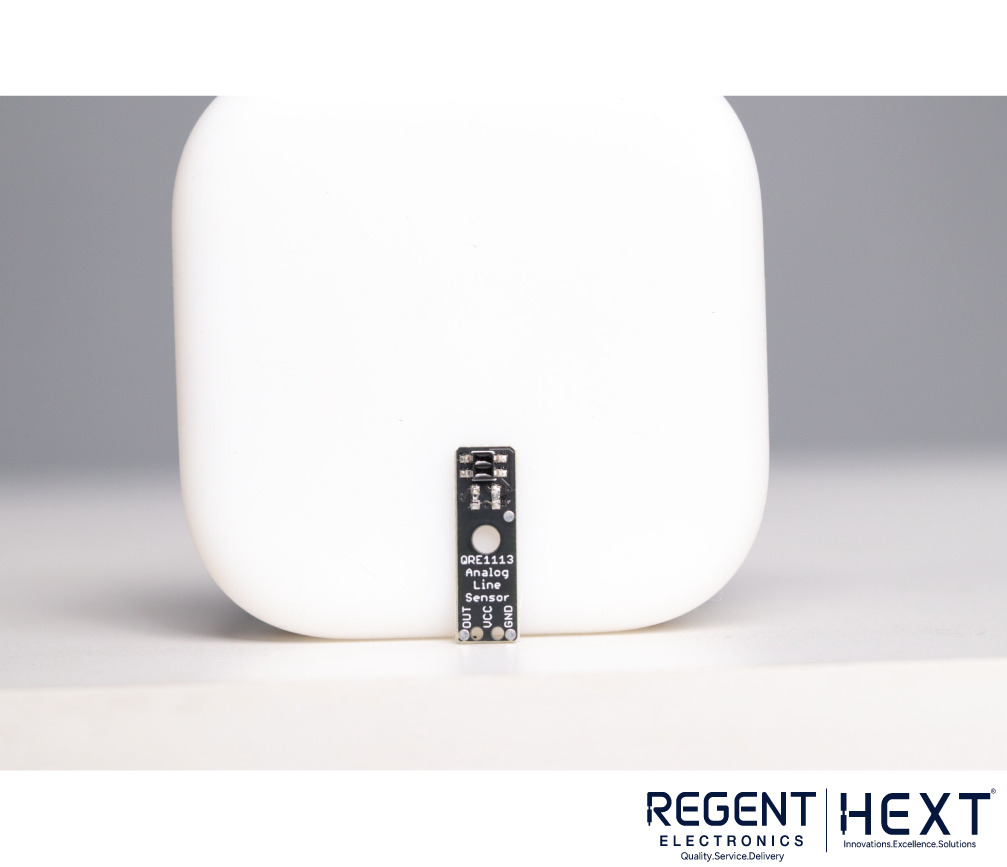
A low-power consumption IR sensor that operates up to 5V.
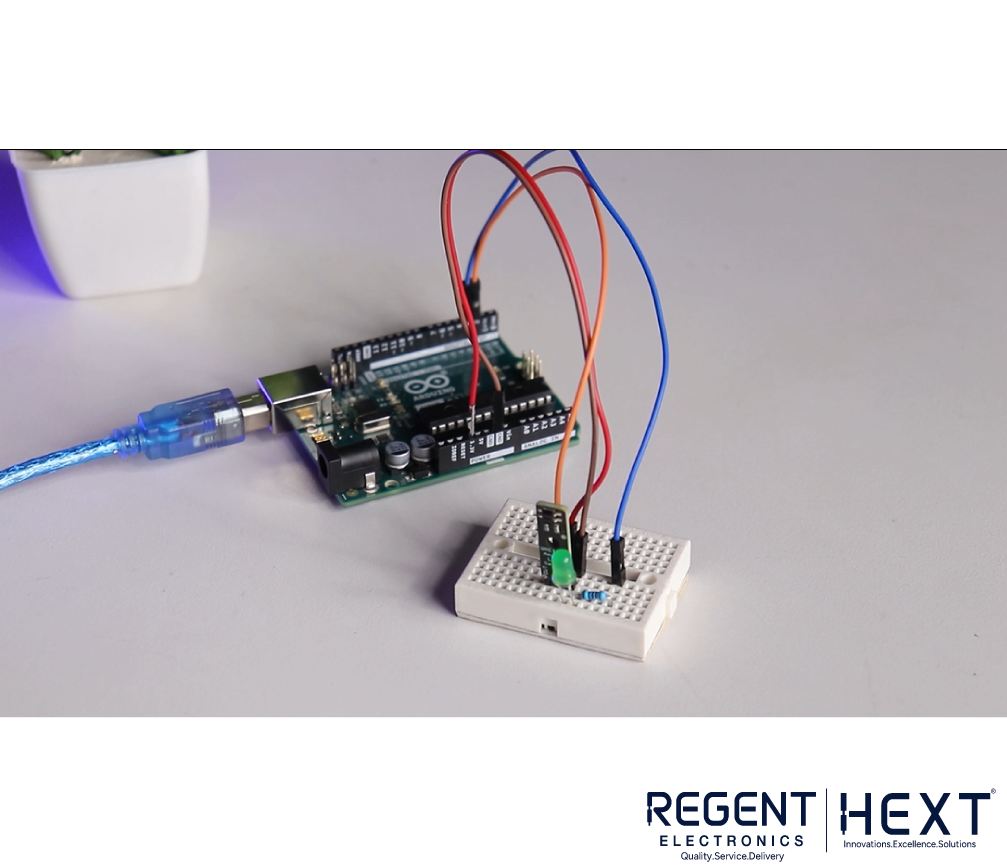
Connections:
- VCC → 3.3V
- GND → GND
- OUT → Pin 2 (Arduino)
Sample Code:
#define sensor 2
#define buzzer 4
#define red 5
#define green 3
void setup() {
Serial.begin(9600);
pinMode(sensor, INPUT);
pinMode(buzzer, OUTPUT);
pinMode(green, OUTPUT);
pinMode(red, OUTPUT);
}
void loop() {
bool value = digitalRead(sensor);
Serial.print(value);
if (value == 0) {
digitalWrite(buzzer, HIGH);
digitalWrite(green, HIGH);
digitalWrite(red, LOW);
} else {
digitalWrite(buzzer, LOW);
digitalWrite(green, LOW);
digitalWrite(red, HIGH);
}
}
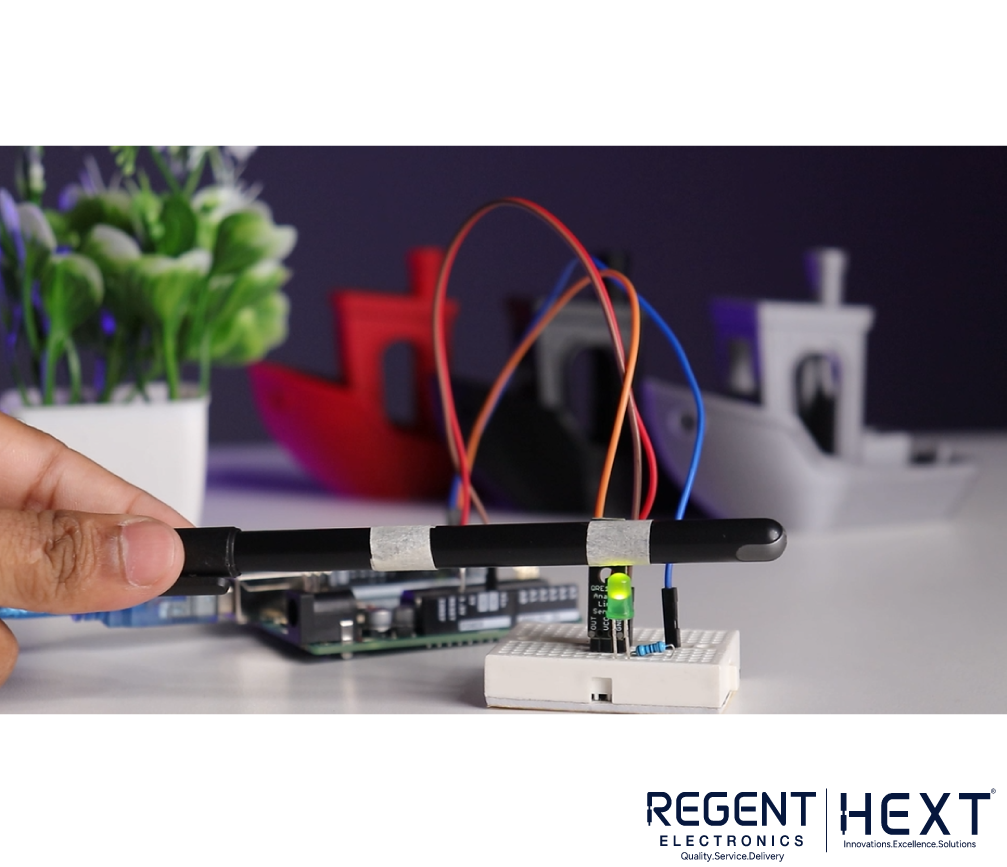
This setup enables the sensor to detect white or black strips on a surface and trigger an LED response.
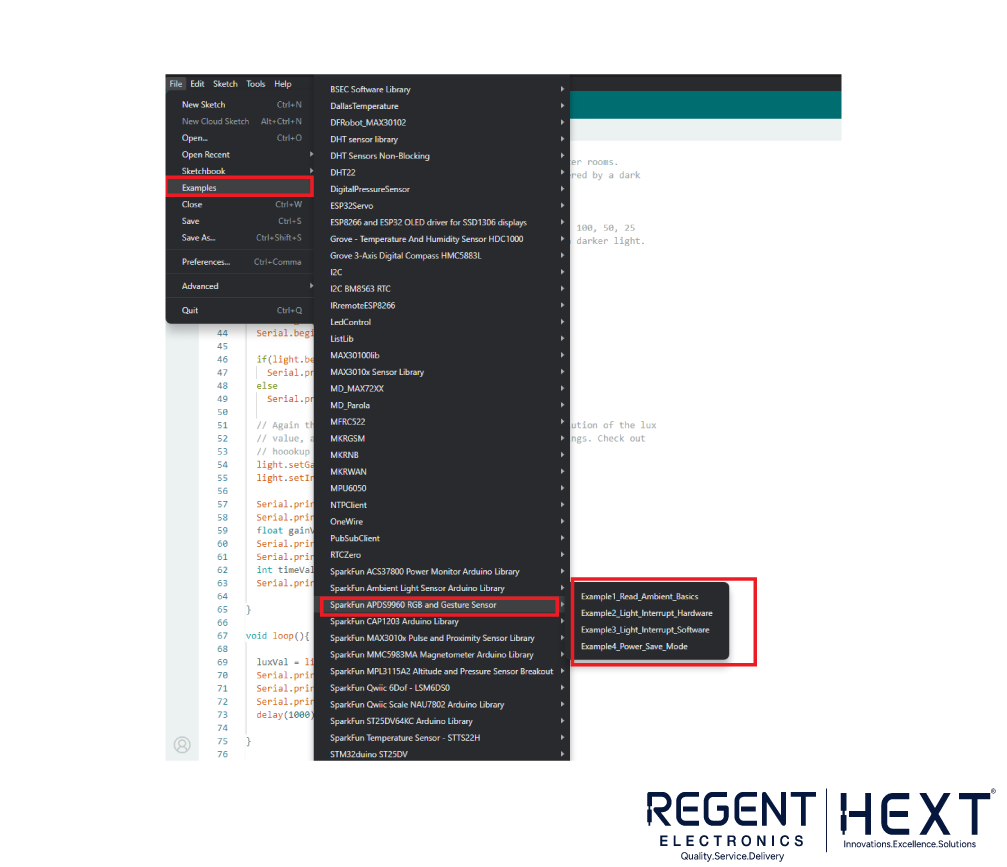
4. SmartElex Distance Sensor (APDS 9960)
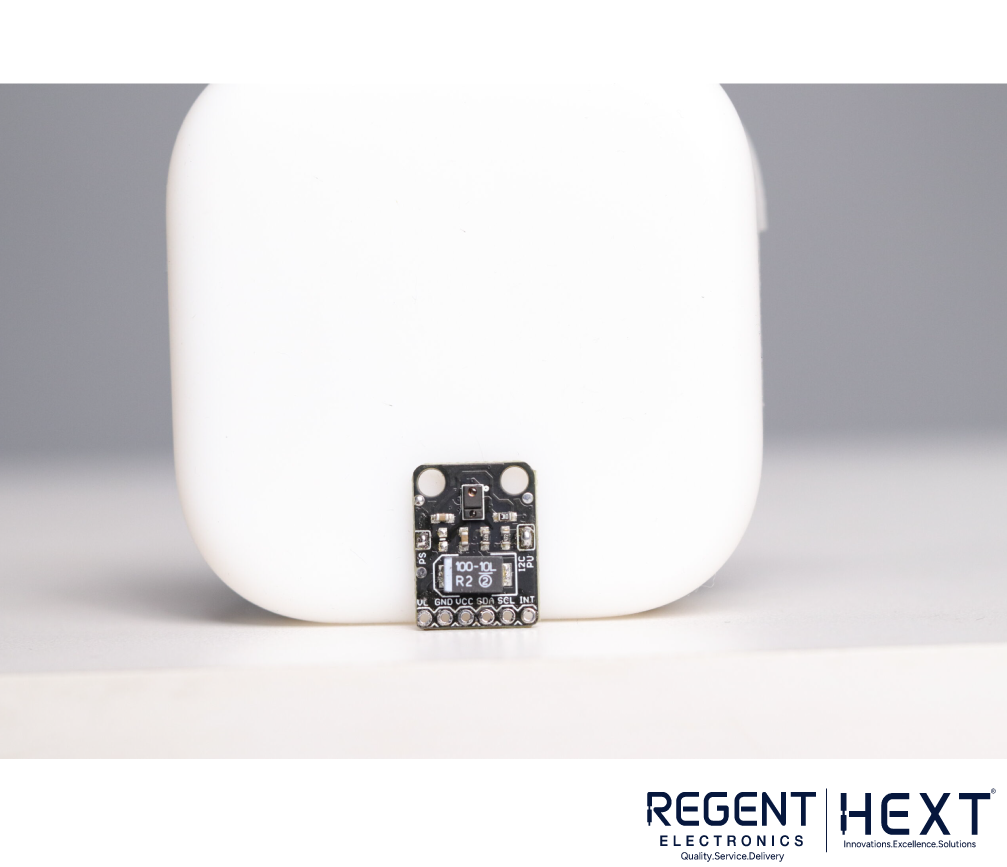
This sensor detects six gestures and features a built-in proximity sensor.
Connections:
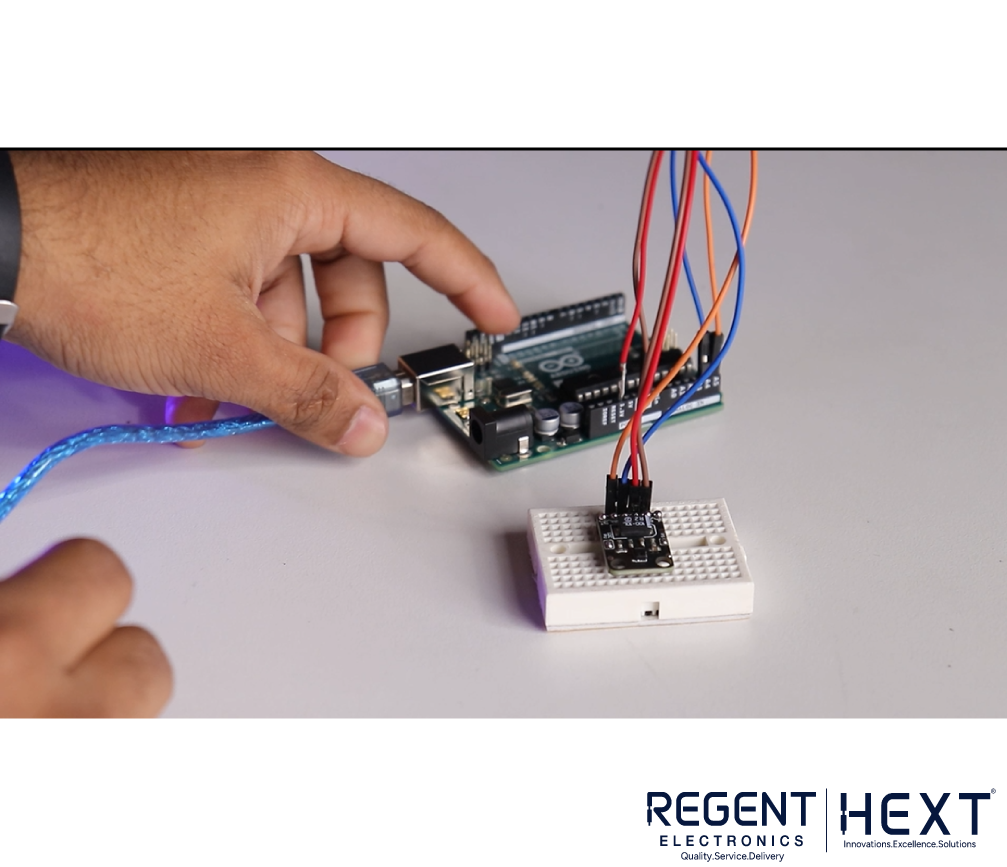
- VL → 3.3V
- GND → GND
- VCC → VCC
- SDA → SDA
- SCL → SCL
- INT → Interrupt Pin
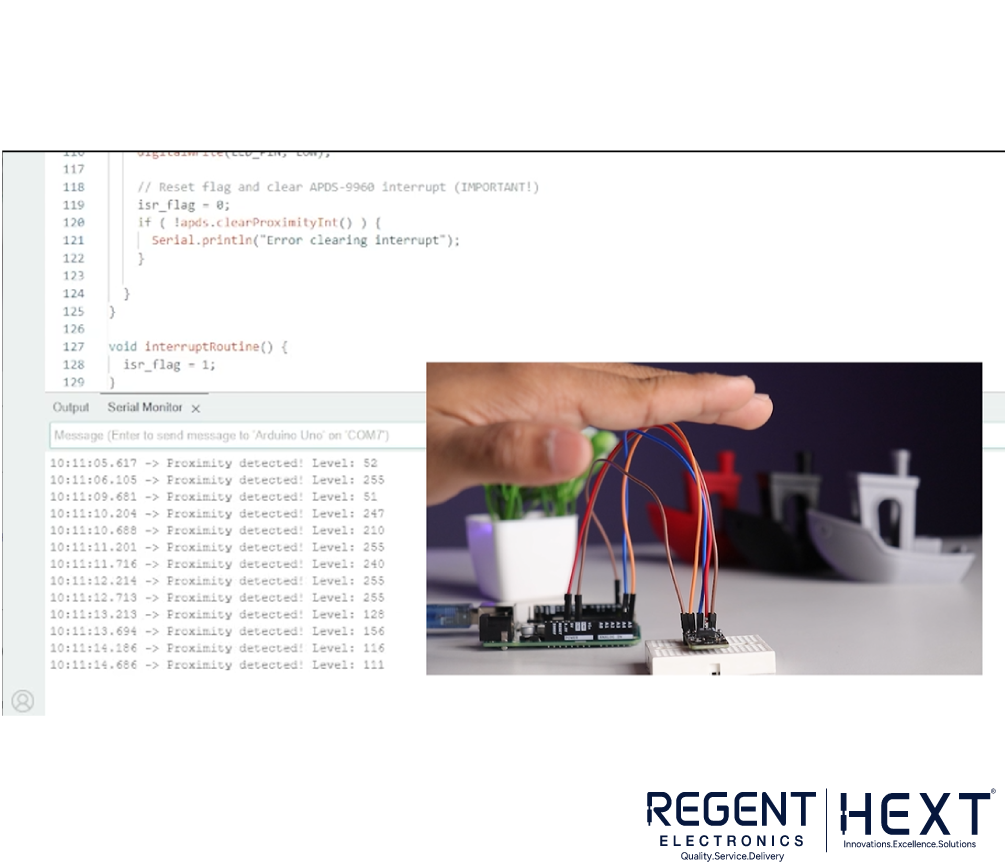
Download the APDS9960 library, upload the proximity detection code, and monitor readings through the serial monitor.
5. SmartElex RFID Tag (ST25DV64KC)
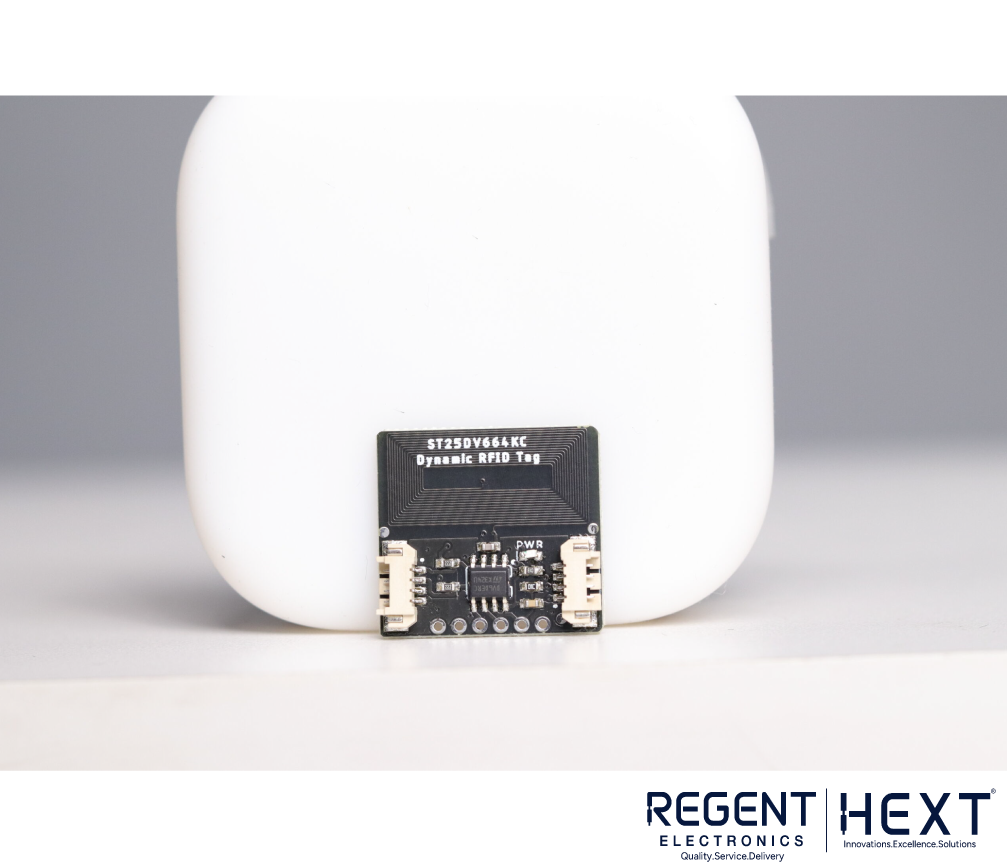
This RFID tag provides long data retention (40 years) with a supply range of 1.8V to 5.5V.
Interfacing Steps:
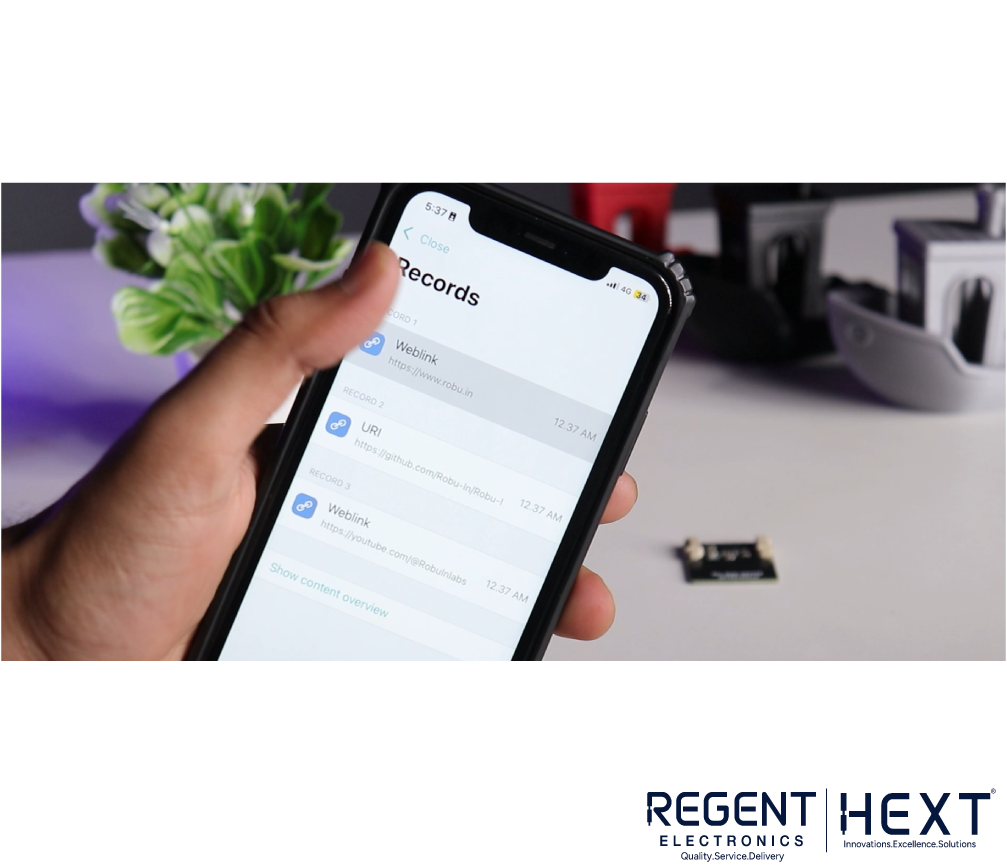
- Connect I2C pins to the Arduino.
- Install the ST25DV64KC library.
- Open the example for text, Wi-Fi, or URI writing.
- Upload the code and verify the RFID tag using an NFC scanner.

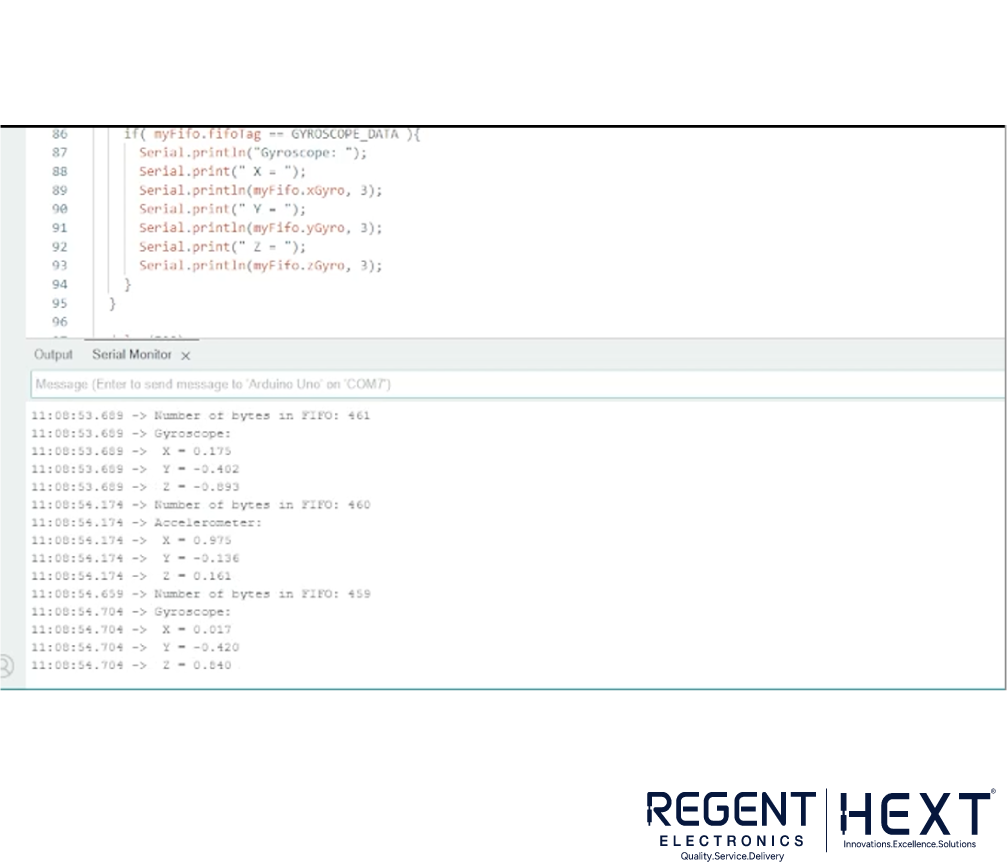
6. SmartElex Movement Sensor (LSM 6DSO)
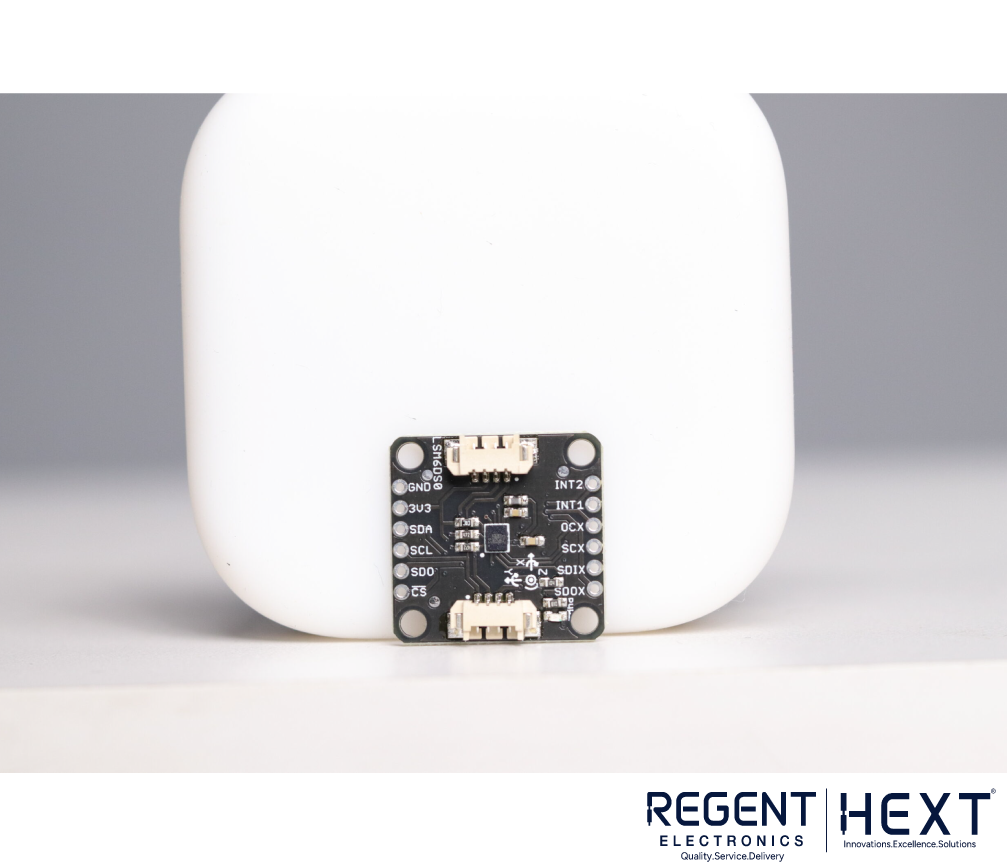
Detects shock, tilt, tap, and double-tap events.
Interfacing Steps:
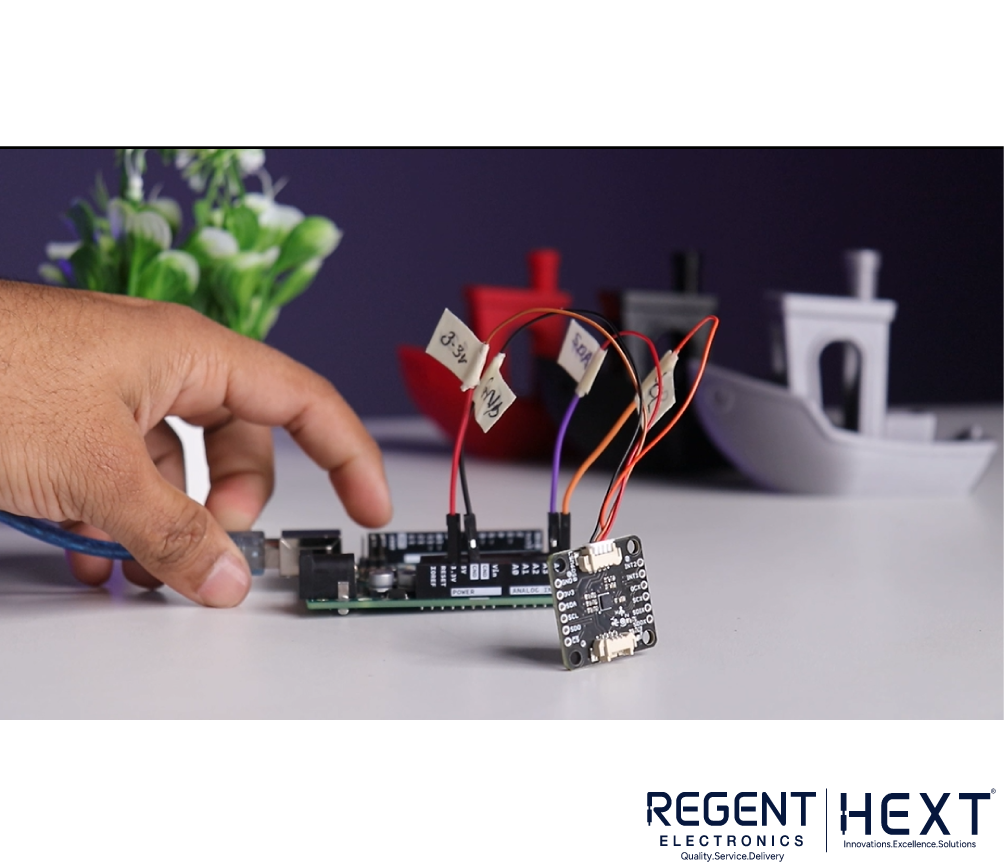
- Connect I2C pins to the board.
- Install the LSM6DSO library.
- Upload the sample code.
- Open the serial monitor to observe movement data.
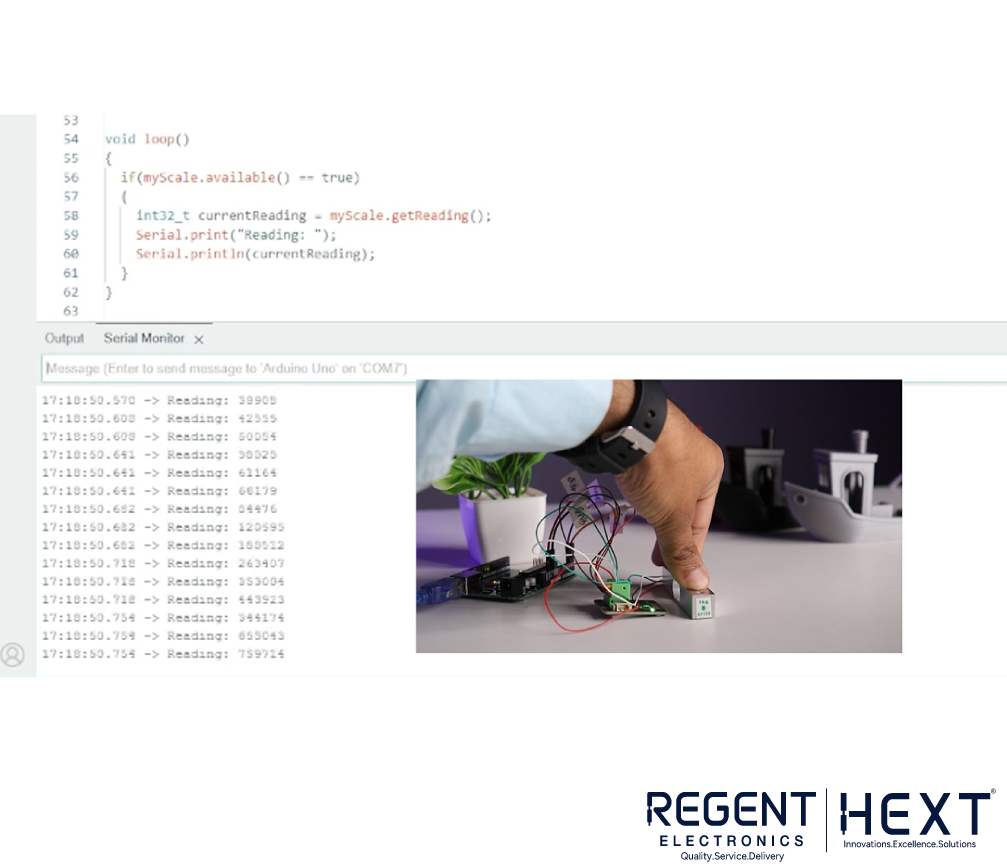
7. SmartElex Flex/Force Sensor (NAU7802)
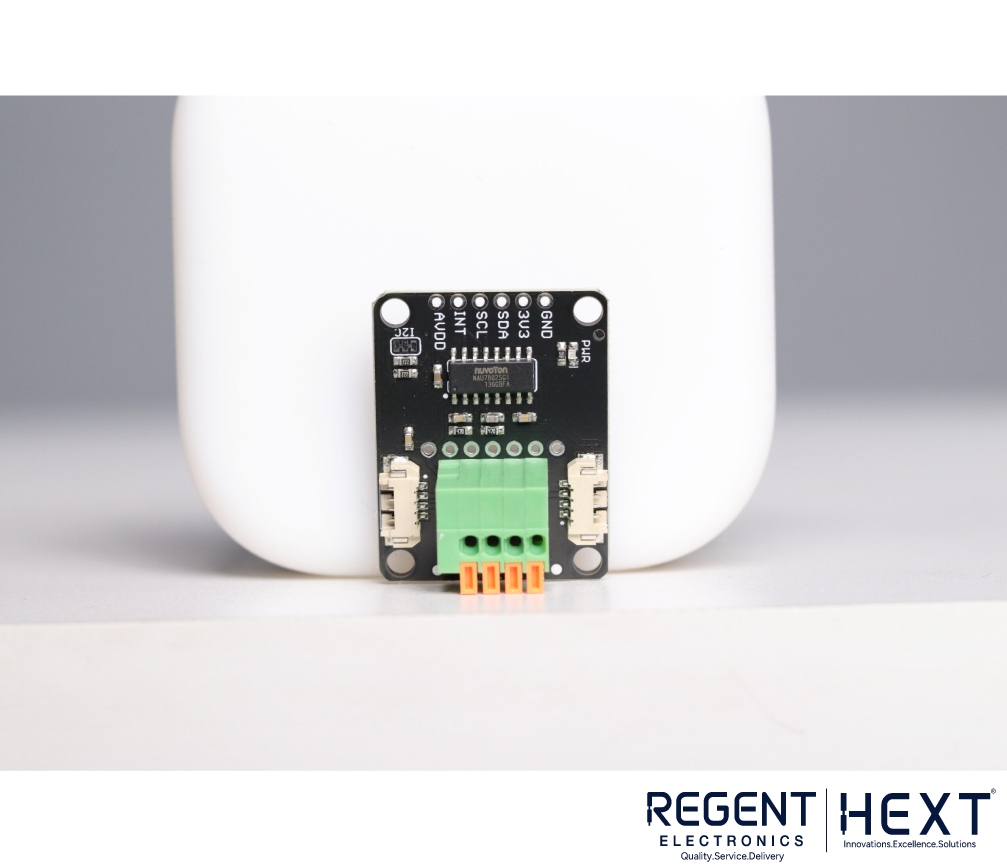
Provides 24-bit ADC precision and is commonly used in strain gauges and weight measurement applications.
Interfacing Steps:
- Use I2C pins to connect the sensor to Arduino.
- Install the NAU7802 library.
- Upload the example code and observe data readings.
8. SmartElex Current Sensor (ACS37800)
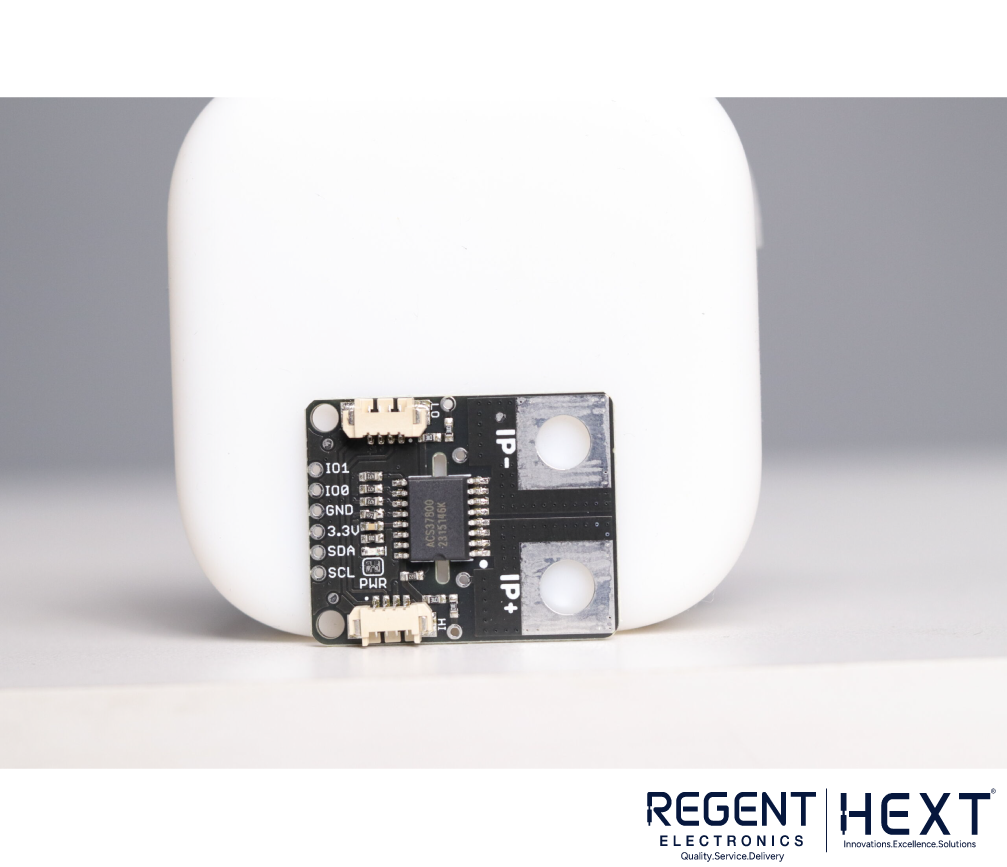
Measures 0 to 90A with separate readings for RMS and instantaneous values.
Connections:
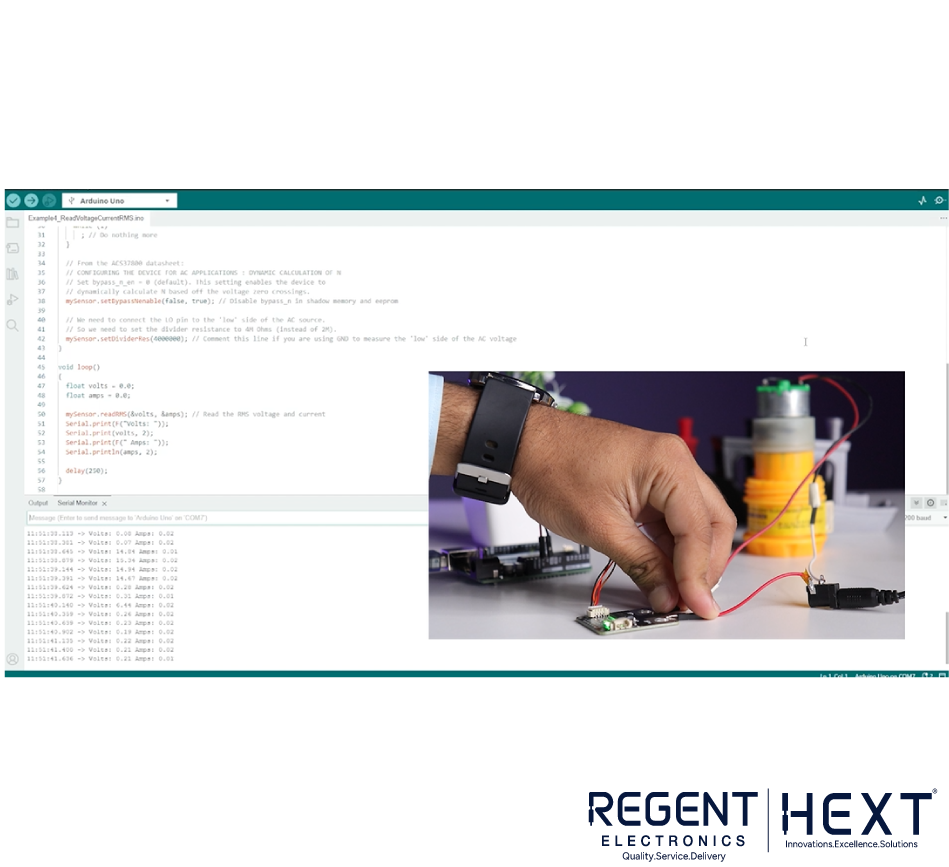
- I2C pins to Arduino.
- Install ACS37800 library.
- Upload power measurement code.
- Connect +IP to supply end and -IP to load end.
Ensure proper wiring to get accurate readings.
Conclusion
SmartElex sensors offer high accuracy, easy interfacing (mostly I2C), and reliable performance. With readily available libraries and affordable pricing, these sensors are a great choice for various electronic projects. This guide has covered how to interface, program, and test these sensors, enabling you to integrate them seamlessly into your projects.
For more updates and tutorials, stay connected with Regent Electronics!
Happy Experimenting! 🚀