
Arduino Uno: A Comprehensive Guide by Regent Electronics
If you are into electronics or interested in creating your own projects, you must have come across the term “Arduino.” But have you heard about the Arduino Uno? Whether you’re a beginner or a professional, the Arduino Uno is a versatile microcontroller that you can use to bring your creative ideas to life. In this blog, we will dive deep into the world of Arduino Uno, covering its features, specifications, programming, and much more!
What is Arduino Uno?

Arduino Uno is an open-source microcontroller board based on the ATmega328P chip. Developed by the team at Regent Electronics, it has become one of the most popular choices for both hobbyists and professionals working with embedded systems and microcontrollers.
The Arduino Uno R3, the third and latest revision, features a simple yet powerful design, ideal for building a wide range of electronic projects, from home automation to robotics. What makes Arduino Uno stand out is its ease of use and extensive community support, which makes it accessible to anyone, regardless of technical expertise.
Key Features of Arduino Uno
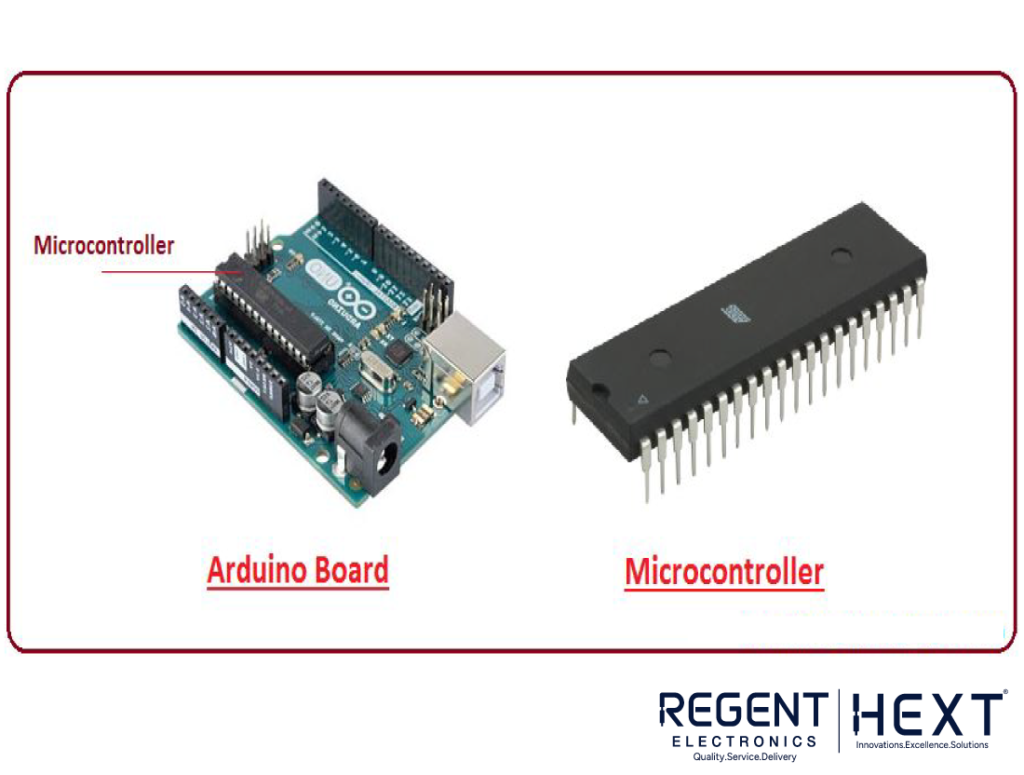
- Microcontroller: The board is powered by the ATmega328P, an 8-bit AVR microcontroller that operates at 16 MHz, offering good performance for most applications.
- I/O Pins: The Arduino Uno offers 14 digital I/O pins (6 of which can be used for PWM output), 6 analog input pins, and several other pins dedicated to serial communication and power management.
- Built-in LED: It features a built-in LED connected to pin 13, allowing users to quickly test and debug their code.
- USB Interface: The Arduino Uno comes with a USB interface, making it simple to connect the board to your computer for programming and serial communication.
- Open-Source: As an open-source platform, the hardware and software are freely available, and users can modify and customize them to meet specific project requirements.
- Integrated Development Environment (IDE): The Arduino IDE is available for free, making it easy to write, compile, and upload code to the Arduino Uno.
Arduino Uno Specifications
- Microcontroller: ATmega328P (8-bit)
- Operating Voltage: 5V
- Recommended Input Voltage: 7-12V
- Analog Input Pins: 6 (A0-A5)
- Digital I/O Pins: 14 (6 of which can provide PWM output)
- Flash Memory: 32 KB (0.5 KB used by bootloader)
- SRAM: 2 KB
- EEPROM: 1 KB
- Clock Speed: 16 MHz
- DC Current per I/O Pin: 40 mA
- DC Current on 3.3V Pin: 50 mA
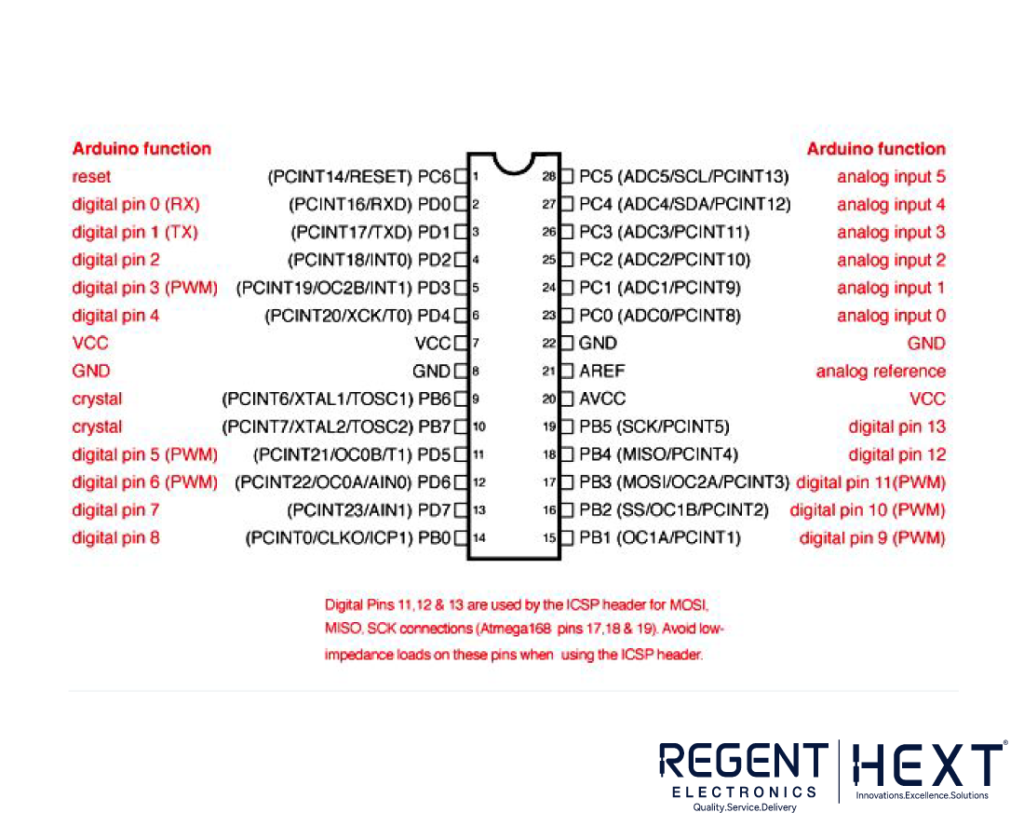
Arduino Uno Pin Diagram

The Arduino Uno board features several essential pins for various applications, which are shown in the diagram below:
- Power Pins: These pins provide various voltage outputs and include the 5V, 3.3V, Vin, and GND pins.
- Digital I/O Pins: These 14 pins can be configured as either input or output. Some of these pins are also capable of Pulse Width Modulation (PWM).
- Analog Pins: The board has 6 analog pins (A0 to A5) which can be used for reading analog values.
- Serial Communication Pins: Pin 0 (Rx) and Pin 1 (Tx) are used for serial communication.
- Reset Pin: The reset pin can be used to reset the board and start the program from the beginning.

Getting Started with Arduino Uno Programming
Programming the Arduino Uno is straightforward, thanks to the Arduino IDE. You can write code using C/C++ languages, upload it to the board, and start building your projects. To get started, here’s an example code that blinks the built-in LED:
cpp
CopyEdit
void setup() {
pinMode(LED_BUILTIN, OUTPUT);
}
void loop() {
digitalWrite(LED_BUILTIN, HIGH); // Turn the LED on
delay(1000); // Wait for 1 second
digitalWrite(LED_BUILTIN, LOW); // Turn the LED off
delay(1000); // Wait for 1 second
}
Arduino Uno Applications
The Arduino Uno can be used in various real-world applications such as:
- Home Automation: Build smart home systems to control lights, fans, and other appliances remotely.
- Robotics: Use Arduino Uno to create robots that can move, sense, and interact with their environment.
- Embedded Systems: Develop custom devices for automation, security, and control systems.
- Digital Electronics: Create digital circuits to control external components like LEDs, motors, and sensors.
- IoT Projects: Integrate Arduino Uno with the Internet of Things (IoT) for smart devices and data collection systems.
Arduino Uno – Programming Environment (IDE)

The Arduino IDE is a powerful tool for writing and uploading code to the Arduino board. It supports multiple operating systems including Windows, MacOS, and Linux. The IDE provides an easy-to-use interface with built-in examples, making it beginner-friendly.
How to Connect Arduino Uno to Your PC
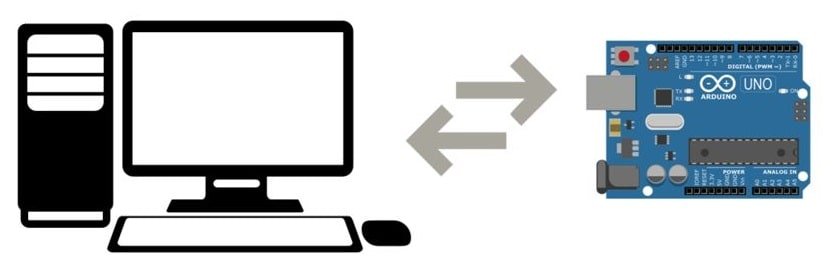
To connect the Arduino Uno to your computer:
- Install the Arduino IDE from the official Arduino website.
- Use a USB cable to connect the Arduino Uno to your PC.
- Open the Arduino IDE and select the correct board and port under the Tools menu.
- Upload a simple sketch, such as the Blink example, and watch the built-in LED blink!
Why Choose Arduino Uno?

The Arduino Uno stands out due to its simplicity, affordability, and vast community support. Its open-source nature allows you to modify the hardware and software, giving you complete freedom to create custom solutions. Whether you’re an absolute beginner or a seasoned professional, the Arduino Uno offers endless possibilities for electronics and microcontroller-based projects.
Conclusion
At Regent Electronics, we offer high-quality Arduino Uno boards and accessories for your DIY electronics projects. With its versatility, ease of use, and affordability, the Arduino Uno is an excellent choice for anyone interested in electronics and programming. Start your project today and bring your ideas to life with Arduino Uno!
For more information on Arduino Uno and related products, visit Regent Electronics or browse our catalog of microcontroller boards and accessories to kickstart your next project.