
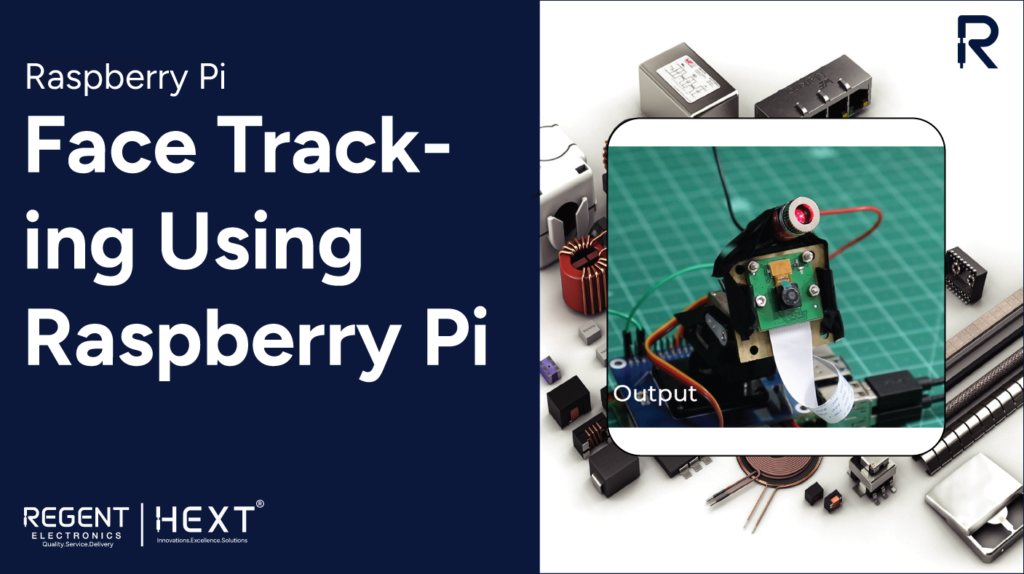
Face Tracking Using Raspberry Pi
Introduction
Face tracking is an exciting application of computer vision and robotics. In this tutorial, we will build a simple face-tracking device using Raspberry Pi. This project enables real-time face tracking, where the system moves in the direction of the detected face.
Let’s explore the required components, setup, and implementation details.
Project Overview
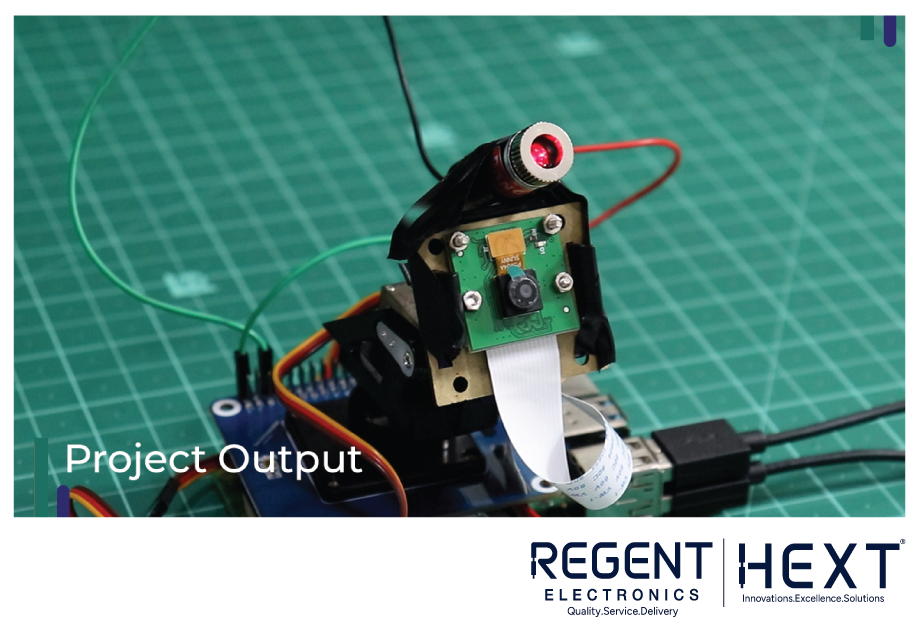
This face-tracking device will utilize a pan-tilt mechanism to follow a detected face. Whenever you design a mechatronic system, the first step is setting up the structure. We are using a Waveshare pan-tilt module, but you can also 3D print your own custom structure.
Components Required
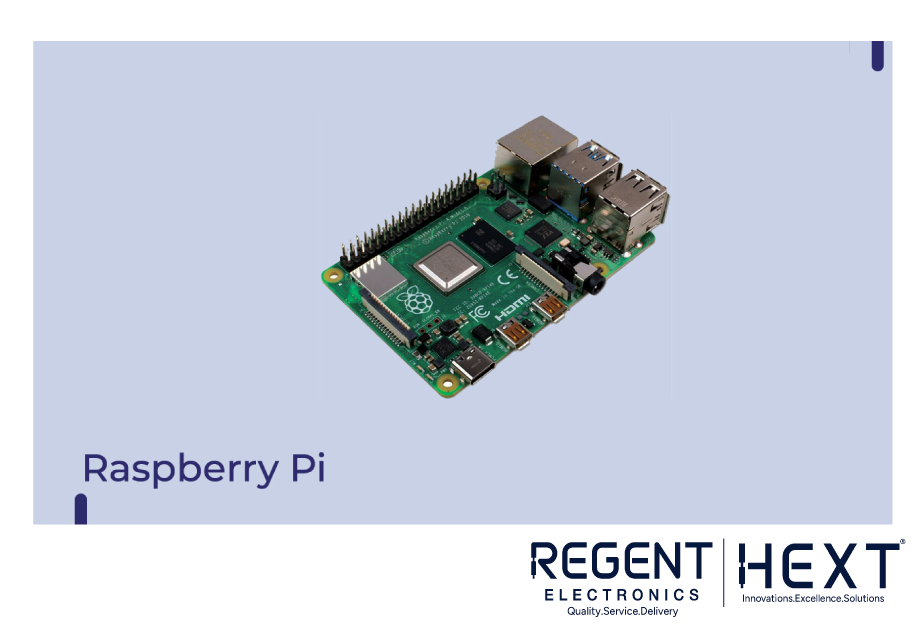
- Raspberry Pi 4B x1
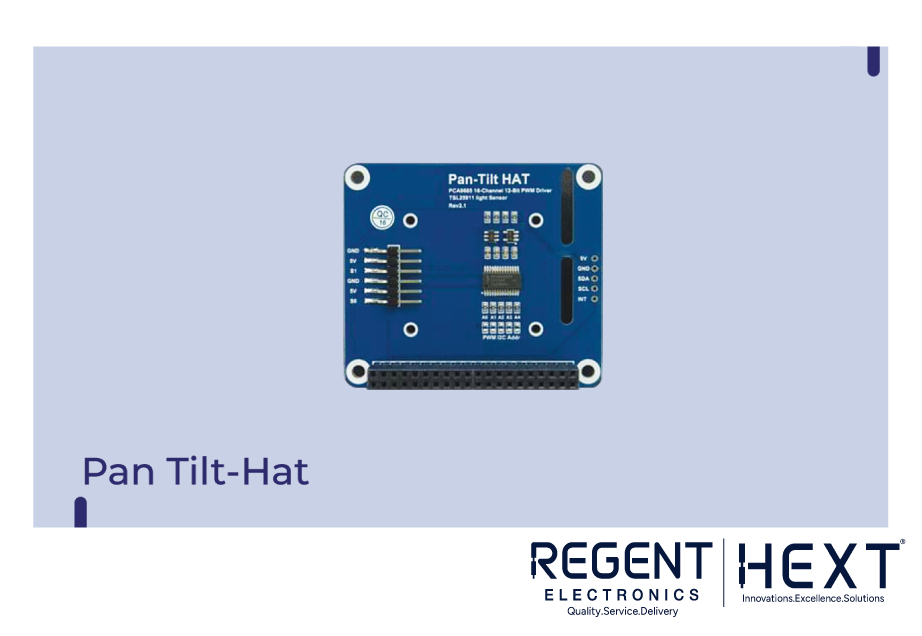
- Waveshare Pan-Tilt HAT x1
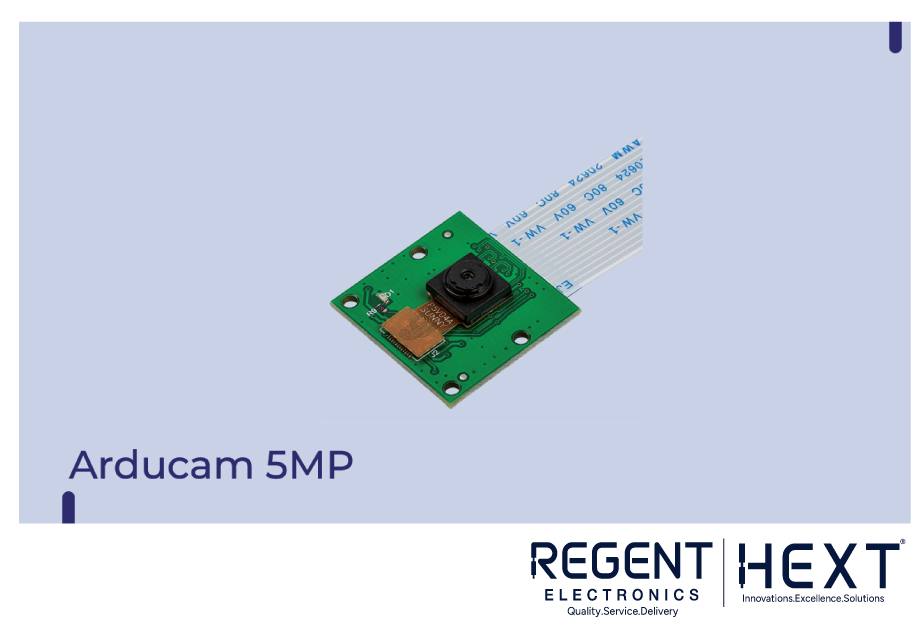
- Raspberry Pi Camera Module x1
Face Tracking Code
Below is the Python script to perform real-time face tracking using OpenCV and Raspberry Pi:
import numpy as np
import cv2
import time
import picamera
import RPi.GPIO as GPIO
from PCA9685 import PCA9685
pwm = PCA9685()
pwm.setPWMFreq(50)
faceCascade = cv2.CascadeClassifier(‘haarcascade_frontalface_default.xml’)
cap = cv2.VideoCapture(0)
cap.set(3, 640) # Set Width
cap.set(4, 480) # Set Height
current_PAN = 90
current_TILT = 20
pwm.setRotationAngle(1, 180) # PAN
pwm.setRotationAngle(0, current_TILT) # TILT
while True:
ret, img = cap.read()
gray = cv2.cvtColor(img, cv2.COLOR_BGR2GRAY)
faces = faceCascade.detectMultiScale(
gray,
scaleFactor=1.2,
minNeighbors=5,
minSize=(20, 20)
)
for (x, y, w, h) in faces:
cv2.rectangle(img, (x, y), (x + w, y + h), (255, 0, 0), 2)
if x > 240:
pwm.setRotationAngle(1, current_PAN) # PAN
current_PAN -= 2
elif x < 220:
pwm.setRotationAngle(1, current_PAN) # PAN
current_PAN += 2
if y > 140:
pwm.setRotationAngle(0, current_TILT) # TILT
current_TILT += 2
elif y < 60:
pwm.setRotationAngle(0, current_TILT) # TILT
current_TILT -= 2
cv2.imshow(‘Face Tracking’, img)
if cv2.waitKey(30) & 0xFF == 27: # Press ‘ESC’ to exit
break
cap.release()
cv2.destroyAllWindows()
How It Works
- The script initializes the Raspberry Pi camera and loads a pre-trained face detection model using OpenCV.
- The system continuously captures frames and detects faces.
- The pan-tilt mechanism adjusts the camera’s position to center the detected face.
- If no face is detected, the camera remains in its last position.
Conclusion
This project demonstrates how to implement real-time face tracking using Raspberry Pi and OpenCV. It is a great way to get started with AI-powered robotics. Try enhancing it by integrating additional features such as object tracking or voice commands.
Stay tuned for more projects from Regent Electronics!