
How to Control Devices Remotely with Arduino MKR WiFi 1010 Web Server?
With the increasing number of electrical devices in homes, offices, and industries, a centralized control system becomes essential for seamless management. A web-based central server is an efficient way to control multiple devices remotely. In this project, we will create a simple web server using the Arduino MKR WiFi 1010. This server will provide a web page featuring four buttons to toggle two relays connected to the Arduino MKR board, enabling remote control of electrical devices.
Components Required
- Arduino MKR WiFi 1010
- USB Micro Cable
- 2-Relay Module
- 5V 2A Adapter
- Jumper Wires
- MOSFET IRF540
- Resistors (1K & 10K)
- Breadboard
Circuit Diagram & Hardware Explanation
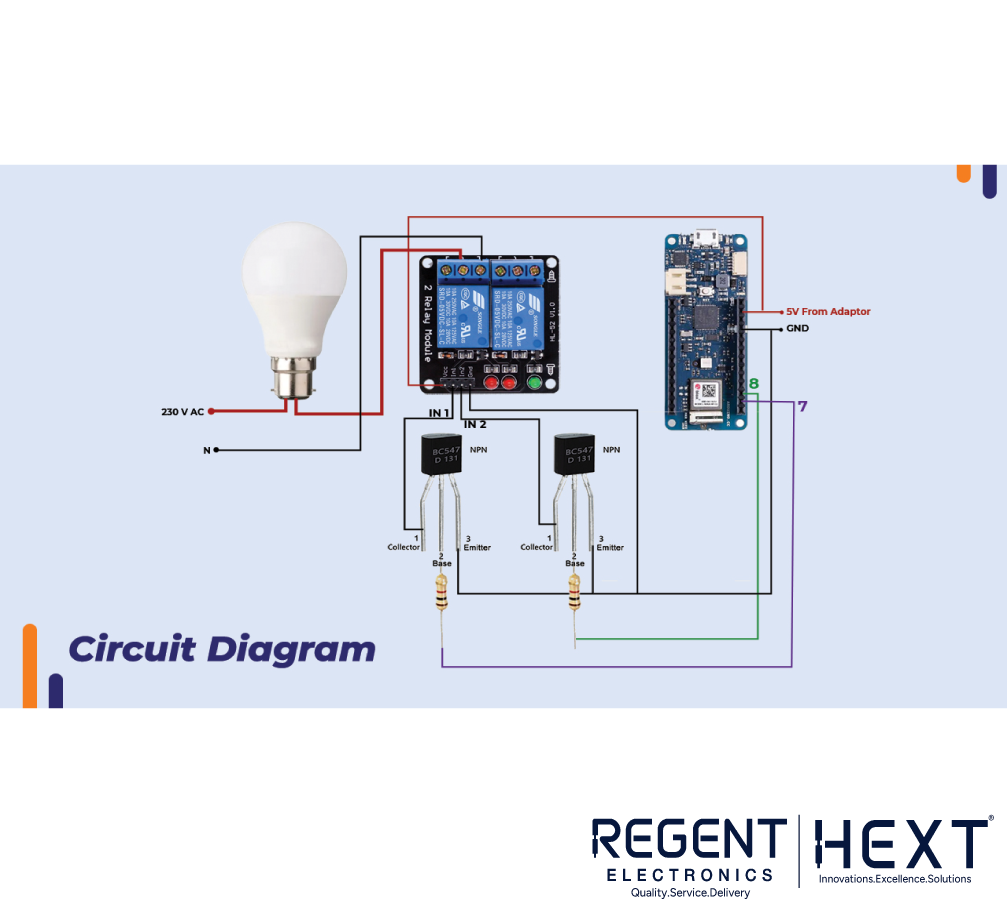
The relay module is interfaced with the Arduino MKR using a BC547 transistor. Since the Arduino MKR outputs 3.3V on digital pins, it is insufficient to turn off the relay. The relay requires a 0V signal to activate but does not switch off properly at 3.3V. The transistor acts as a switch, controlling the ground (0V) to the relay input, allowing efficient switching of the connected electrical device. The device is connected in series with the relay’s normally open (NO) switch, ensuring that 230V is delivered when the relay is activated.
Setting Up Arduino MKR WiFi 1010 with Arduino IDE
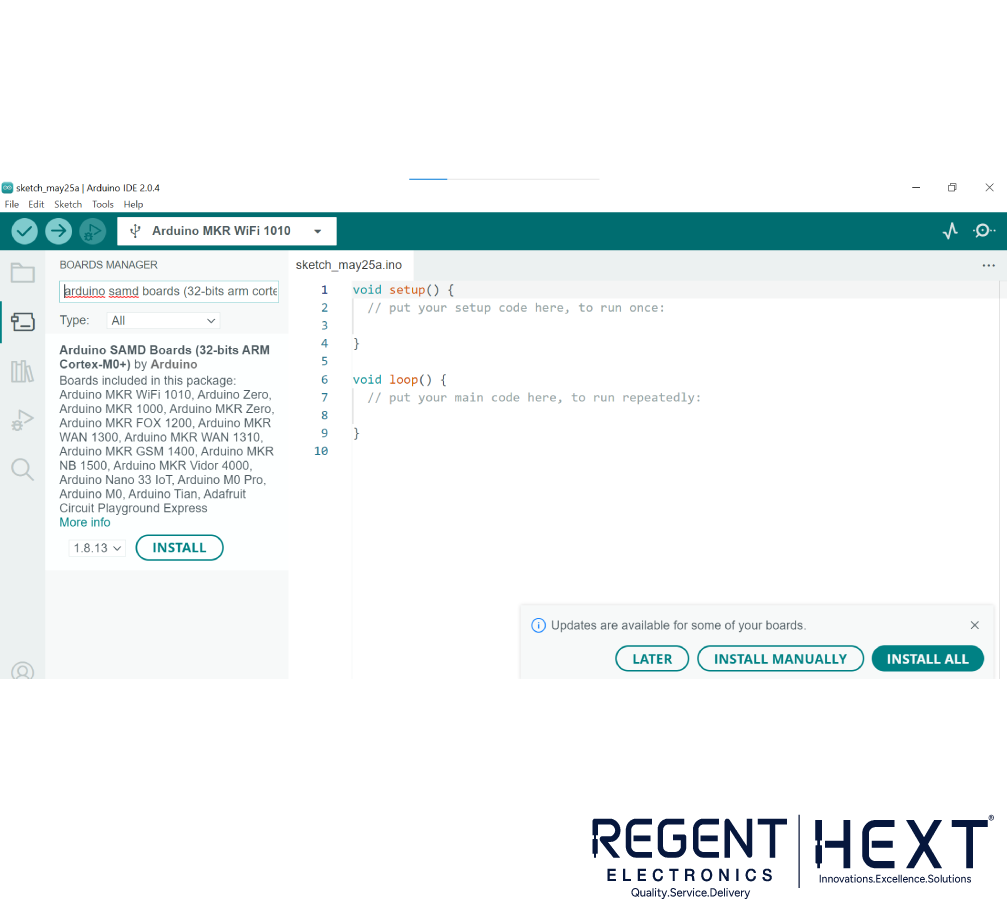
- Open Arduino IDE and navigate to Board Manager.
- Search for “Arduino MKR” and install the board package.
- Once installed, test the board by uploading a simple LED blink code (the onboard LED is connected to pin 6).
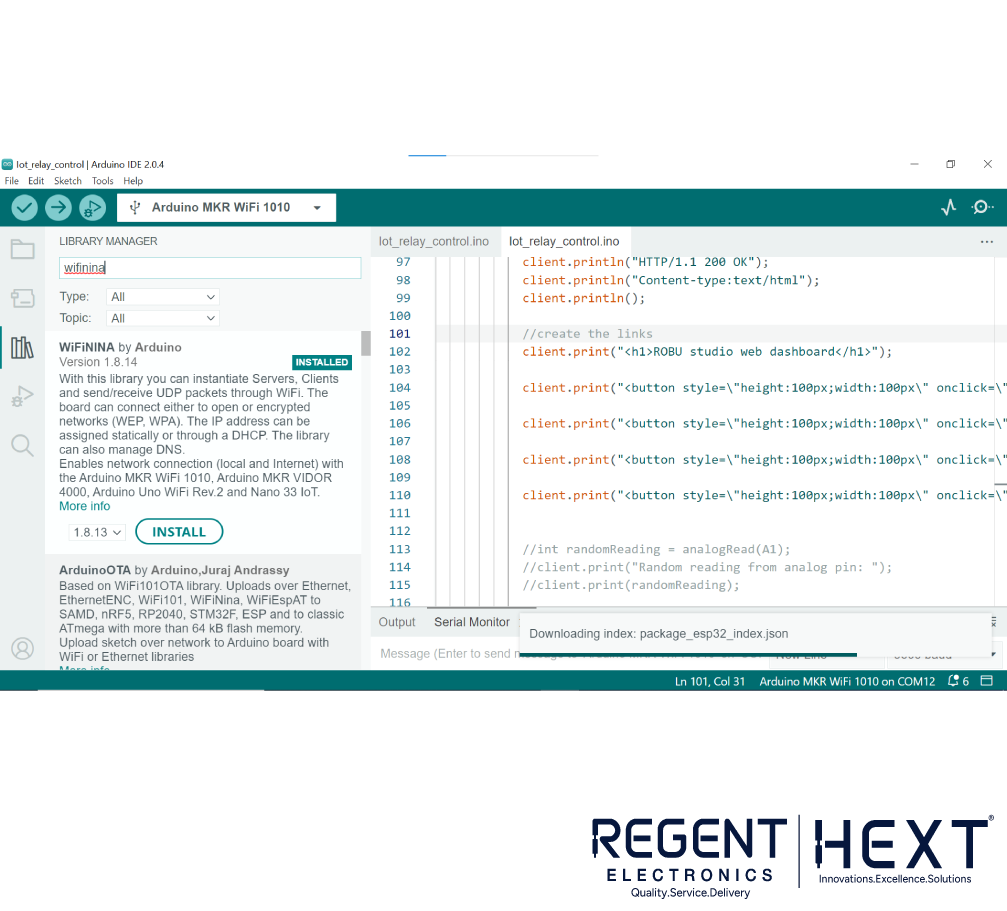
- Install the WiFiNINA library via the Library Manager for WiFi connectivity.
Uploading the Web Server Code
Before uploading the code, ensure that you have entered your WiFi SSID and password correctly.
#include <WiFiNINA.h>
char ssid[] = “your_SSID”;
char pass[] = “your_PASSWORD”;
int status = WL_IDLE_STATUS;
WiFiServer server(80);
WiFiClient client = server.available();
int bulb_pin = 7;
int fan_pin = 8;
void setup() {
Serial.begin(9600);
pinMode(bulb_pin, OUTPUT);
pinMode(fan_pin, OUTPUT);
while (!Serial);
enable_WiFi();
connect_WiFi();
server.begin();
printWifiStatus();
}
void loop() {
client = server.available();
if (client) {
printWEB();
}
}
void enable_WiFi() {
if (WiFi.status() == WL_NO_MODULE) {
Serial.println(“WiFi module failed!”);
while (true);
}
}
void connect_WiFi() {
while (status != WL_CONNECTED) {
Serial.print(“Connecting to SSID: “);
Serial.println(ssid);
status = WiFi.begin(ssid, pass);
delay(10000);
}
}
void printWEB() {
if (client) {
Serial.println(“New Client Connected”);
String currentLine = “”;
while (client.connected()) {
if (client.available()) {
char c = client.read();
Serial.write(c);
if (c == ‘\n’ && currentLine.length() == 0) {
client.println(“HTTP/1.1 200 OK”);
client.println(“Content-type:text/html”);
client.println();
client.print(“<h1>Device Control Panel</h1>”);
client.print(“<button onclick=\”window.location.href=’/H’\”>Turn On Bulb</button>”);
client.print(“<button onclick=\”window.location.href=’/L’\”>Turn Off Bulb</button><br>”);
client.print(“<button onclick=\”window.location.href=’/Y’\”>Turn On Fan</button>”);
client.print(“<button onclick=\”window.location.href=’/N’\”>Turn Off Fan</button>”);
client.println();
break;
}
if (currentLine.endsWith(“GET /H”)) digitalWrite(bulb_pin, HIGH);
if (currentLine.endsWith(“GET /L”)) digitalWrite(bulb_pin, LOW);
if (currentLine.endsWith(“GET /Y”)) digitalWrite(fan_pin, HIGH);
if (currentLine.endsWith(“GET /N”)) digitalWrite(fan_pin, LOW);
}
}
client.stop();
Serial.println(“Client Disconnected”);
}
}
Testing the Web Server
- Upload the code to the Arduino MKR WiFi 1010.
- Open the Serial Monitor and wait for the message “Attempting to connect to SSID”.
- Once connected, an IP address will be displayed.
- Connect your computer to the same WiFi network.
- Open a web browser, enter the displayed IP address, and press Enter.
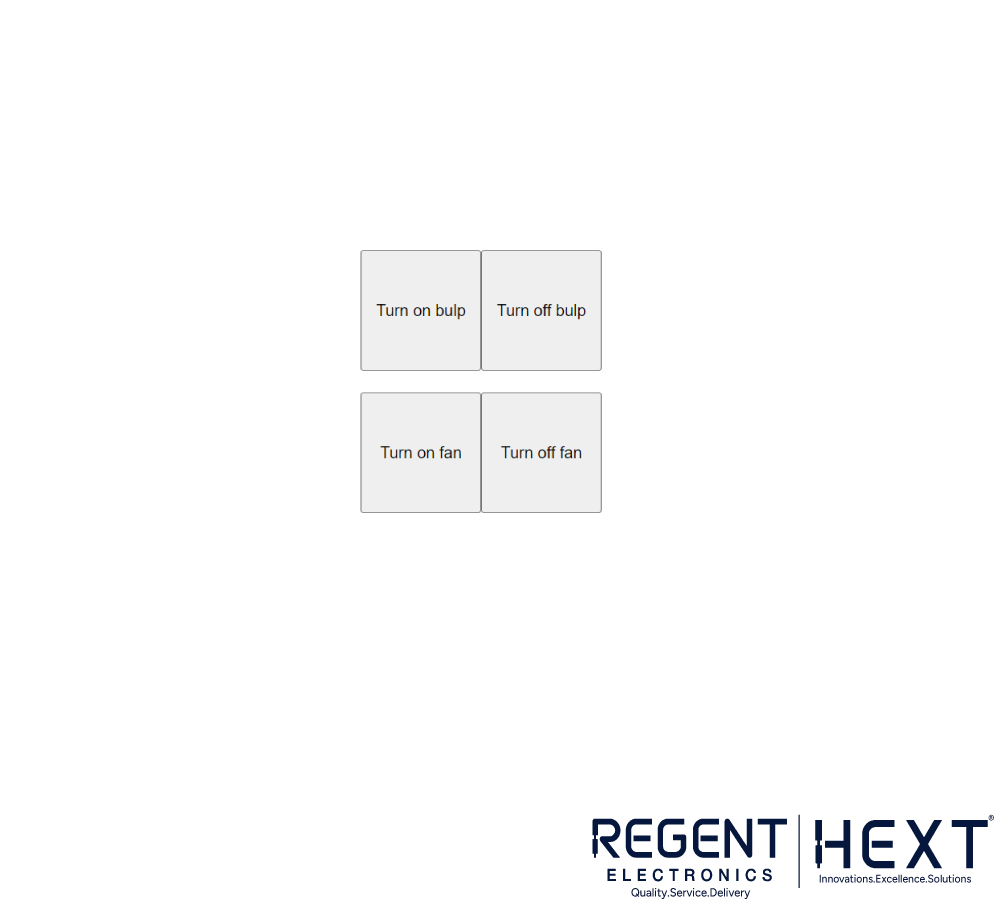
- A webpage with buttons to control the connected devices will appear.
- Click the buttons to turn the bulb and fan on or off.
Conclusion
Using the Arduino MKR WiFi 1010, we successfully created a web-based control system to manage electrical devices remotely. This project provides a simple yet effective solution for home automation, industrial automation, and smart office setups. If you have any queries, feel free to drop a comment. For more exciting projects, visit our YouTube channel.
Stay tuned for more innovative projects! 🚀