
OLED Display Module with Regulator: Revolutionize Your Projects with High-Quality Displays
What is OLED Technology?
OLED stands for Organic Light Emitting Diode, a display technology that has rapidly gained popularity due to its ability to produce vibrant colors, high contrast, and energy-efficient displays. OLED screens consist of thin organic films that emit light when an electric current passes through them. These films are sandwiched between two conductive layers, one of which is typically transparent. This unique construction makes OLED displays ideal for various devices such as smartphones, television screens, and portable gaming consoles.
In this blog, we’ll focus on the OLED display module with a regulator, which can be a game-changer for your DIY and professional projects. Whether you’re working on an Arduino-based project or a robot, this module offers impressive display features with ease of use.
About the OLED Display Module
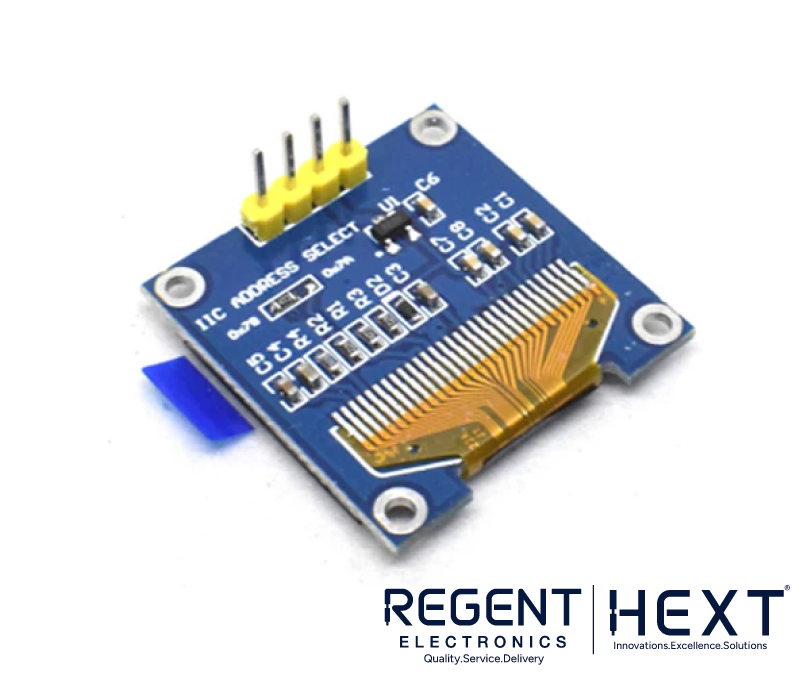
The OLED display module we’re discussing features a 0.96-inch monochrome display with a resolution of 128×64 pixels. It comes with a built-in SSD1306 controller and supports both SPI and I2C communication protocols. While both protocols are viable, we’ll focus on using the I2C protocol because it’s simpler and more efficient, requiring only 4 pins for operation.
One of the major advantages of an OLED display over traditional LCD displays is that it does not require a backlight, making it more energy-efficient and allowing for higher contrast and better visibility. The text size, font, and even non-monochromatic text color (for compatible displays) can be customized with ease, making the OLED display an ideal choice for many projects.
The OLED display with regulator operates on 5V DC, unlike the non-regulated version that uses 3.3V DC. This feature adds versatility, making it suitable for a wide range of applications.
How to Use the OLED Display Module

Step 1: Pin Connections
The OLED display module uses the I2C communication protocol, which requires just 4 pins: VCC, GND, SCL/SCK, and SDA. Here’s how you can wire it to your Arduino:
- VCC Pin: Connect to the 5V pin on the Arduino.
- GND Pin: Connect to the GND pin on the Arduino.
- SCL Pin: Connect to the SCL pin on the Arduino (for Arduino UNO, this is A5).
- SDA Pin: Connect to the SDA pin on the Arduino (for Arduino UNO, this is A4).
Alternatively, the I2C bus located above the AREF pins on your Arduino can also be used for communication. This setup allows you to interface the module with the Arduino and use it for your projects.
Step 2: Install Required Libraries
To interact with the OLED display module, you’ll need to install two essential libraries in the Arduino IDE:
- Adafruit GFX Library
- Adafruit SSD1306 Library
These libraries provide the necessary functions to control the OLED display effectively. After installing them, you can program your Arduino to interface with the OLED module seamlessly.
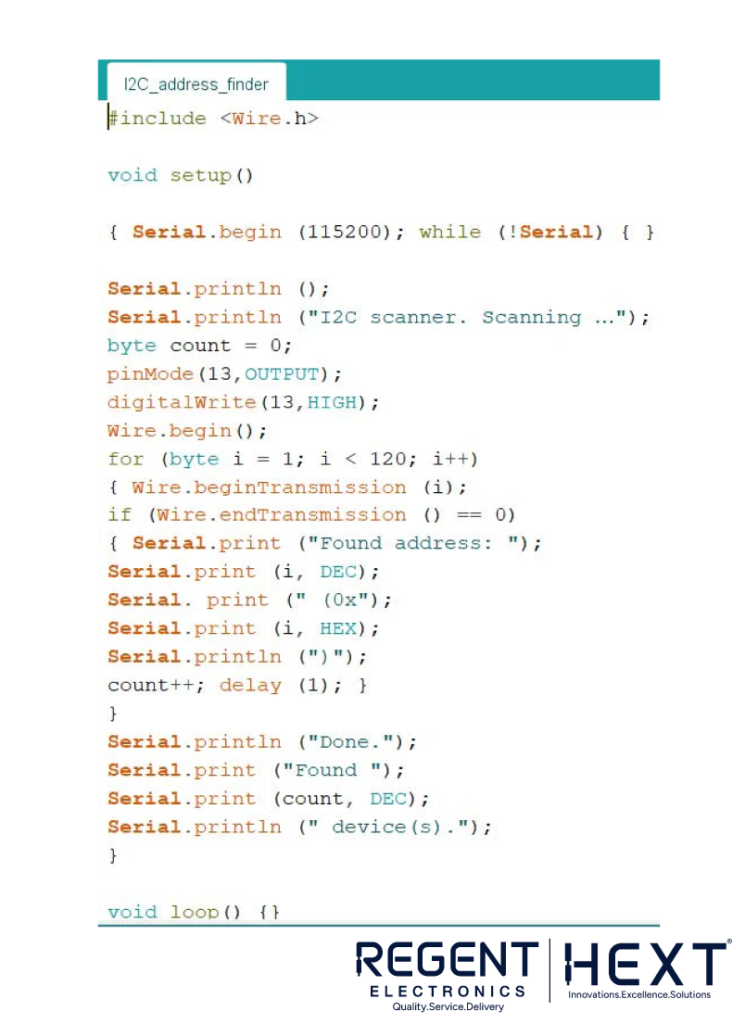
Step 3: Finding the I2C Address
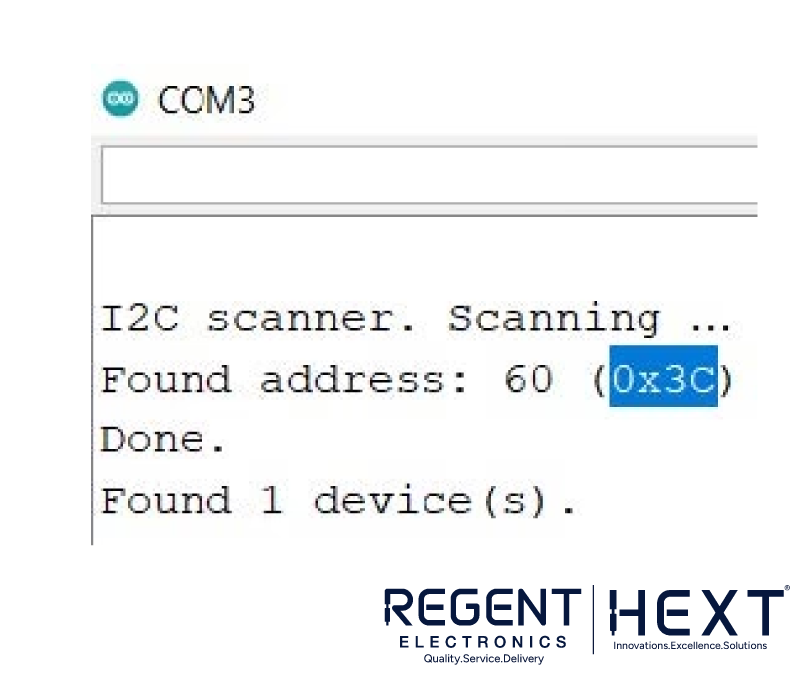
To find the I2C address of the module, you’ll need to upload a small code that will help you detect it. By doing so, you can ensure proper communication between the Arduino and the OLED display. In most cases, the I2C address for this module is 0x3C. The following code can be used to discover the I2C address:
cpp
CopyEdit
#include <Wire.h>
void setup() {
Serial.begin(115200);
Wire.begin();
byte error, address;
for(address = 1; address < 127; address++) {
Wire.beginTransmission(address);
error = Wire.endTransmission();
if (error == 0) {
Serial.print(“I2C device found at address 0x”);
Serial.println(address, HEX);
delay(500);
}
}
}
void loop() {}
Upload this code to your Arduino, and you should see the I2C address printed on the serial monitor.
Step 4: Displaying Text on the OLED
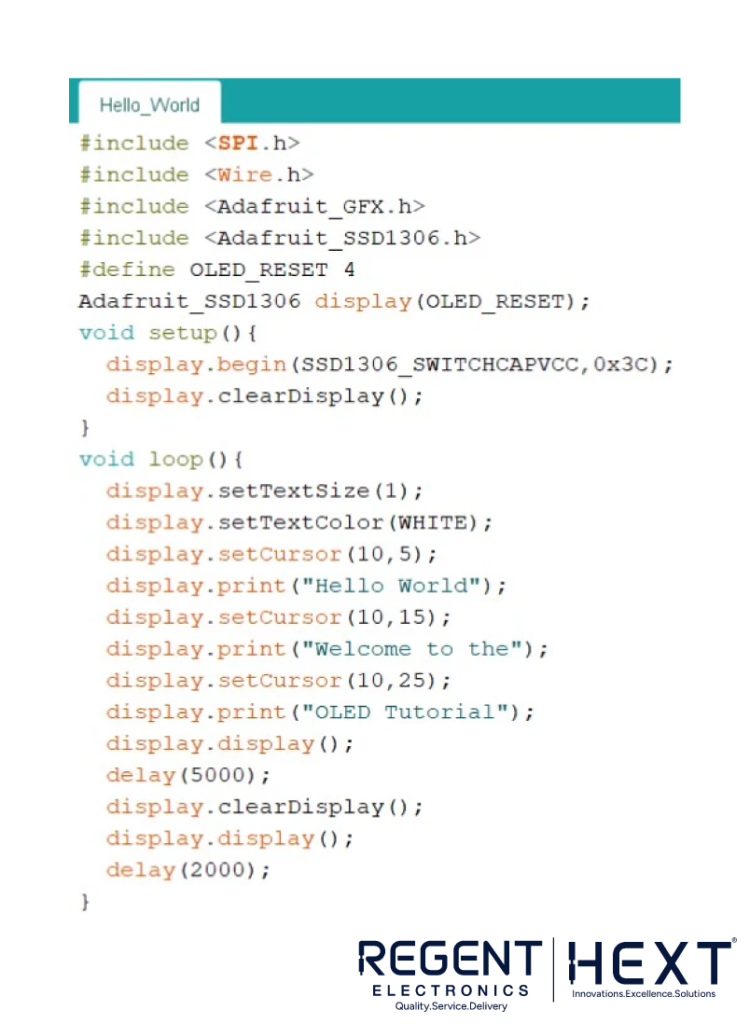
Now, it’s time to interact with the display! Here’s a simple code that will print the message “Hello World, Welcome to the OLED Tutorial” on the OLED screen.
cpp
CopyEdit
#include <Wire.h>
#include <Adafruit_GFX.h>
#include <Adafruit_SSD1306.h>
#define SCREEN_WIDTH 128
#define SCREEN_HEIGHT 64
#define OLED_RESET -1
Adafruit_SSD1306 display(SCREEN_WIDTH, SCREEN_HEIGHT, &Wire, OLED_RESET);
void setup() {
Serial.begin(115200);
// Initialize the display
if(!display.begin(SSD1306_I2C_ADDRESS, 0x3C)) {
Serial.println(F(“SSD1306 allocation failed”));
for(;;);
}
display.clearDisplay();
display.setTextSize(1);
display.setTextColor(SSD1306_WHITE);
display.setCursor(0, 0);
display.print(F(“Hello World”));
display.setCursor(0, 10);
display.print(F(“Welcome to the OLED Tutorial”));
display.display();
delay(5000);
}
void loop() {
// Nothing to do here
}
In this code, the display.display() function is crucial as it refreshes the screen to show the updated content. The message will be displayed for 5 seconds before the screen clears for 2 seconds, and the loop repeats.
Applications of the OLED Display Module
The OLED Display Module is versatile and can be used in a variety of applications, such as:
- Automation Projects: Display information in real time, such as status updates, sensor readings, and system alerts.
- Robotics Projects: Show error messages, system status, and other important data on the robot’s display.
- Home Appliances: Use OLED displays in washing machines, microwaves, and other home appliances to show settings or error codes.
- Portable Devices: Perfect for cameras, digital thermometers, and portable gadgets due to its small size and clear visibility.
- Consumer Electronics: Display essential information in electronic gadgets and small devices.
Why Choose the OLED Display from Regent Electronics?
At Regent Electronics, we offer high-quality OLED display modules with regulators for your projects. With a focus on reliability, ease of use, and superior performance, our OLED modules are ideal for a wide range of applications, from simple DIY electronics to more complex automation and robotics systems.
Shop now at Regent Electronics to get your hands on the best OLED Display Modules for your next innovative project. Our products come with comprehensive support and are perfect for hobbyists, students, and engineers alike.
Regent Electronics – Empowering Your Projects with Quality Components!
Explore a vast range of electronic components, sensors, and modules to power your projects. Visit Regent Electronics today and take your DIY electronics projects to the next level!