
Create Your Own Digital Spirit Level with Regent Electronics
Welcome to this exciting DIY project where we guide you step by step to build a Digital Spirit Level using simple and affordable components. A traditional spirit level helps determine whether a surface is horizontal or vertical. While useful, traditional levels can suffer from inaccuracies, difficulty in measuring various angles, and challenges when used on vibrating surfaces. This project aims to solve these issues by introducing a Digital Spirit Level with enhanced accuracy, multiple features, and ease of use.
Components Needed:
- Arduino Nano
- 0.96-inch OLED Display
- MPU6050 Sensor
- Li-Po or Li-Ion Battery
- 100kΩ Resistors (x2)
- Push Buttons (x2)
- Breadboard
- Jumper Wires
- Buzzer
Goal of the Project:
The goal is to develop an affordable, reliable digital spirit level that accurately measures surface angles and can be used in various applications, including industrial use. The digital version is far superior to traditional levels, offering more precise readings and additional features.
Features of the Digital Spirit Level:
- Measures angles along two axes.
- Displays angle data for each axis simultaneously.
- Accuracy of ±0.1 degrees.
- Fast response time (under 1 second).
- Offset correction for both axes.
- Displays temperature readings.
- Includes charging and direct USB powering.
- Battery level indicator on screen.
- High stability, minimal errors caused by temperature and vibrations.
- Built-in buzzer for button presses.
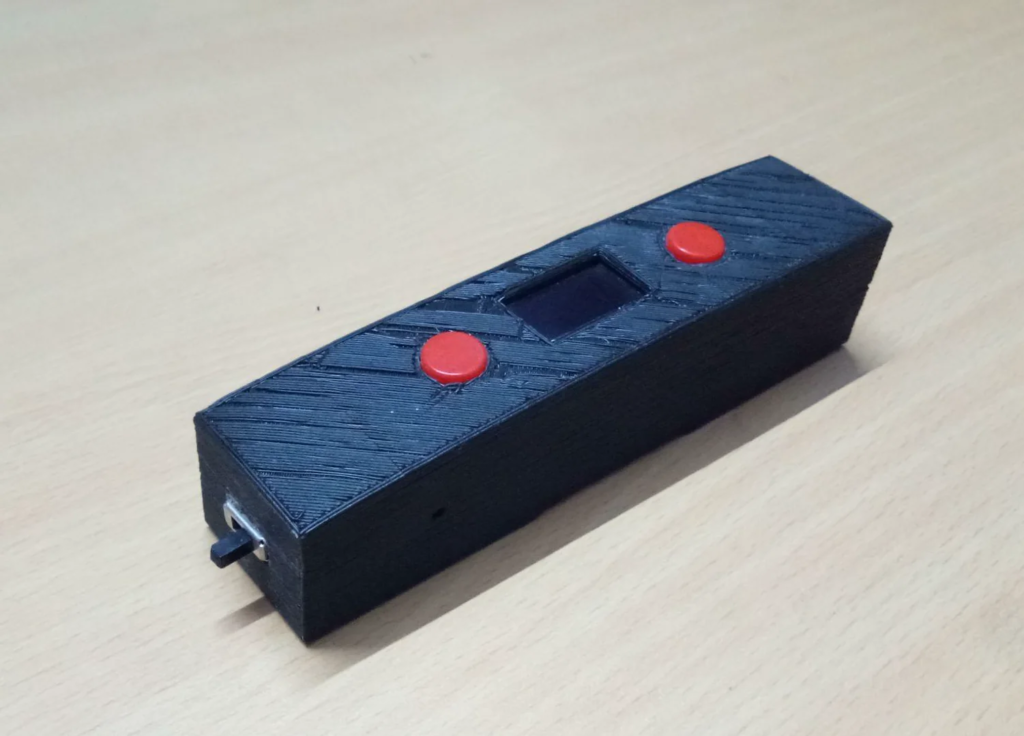
- Compact, durable 3D-printed casing for easy handling.
Technologies Used:
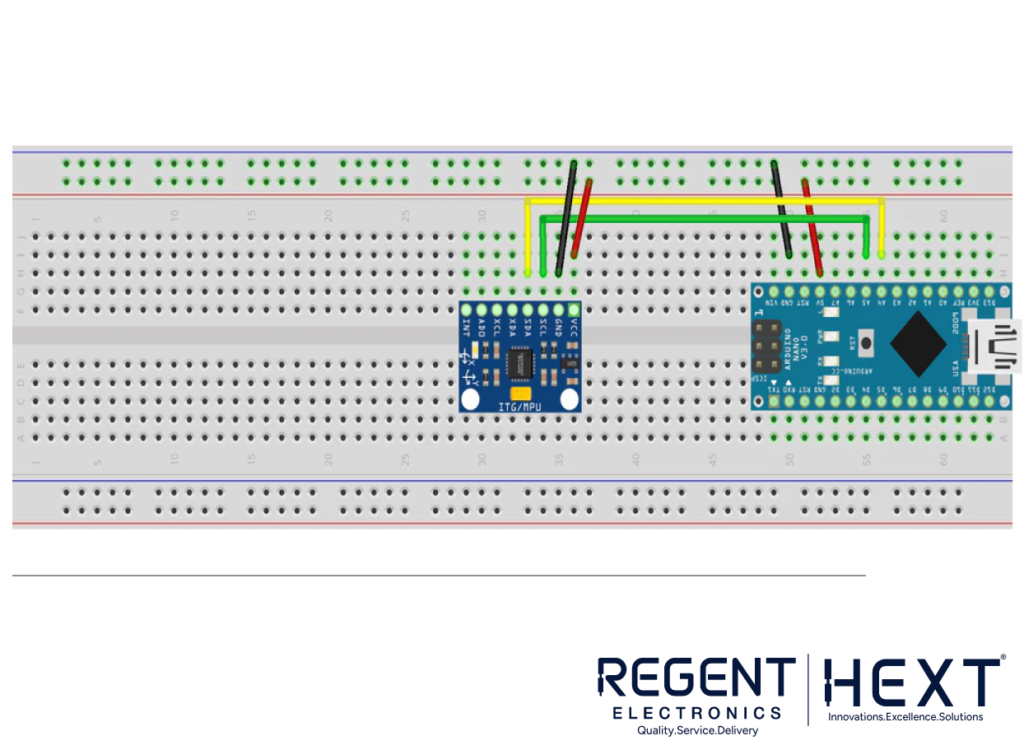
1. Data Processing and Control: The system is powered by the Arduino Nano, a popular microcontroller with enough I/O pins and communication protocols like I2C and UART, making it ideal for this project. Its processing speed is sufficient to handle the Digital Spirit Level’s data processing needs.
2. Sensor System: We use the MPU6050 sensor, which includes a 3-axis accelerometer and a 3-axis gyroscope to accurately measure surface angles. It uses the I2C protocol for communication with the Arduino, making it easy to interface with the microcontroller. Let’s dive into how the sensor works:
- MPU6050 Accelerometer: This component detects acceleration along three axes, helping calculate surface tilt. It has different sensitivity ranges, including ±2g, ±4g, ±8g, and ±16g.
- MPU6050 Gyroscope: The gyroscope measures angular velocity and helps determine the angle changes along the X, Y, and Z axes.
3. Display System: For clear and efficient data visualization, we use the SSD1306 OLED display (0.96 inches), which communicates via I2C. It offers low power consumption, wide viewing angles, and is ideal for portable projects.
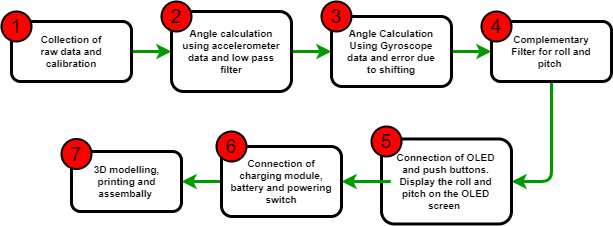
Step-by-Step Guide:
- Sensor Calibration: Begin by calibrating the MPU6050 to correct for any inherent offsets in the raw data. This calibration ensures accurate readings from both the accelerometer and gyroscope.
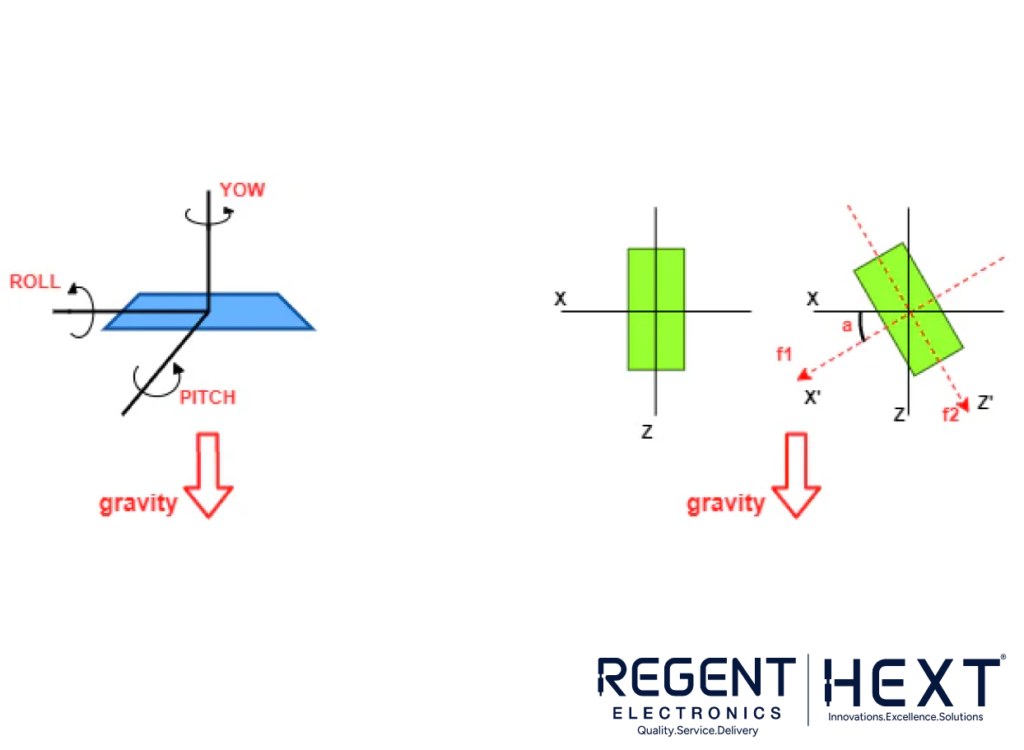
- Angle Calculation using the Accelerometer: Using the gravitational force data, we calculate the angle of the surface with trigonometric ratios. A low-pass filter is applied to minimize noise from vibrations.
- Gyroscope Angle Calculation: Gyroscopes provide accurate angle data by measuring angular velocity. However, they can accumulate small errors (drift) over time. The gyroscope angle data is combined with accelerometer data to provide accurate measurements.
- Complementary Filter: To improve accuracy, the complementary filter blends the accelerometer and gyroscope angles. The accelerometer is more accurate for static measurements, while the gyroscope provides smooth data for dynamic conditions. This combination reduces errors and provides precise surface angle measurements.
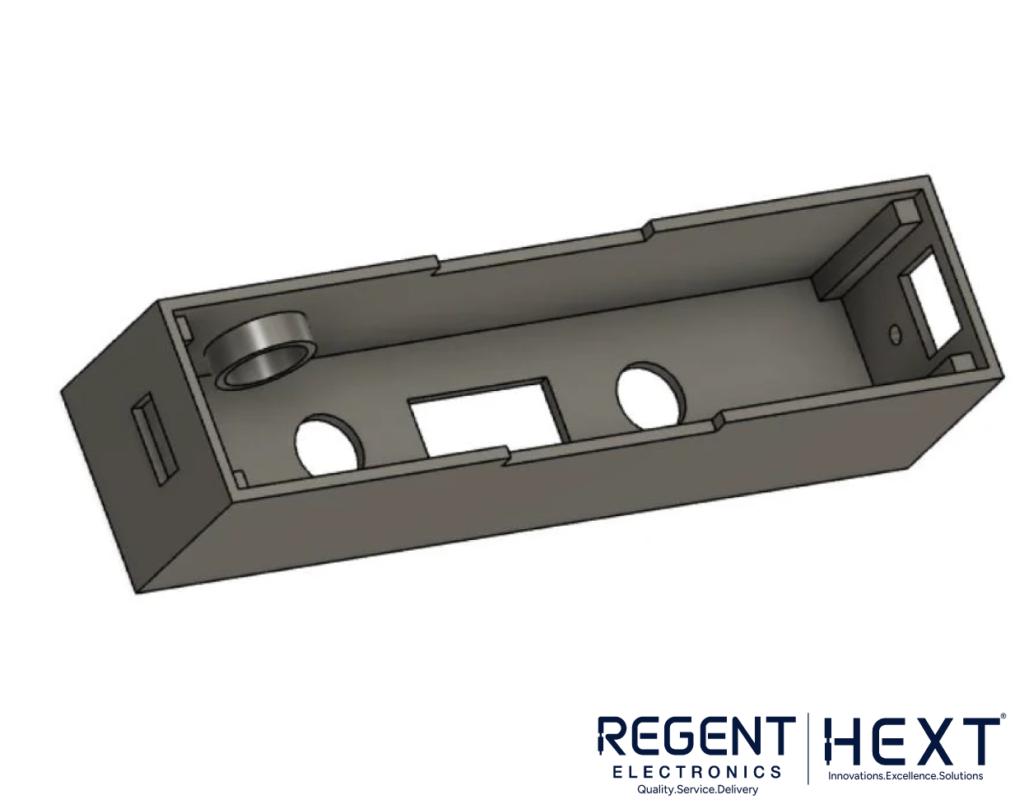
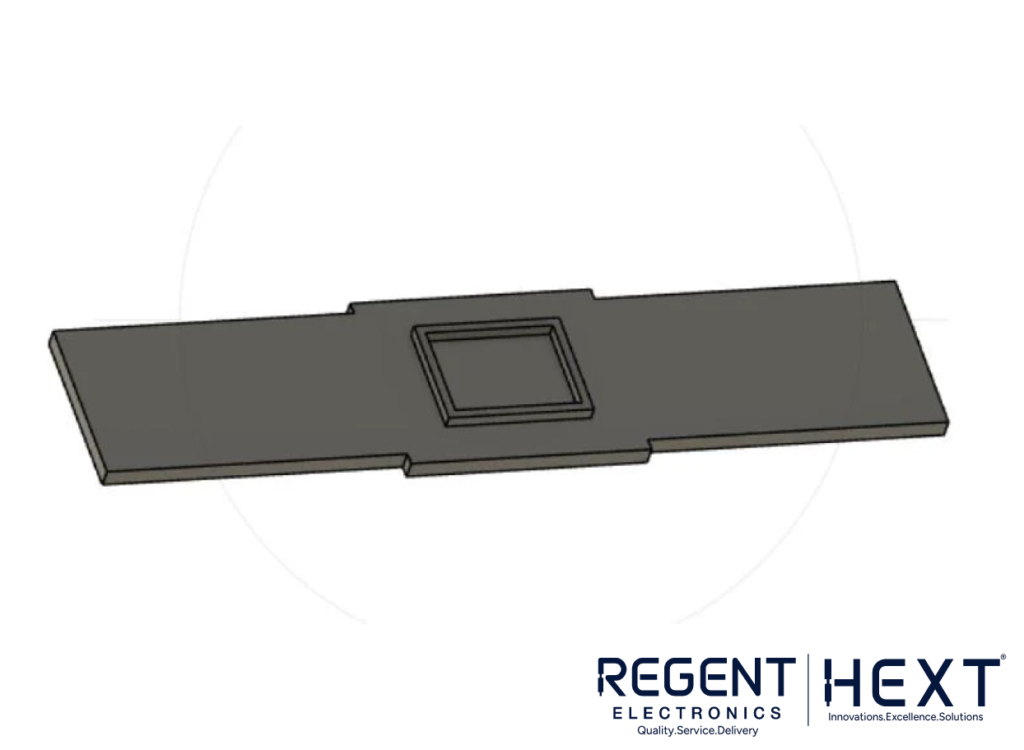
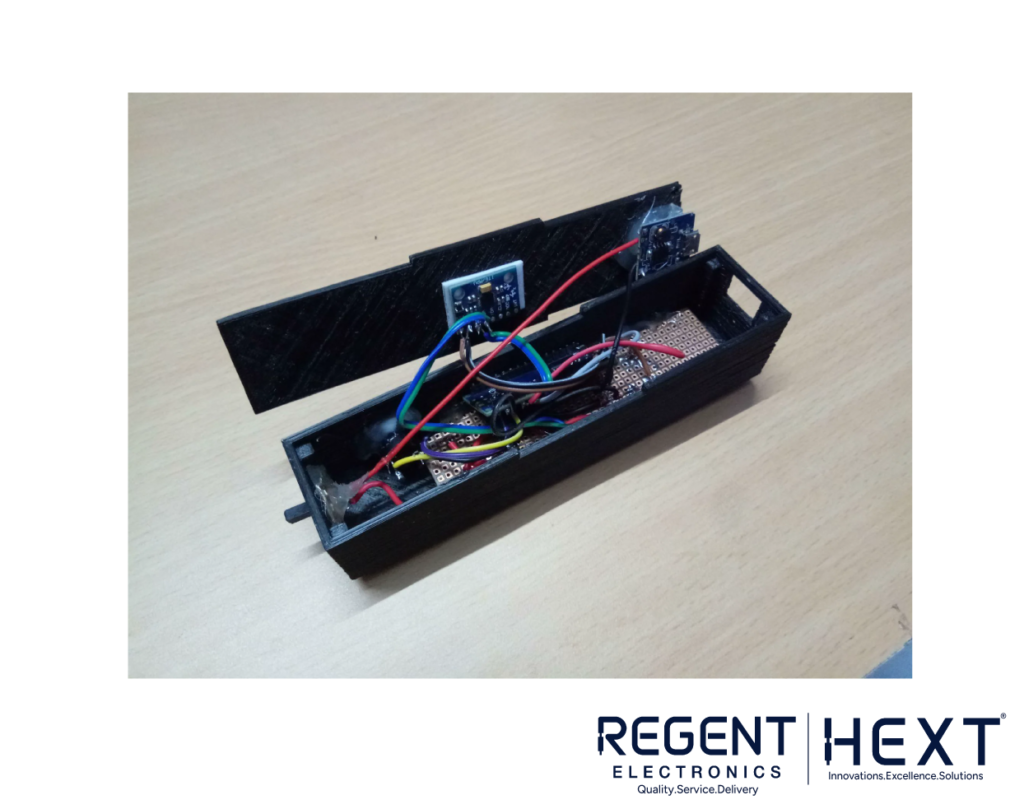
- Assembly: Once all components are connected and the code is uploaded to the Arduino Nano, assemble the system into a 3D-printed case. This case will hold the OLED display, push buttons, and all other components securely.

Conclusion:
With this DIY Digital Spirit Level, you now have a tool that offers unparalleled accuracy, portability, and additional features like temperature measurement and battery monitoring. Whether for industrial applications or personal use, this project is an excellent way to enhance your understanding of sensors and microcontrollers while building something practical and reliable.
Now you can get started on creating your own Digital Spirit Level with these easy-to-follow steps and practical guidance from Regent Electronics. Happy building!