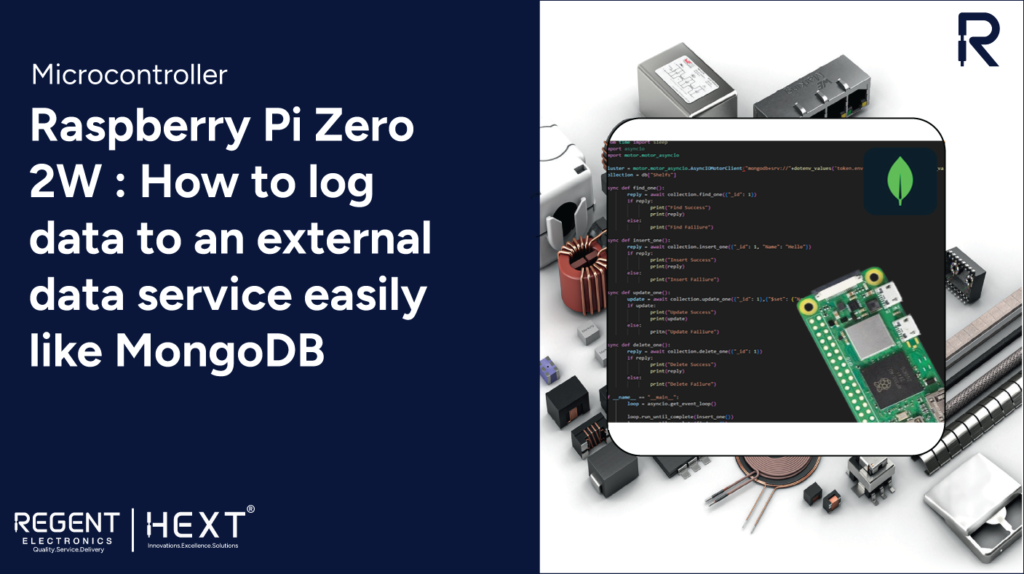
Raspberry Pi Zero 2W: Seamless Data Logging to MongoDB
In this guide, we will explore how to efficiently log data from a Raspberry Pi Zero 2W to an external service like MongoDB for long-term storage, avoiding local storage limitations.
Introduction
Data logging is a crucial part of IoT and embedded systems projects. Instead of storing data locally, where space is limited, we can send and store it reliably in a cloud-based database like MongoDB. In this blog, we will set up the Raspberry Pi Zero 2W to interact with MongoDB seamlessly.
Table of Contents
- What is Raspberry Pi?
- Raspberry Pi Zero 2W Overview
- Key Features
- External Data Logging
- What is MongoDB?
- Benefits of MongoDB Atlas
- Hardware & Software Requirements
- Setting Up MongoDB
- Prerequisites & Installation
- Writing & Running the Code
- Conclusion
What is Raspberry Pi?
Raspberry Pi is a low-cost, single-board computer developed by the Raspberry Pi Foundation. Initially designed for educational purposes, it has gained popularity in various applications such as IoT, robotics, and automation.
Raspberry Pi Zero 2W Overview
The Raspberry Pi Zero 2W is a compact yet powerful upgrade to the original Pi Zero, offering improved performance and wireless connectivity.
Key Features:
- Quad-core 64-bit ARM Cortex-A53 processor
- 512MB LPDDR2 RAM
- Integrated 2.4GHz Wi-Fi and Bluetooth 4.2
- CSI camera connector
- Mini HDMI port for video output
- Low power consumption, ideal for embedded applications
External Data Logging with MongoDB
To efficiently log data from Raspberry Pi Zero 2W, we use MongoDB, a NoSQL database that allows flexible, scalable data storage.
What is MongoDB?
MongoDB is a document-based NoSQL database that stores data in JSON-like structures, providing:
- Flexible schema design
- High performance and scalability
- Support for real-time analytics
- Easy integration with various programming languages
Why Use MongoDB Atlas?
MongoDB Atlas is a cloud-hosted database service that eliminates the need for manual database management. Key benefits include:
- Automated backups and scalability
- Multi-cloud deployment options (AWS, GCP, Azure)
- Performance monitoring tools
Project Requirements
Hardware Requirements:
- Raspberry Pi Zero 2W
- Micro SD Card (32GB recommended)
- Heat sinks
- Necessary cables
Software Requirements:
- Python
- MongoDB Atlas (Cloud Database)
- Required Python libraries
Setting Up MongoDB on Raspberry Pi Zero 2W
Prerequisites
- Set up Raspberry Pi OS on your Pi Zero 2W.
- Enable SSH for remote access.
- Install the required libraries:
- sudo apt install python3-dotenv python3-motor python3-asyncio
Create Project Folder
mkdir database_examples
cd database_examples/
MongoDB Setup
- Sign up for MongoDB Atlas and create a new project.
- Set up a free-tier shared cluster.
- Add a new database user and generate a password.
- Create a database (e.g., Test) and deploy it.
Store Credentials Securely
Create a .env file for storing database credentials:
sudo nano token.env
Add the following lines:
username = <your_mongodb_username>
password = <your_mongodb_password>
Save and exit the editor.
Writing and Running the Code
Create a new Python file:
sudo nano test.py
Paste the following code:
from dotenv import dotenv_values
import asyncio
import motor.motor_asyncio
# MongoDB Connection
config = dotenv_values(“token.env”)
cluster = motor.motor_asyncio.AsyncIOMotorClient(
f”mongodb+srv://{config[‘username’]}:{config[‘password’]}@test.mongodb.net/?retryWrites=true&w=majority”
)
db = cluster[“Shop”]
collection = db[“Shelfs”]
async def insert_one():
result = await collection.insert_one({“_id”: 1, “Name”: “Hello”})
print(“Insert Success”) if result else print(“Insert Failure”)
async def find_one():
result = await collection.find_one({“_id”: 1})
print(“Find Success”, result) if result else print(“Find Failure”)
async def update_one():
result = await collection.update_one({“_id”: 1}, {“$set”: {“Name”: “Updated Name”}})
print(“Update Success”) if result else print(“Update Failure”)
async def delete_one():
result = await collection.delete_one({“_id”: 1})
print(“Delete Success”) if result else print(“Delete Failure”)
if __name__ == “__main__”:
loop = asyncio.get_event_loop()
loop.run_until_complete(insert_one())
loop.run_until_complete(find_one())
loop.run_until_complete(update_one())
loop.run_until_complete(delete_one())
Run the Code
python3 test.py
Conclusion
By following this guide, you have successfully set up your Raspberry Pi Zero 2W to log data into an external MongoDB database. This method enables efficient data management for IoT and embedded applications, ensuring scalability and long-term storage.
Let us know if you have any questions or need further assistance with your project!
