
Original Arduino Nano Every: Unlocking Creativity in a Compact Form
Introduction
In the ever-evolving world of electronics and microcontrollers, Arduino has emerged as a symbol of innovation and limitless possibilities. Whether you’re an enthusiastic beginner or a seasoned expert, Arduino has captivated the imagination of many. One of its most compact yet powerful offerings is the Arduino Nano Every. This board packs exceptional functionality into a small form, making it perfect for space-constrained projects. In this blog, we will explore its features, programming potential, and various applications, empowering you to transform your ideas into reality.
What is Arduino Nano Every?
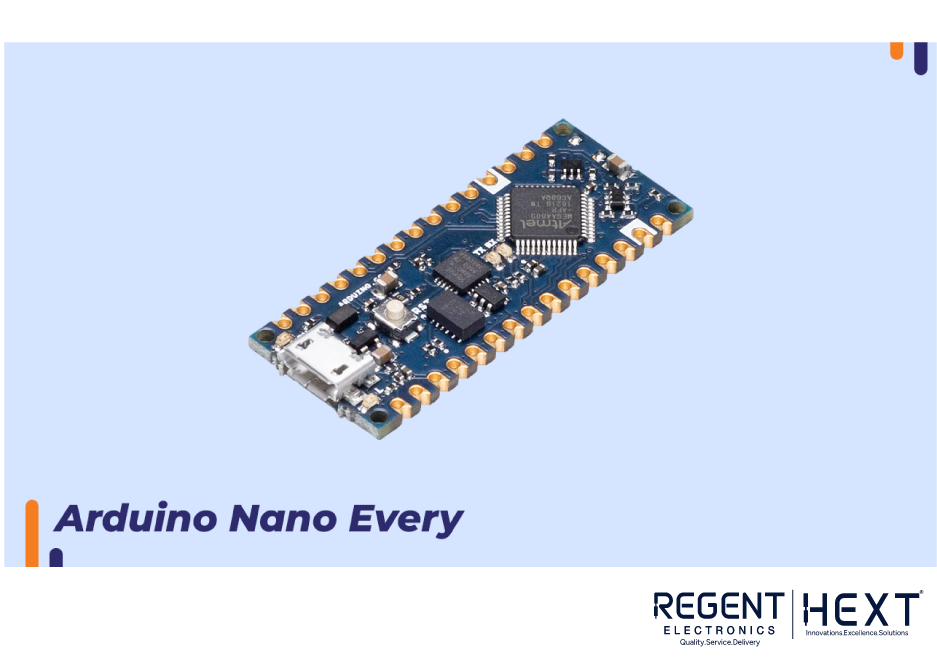
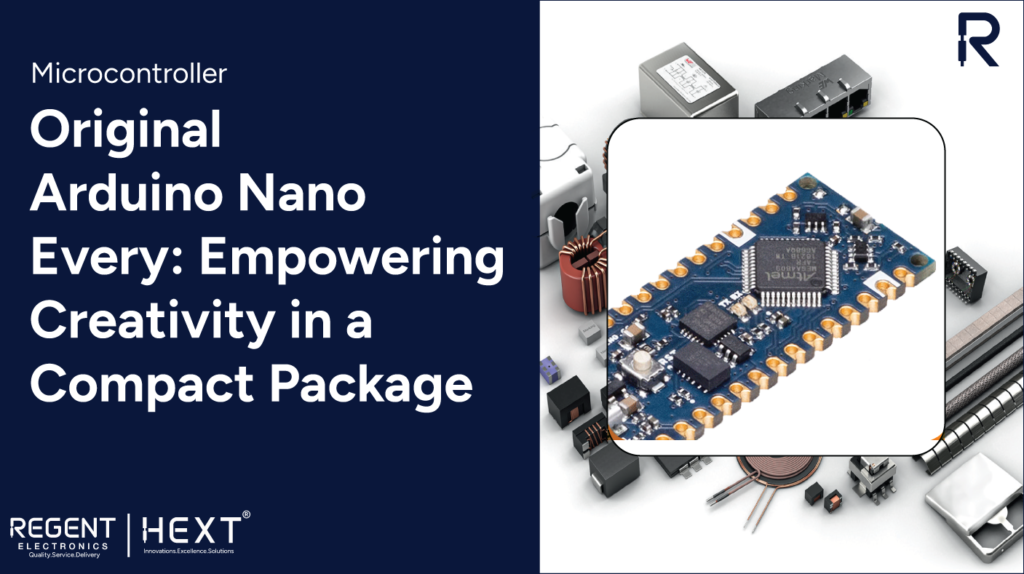
The Arduino Nano Every is a compact microcontroller board powered by the ATmega4809 chip. Despite its small size, it offers 48KB of Flash memory, 6KB of SRAM, and 256 bytes of EEPROM, making it suitable for various applications. Whether you’re working on a simple DIY project or an advanced embedded system, this board is designed to cater to all levels of users.
Key Features of Arduino Nano Every
The Arduino Nano Every comes packed with essential features, making it a go-to option for electronics enthusiasts:
- Compact Size – Ideal for projects with space constraints.
- Ample GPIO Pins – Equipped with 22 digital GPIO pins, 6 PWM outputs, and 8 analog inputs.
- Multiple Communication Interfaces – Supports UART, I2C, and SPI, allowing seamless integration with external devices.
- USB Connectivity – Easily programmable and powered via a USB connection.
- Low Power Consumption – Designed for efficiency, making it ideal for battery-powered applications.
Getting Started with Arduino Nano Every
To start working with Arduino Nano Every, follow these steps:
Setting up the Arduino IDE
- Download and install the Arduino IDE from the official website.
- Open the IDE and install the necessary drivers for the Nano Every board.
- Select Arduino Nano Every under the Tools > Board menu.
Connecting and Programming the Board
- Connect the board to your computer using a USB cable.
- Ensure the board is recognized and select the correct port under Tools > Port.
- Open a new sketch in Arduino IDE and write your code.
- Click the checkmark icon to compile and verify your code.
- Click the upload button to transfer the code to the Nano Every board.
Exploring the GPIO Pins
The Arduino Nano Every features 22 digital GPIO pins, which can be configured as inputs or outputs. These pins enable the control of various components such as LEDs, motors, and sensors. Use the pinMode(), digitalWrite(), and digitalRead() functions to interact with the pins efficiently.
Utilizing Analog Inputs
This board includes 8 analog input pins, capable of reading voltage levels between 0V to 5V. These are essential for interfacing with analog sensors such as temperature sensors, potentiometers, and other variable input devices.
Communication Interfaces
The Arduino Nano Every supports multiple communication protocols:
- UART (Serial Communication) – For serial data transfer.
- I2C (Inter-Integrated Circuit) – Used for connecting multiple devices like sensors and displays.
- SPI (Serial Peripheral Interface) – Ideal for high-speed data exchange with external devices.
Powering the Arduino Nano Every
There are multiple ways to power the Arduino Nano Every:
- USB Power – Connect via a USB cable.
- External Power Supply – Use a regulated 5V power supply.
- Battery Power – Ideal for mobile or remote applications.
Troubleshooting Tips
Here are some common troubleshooting steps:
- Check Connections – Ensure all wiring is secure and correct.
- Verify Code – Look for syntax errors and logical issues.
- Power Issues – Ensure a stable 5V power supply.
- Update Drivers & IDE – Keep your Arduino IDE and board drivers updated.
- Seek Community Help – Utilize Arduino forums for additional support.
Conclusion
The Arduino Nano Every is a powerful and compact solution for electronic projects, offering high versatility and efficiency. Whether you’re a hobbyist or a professional, this microcontroller opens up a world of possibilities. With the right setup, programming, and troubleshooting knowledge, you can unlock its full potential and bring your creative ideas to life.
If you have any queries, feel free to reach out, and our team at Regent Electronics will be happy to assist you!