

Installing OpenCV Using CMake on Raspberry Pi
If you are struggling to install OpenCV on your Raspberry Pi using CMake, this guide is for you. This step-by-step tutorial will help you set up OpenCV efficiently without errors.
What is OpenCV?
OpenCV (Open Source Computer Vision Library) is an open-source computer vision and image processing library designed for real-world applications. Originally developed by Intel, it is widely used in various AI and image-processing projects.
In this tutorial, we will install OpenCV version 4.0.0 using CMake, as this version has been tested for stability.
Prerequisites
- Raspberry Pi 4 (preferred), but Raspberry Pi 3B+ or 3B can also be used.
- An active internet connection.
- Basic knowledge of Linux terminal commands.
Step-by-Step Installation
Step 1: Expanding the File System

Before installing OpenCV, expand the file system to ensure smooth compilation. Run the following command:
sudo raspi-config
Select Expand Filesystem, confirm, and reboot your Raspberry Pi.
Step 2: Updating the System
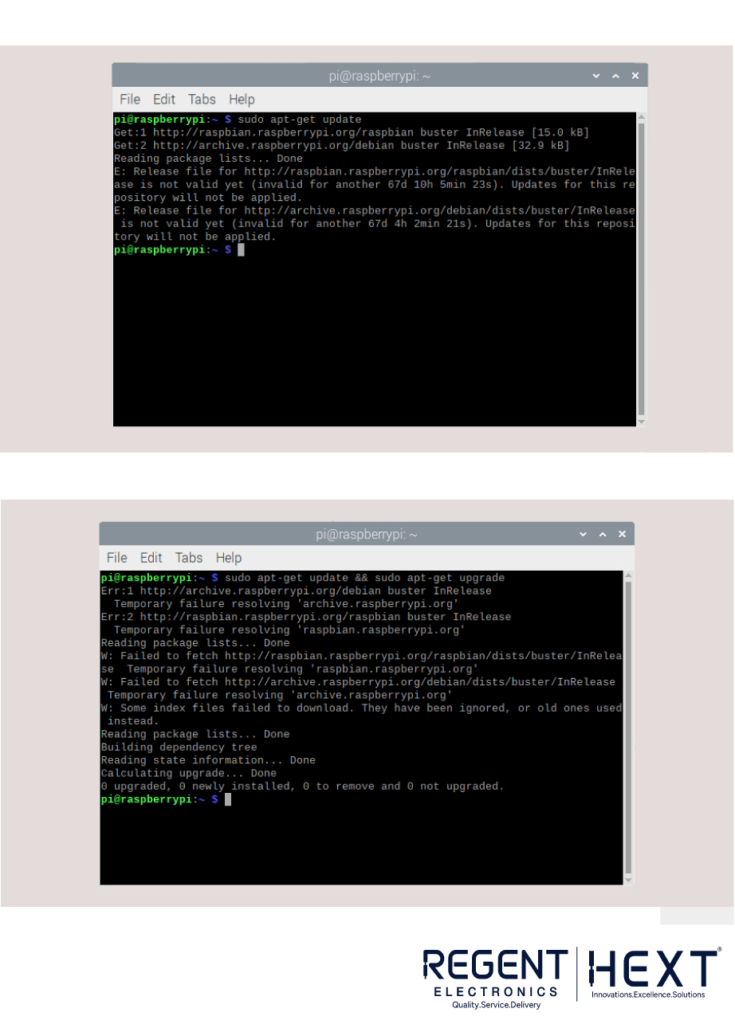
Update your system to get the latest packages:
sudo apt-get update && sudo apt-get upgrade
Run an additional update:
sudo apt-get update
Step 3: Installing CMake
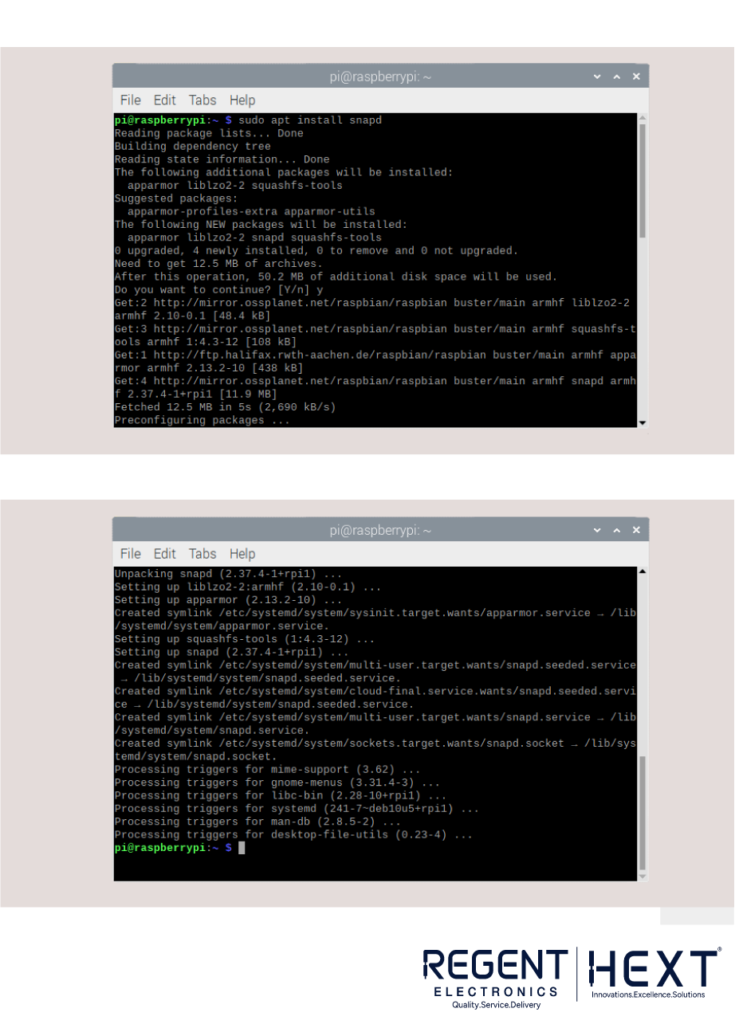
CMake is required for compiling OpenCV. First, install snapd:
sudo apt install snapd
Now install CMake:
sudo snap install cmake –classic
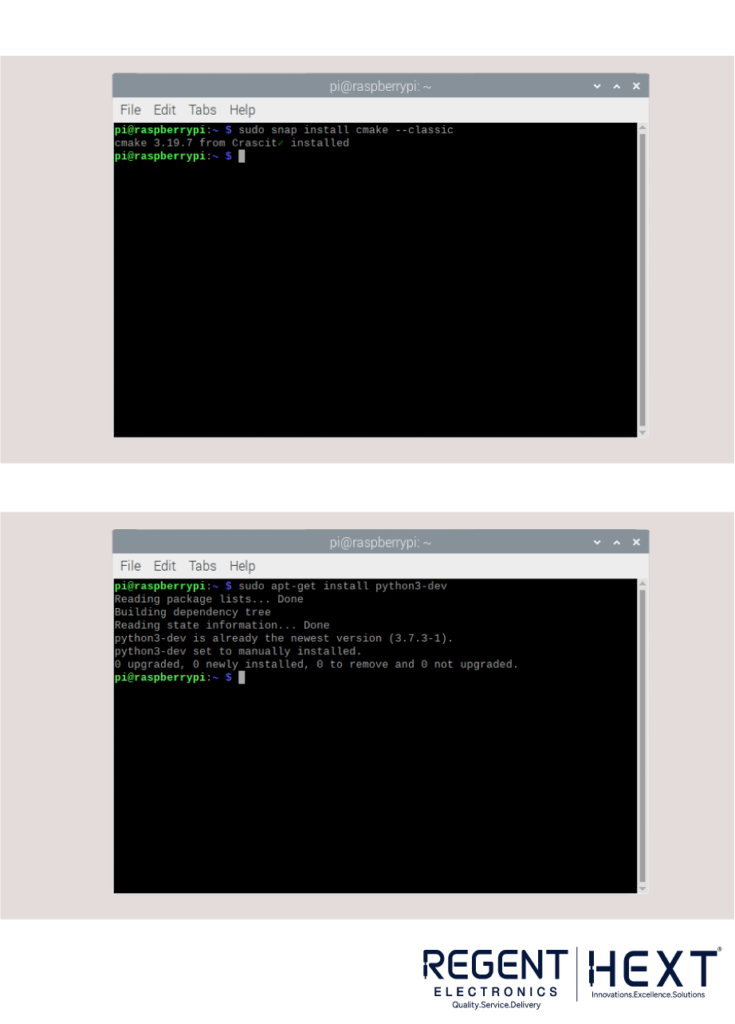
Step 4: Installing Python Development Headers
Install the Python 3 development headers using:
sudo apt-get install python3-dev
Step 5: Downloading OpenCV Packages
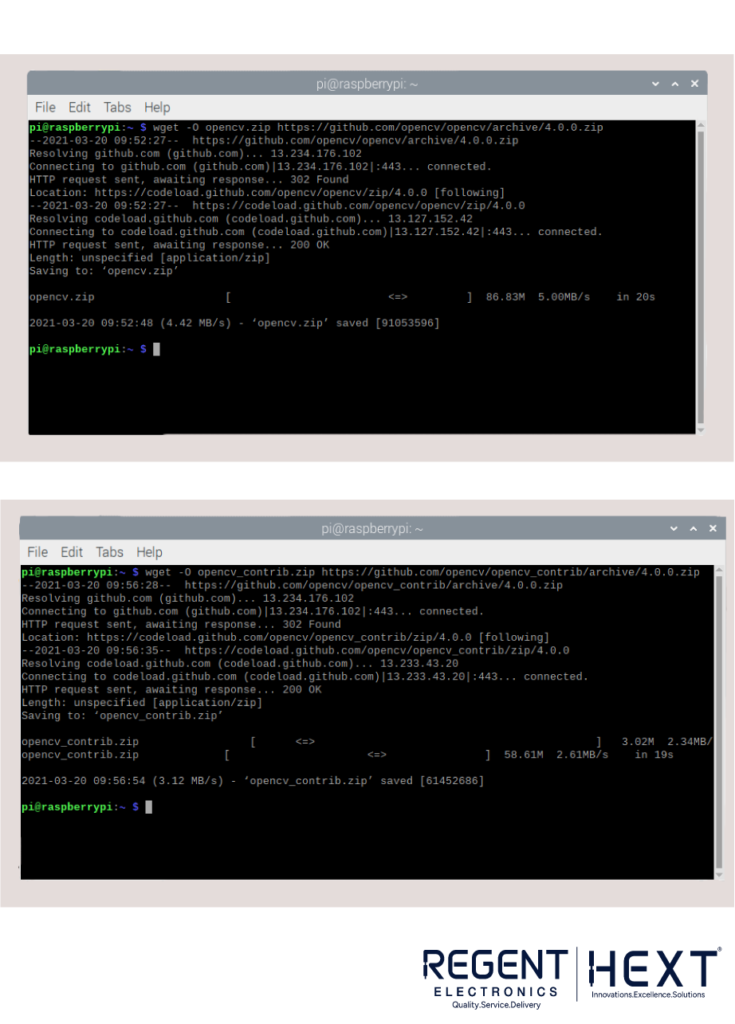
Download OpenCV source code and additional modules:
wget -O opencv.zip https://github.com/opencv/opencv/archive/4.0.0.zip
wget -O opencv_contrib.zip https://github.com/opencv/opencv_contrib/archive/4.0.0.zip
Step 6: Extracting OpenCV Files
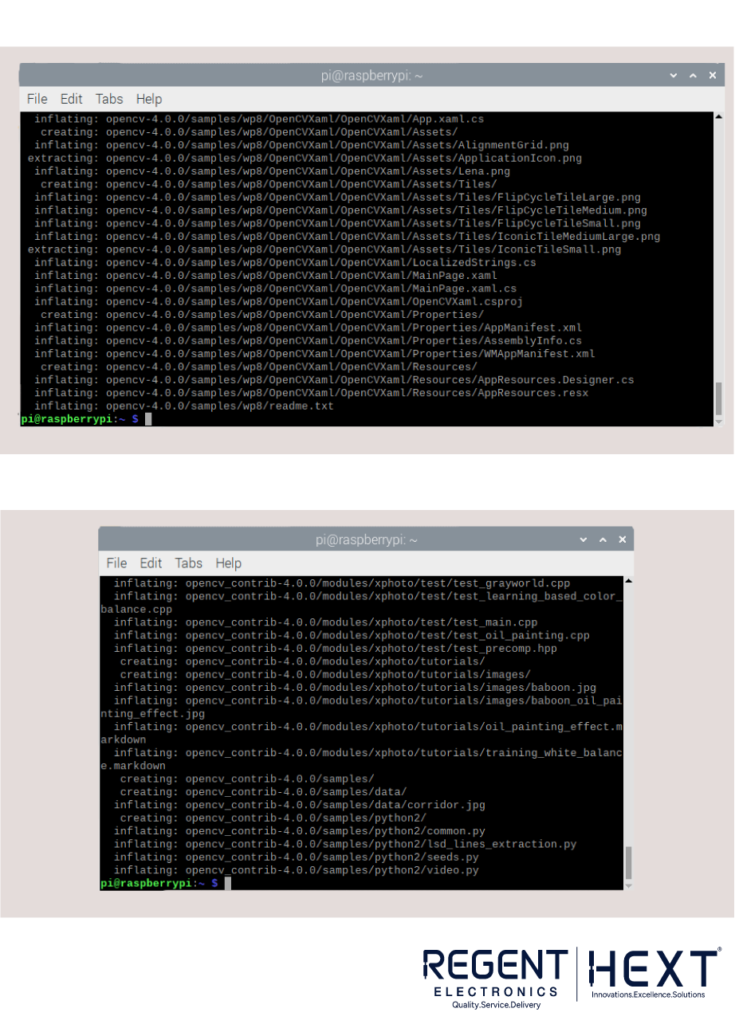
Unzip both downloaded files:
unzip opencv.zip
unzip opencv_contrib.zip
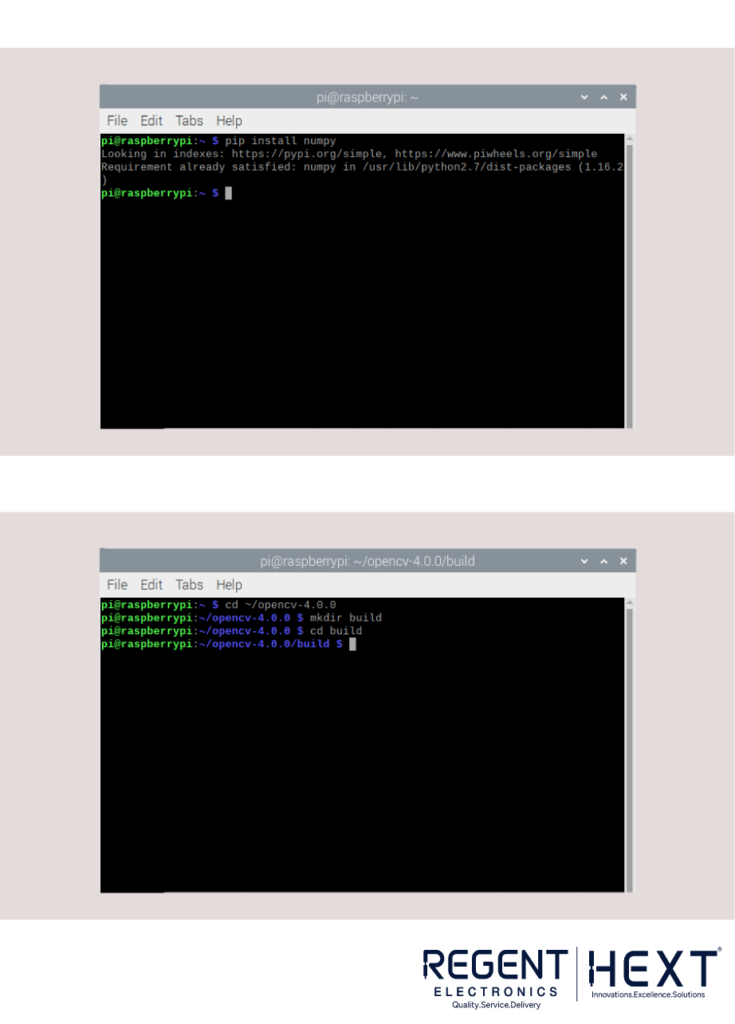
Step 7: Installing NumPy
NumPy is required for OpenCV. Install it using:
pip install numpy
Step 8: Creating a Build Directory
Navigate to the OpenCV directory and create a build directory:
cd ~/opencv-4.0.0
mkdir build
cd build
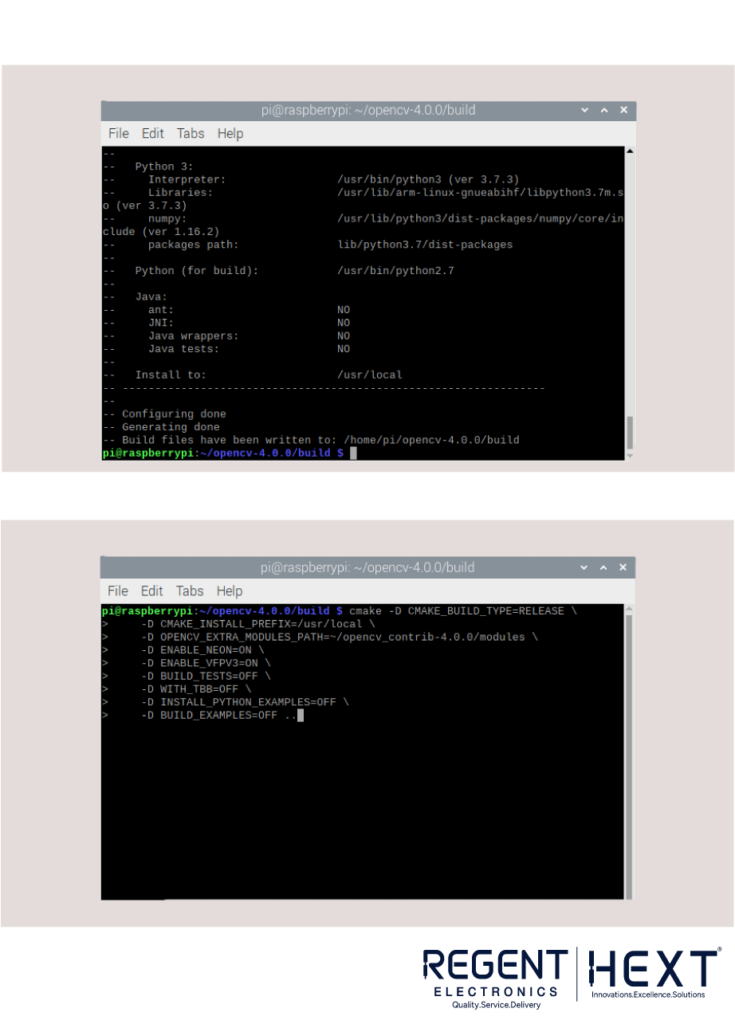
Step 9: Configuring OpenCV with CMake
Run the following command to configure OpenCV:
cmake -D CMAKE_BUILD_TYPE=RELEASE \
-D CMAKE_INSTALL_PREFIX=/usr/local \
-D OPENCV_EXTRA_MODULES_PATH=~/opencv_contrib-4.0.0/modules \
-D ENABLE_NEON=ON \
-D ENABLE_VFPV3=ON \
-D BUILD_TESTS=OFF \
-D WITH_TBB=OFF \
-D INSTALL_PYTHON_EXAMPLES=OFF \
-D BUILD_EXAMPLES=OFF ..
If the configuration is successful, you should see “Configuring done” and “Generating done” messages.
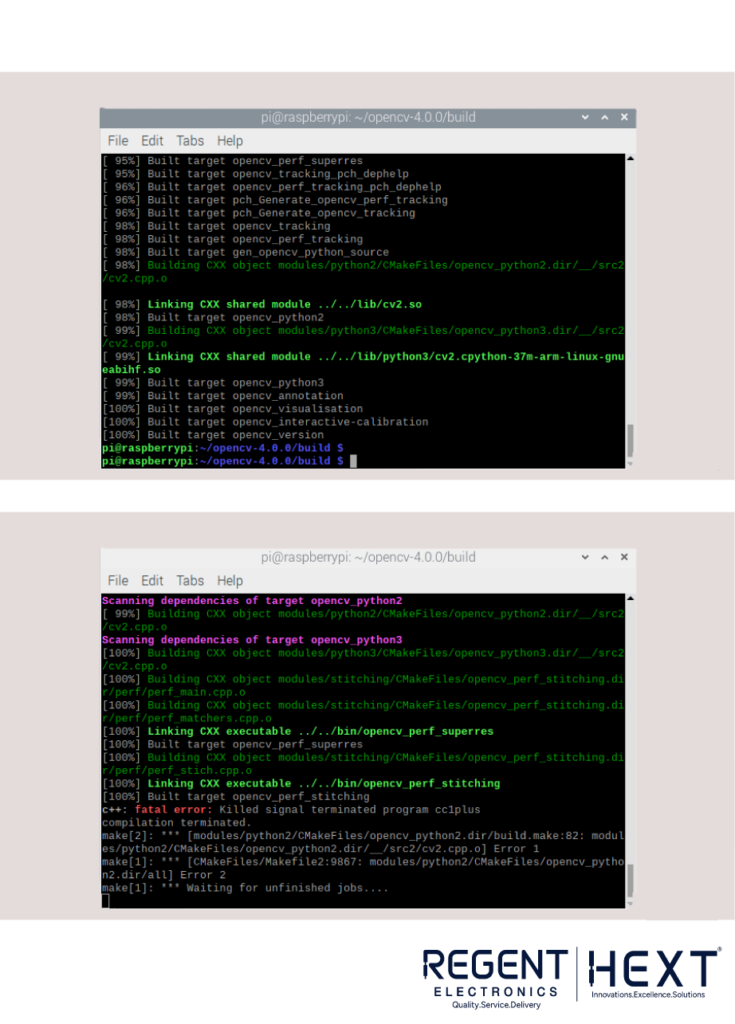
Step 10: Compiling OpenCV
Compile OpenCV using:
make -j4
This process may take 30-40 minutes. If you encounter errors at 99%, try:
make -j1
This method takes longer but is more stable.
Step 11: Installing OpenCV
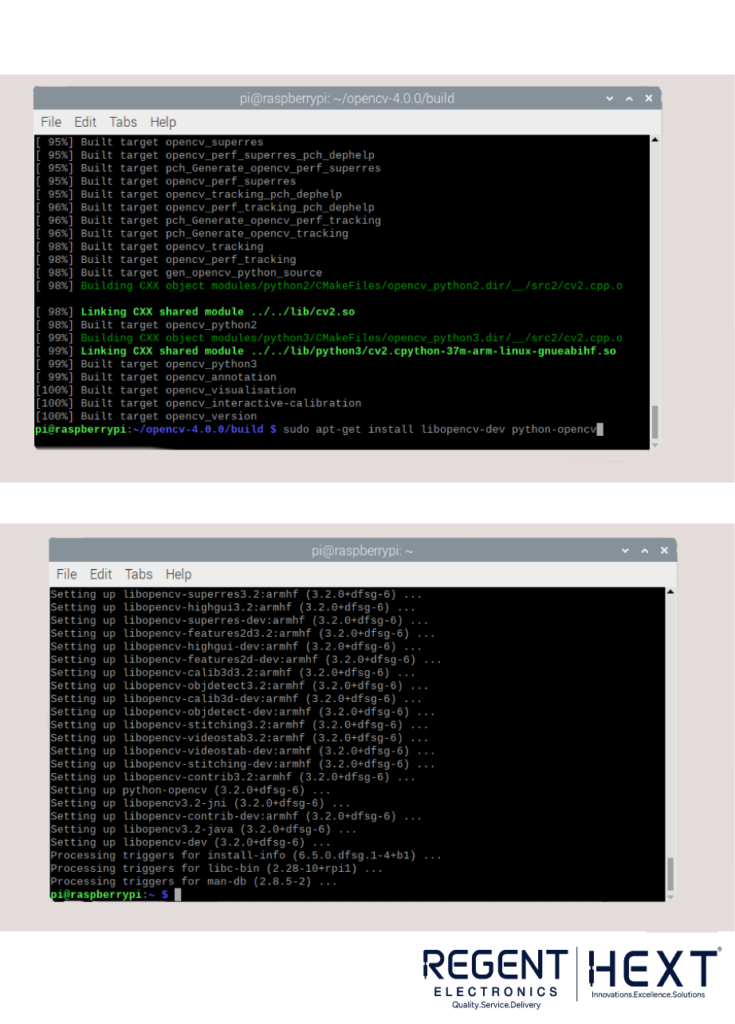
After successful compilation, install OpenCV using:
sudo apt-get install libopencv-dev python-opencv
Step 12: Verifying the Installation

Check if OpenCV is installed correctly by running:
import cv2
print(cv2.__version__)
If no errors appear, your installation was successful!
Conclusion
Installing OpenCV on Raspberry Pi using CMake can be complex, but by following these structured steps, you can install it smoothly. If you face any issues, feel free to comment below, and we’ll assist you.
Happy coding!