

Orange Raspberry Pi Pico Starter Kit
Introduction
Welcome to Regent Electronics! In this blog, we will explore the Orange Raspberry Pi Pico Basic Kit. This kit is a great way to get started with Raspberry Pi Pico and is designed for beginners and enthusiasts alike.
What is the Raspberry Pi Pico?
The Raspberry Pi Pico is a small, fast, and versatile microcontroller board powered by the RP2040, a microcontroller developed by Raspberry Pi. Unlike traditional Raspberry Pi boards that run a Linux-based OS, the Raspberry Pi Pico is a microcontroller with a programmable digital interface, similar to Arduino boards.
With its compact size, powerful performance, and affordability, Raspberry Pi Pico is ideal for a variety of embedded system applications.
Getting Started with Raspberry Pi Pico
To get started, follow these simple steps:
Step 1: Download and Install MicroPython Firmware on the Pico Board
- Download the latest MicroPython UF2 file from the official Raspberry Pi website: MicroPython Download
- Press and hold the BOOTSEL button while connecting the Pico to your computer via USB.
- Your Pico will be recognized as an RPI-RP2 Mass Storage Device.
- Drag and drop the MicroPython UF2 file onto the RPI-RP2 volume.
- Once the file is copied, your Pico will automatically restart and will now be running MicroPython.
Step 2: Download and Install Thonny Python IDE
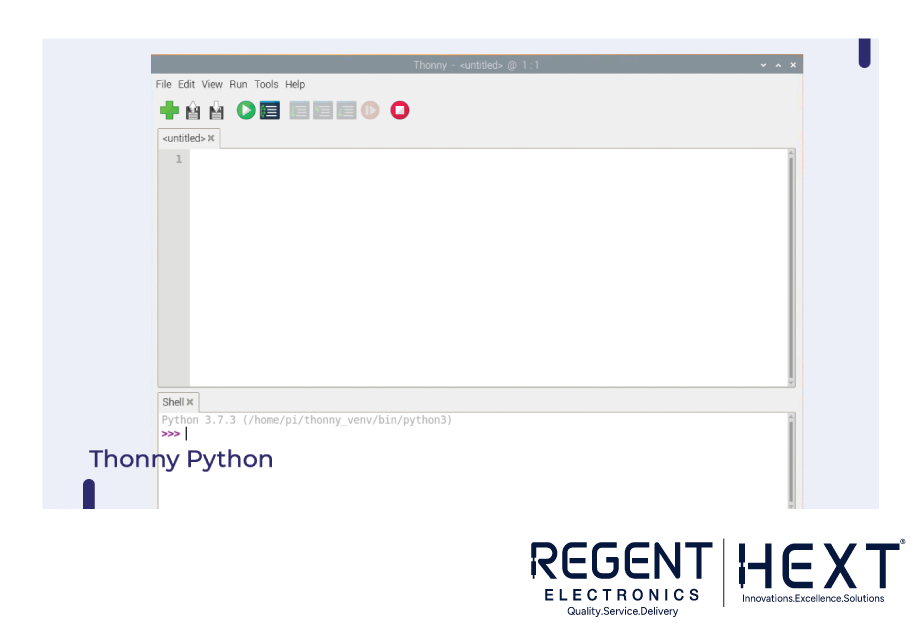
To write and execute Python code on your Raspberry Pi Pico, you will need Thonny Python IDE.
- Download Thonny IDE for your operating system from the official website: Thonny Download
- Install the software and open it.
- Select MicroPython (Raspberry Pi Pico) as the Interpreter in Thonny.
- Choose the correct COM port and click OK to save the configuration.
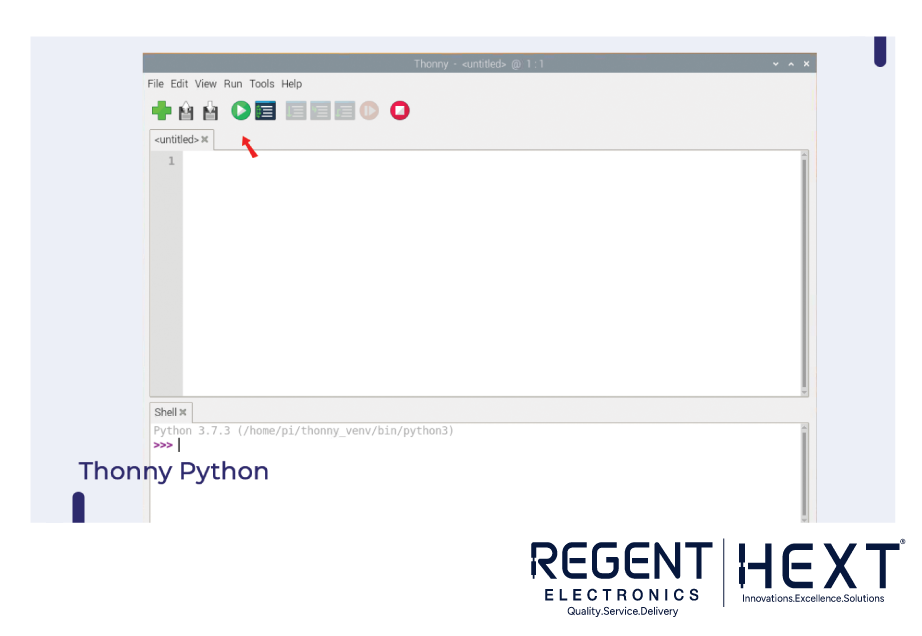
Step 3: Write and Upload Your First Python Code

Copy and paste the following code into the Thonny coding window:
from machine import Pin
from time import sleep
led = Pin(25, Pin.OUT)
n = 0
while True:
led.toggle()
print(“Counter is {}”.format(n))
n += 1
sleep(1)
- Click the Run button to execute the Python script.
- Save the file by selecting Save As, then choose Raspberry Pi Pico as the destination.
- Name the file main.py and click OK.
- The script will now run automatically whenever the Raspberry Pi Pico is powered via USB.
Once executed, the onboard LED will blink continuously, confirming that your Raspberry Pi Pico is working correctly!
Conclusion
In this blog, we covered the basics of setting up the Orange Raspberry Pi Pico Starter Kit and running your first Python program. Stay tuned for our next blog, where we will explore connecting external LEDs, switches, and sensors with the Raspberry Pi Pico.
If you have any questions, feel free to leave a comment below. Happy coding with Regent Electronics!