

DIY Calculator Using Arduino UNO and TFT LCD Touch Screen Shield
Ready to take your Arduino skills to the next level? In this project, we’ll guide you through creating a colorful and interactive calculator using an Arduino UNO and a TFT LCD Touch Screen Shield. This hands-on project will help you understand how TFT LCD touch screens work and how to use them effectively. Let’s dive in!
Components You’ll Need
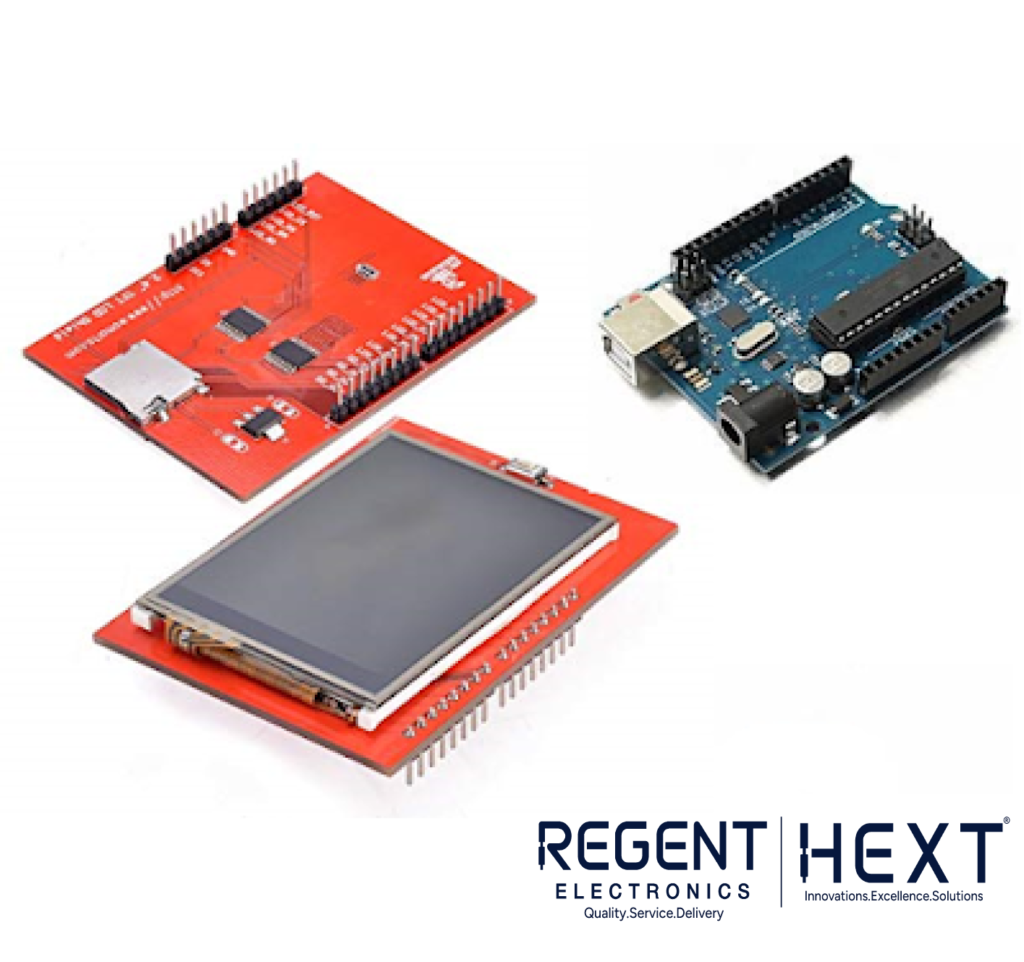
- Arduino UNO
- USB Programming Cable for Arduino
- 2.4-inch TFT LCD Touch Screen Shield
Before we jump into the construction, let’s familiarize ourselves with the key components of the TFT LCD Touch Screen Shield.
Understanding the TFT LCD Shield
The TFT LCD shield is a multifunctional module with three primary features:
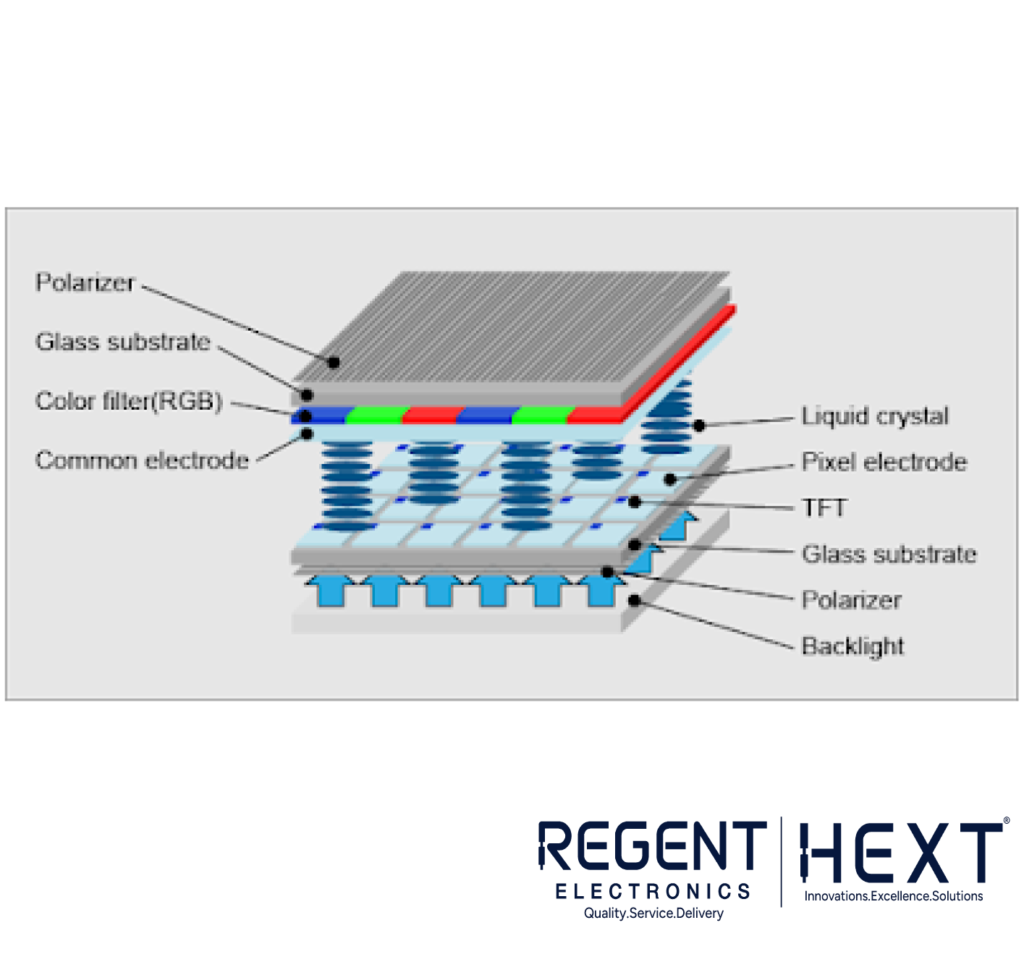
- 2.4-inch TFT LCD Display: Provides a vibrant and colorful interface.
- Four-Wire Resistive Touchscreen: Detects touch input based on pressure.
- SD Card Interface: Allows loading BMP images onto the display.
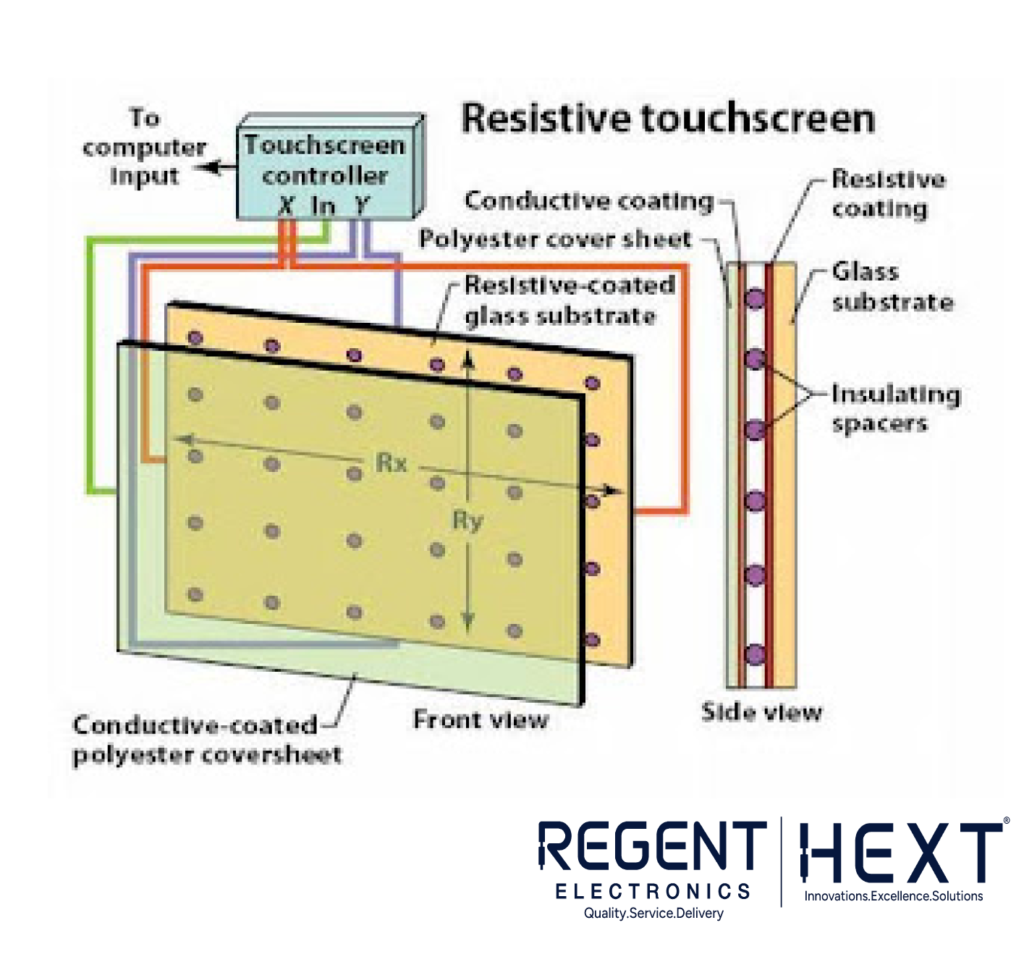
How the Resistive Touchscreen Works
Resistive touchscreens use a two-dimensional membrane potentiometer to determine X and Y coordinates. When touched, the top glass layer presses onto the resistive coating below, creating a contact point. The voltage change at the contact point provides the coordinates.
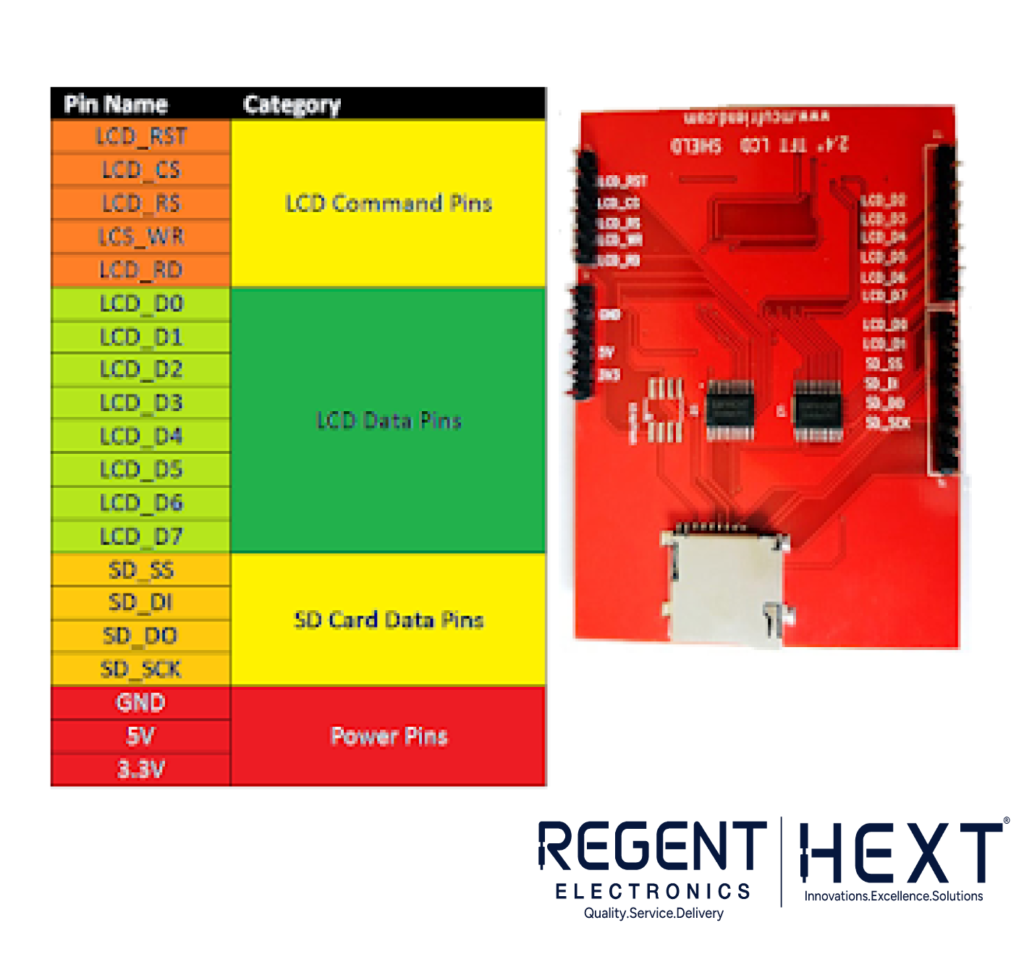
Connecting the TFT LCD to Arduino
The shield uses the ILI9341 driver for communication. Here’s a quick pinout guide:
- Data Pins 0-7: Connected to Arduino digital pins 2-8 for parallel communication.
- RESET: Connected to Arduino analog pin A4.
- CS (Chip Select): Connected to A3.
- RS (Command/Data): Connected to A2.
- WR (Write) and RD (Read): Connected to A1 and A0, respectively.
Calibrating the Touch Screen
Before using the touch screen, you need to calibrate it. Follow these steps:
- Install the SPFD5408 Library (a modified version of the Adafruit library).
- Download the library as a ZIP file from this GitHub page.
- In Arduino IDE, go to Sketch > Include Library > Add .ZIP Library and add the downloaded file.
Run the calibration example provided in the library to ensure accurate touch readings.
Building the Calculator
Setting Up the Display
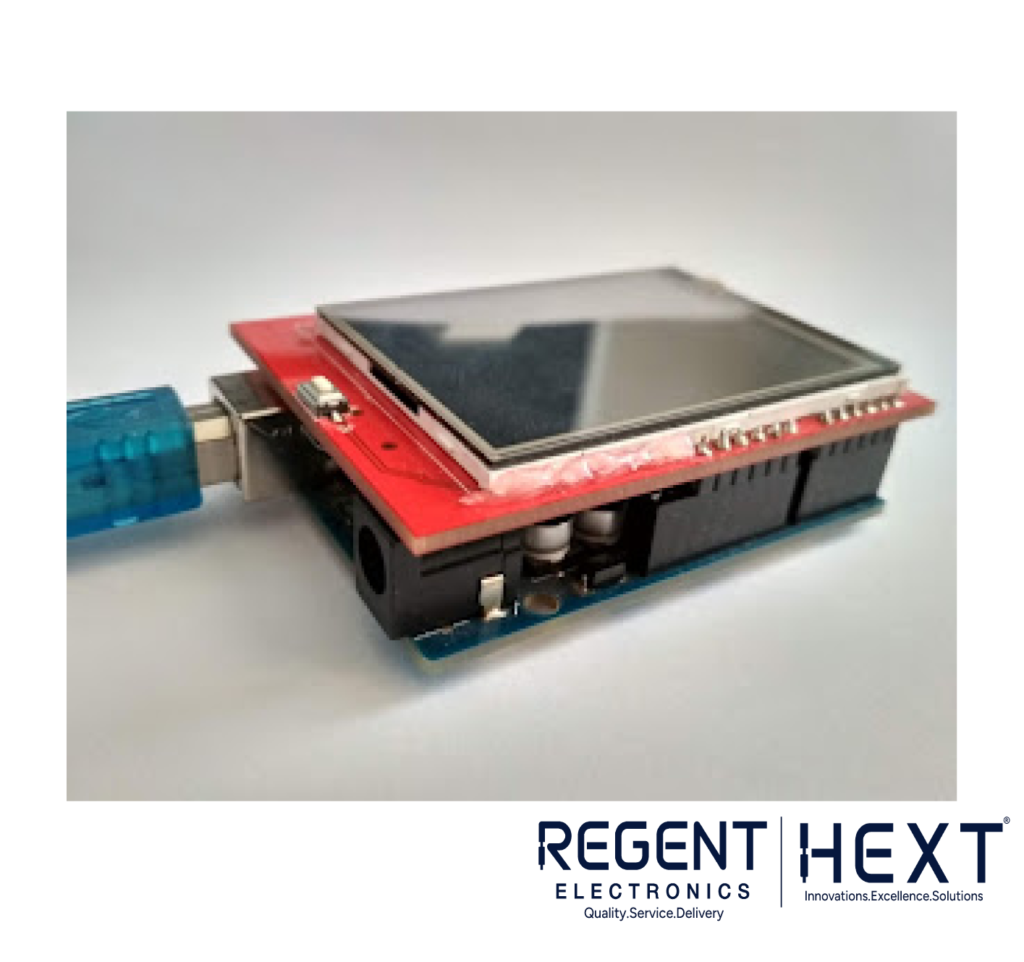
The 2.4-inch TFT LCD is designed to be plugged directly into the Arduino UNO. Before connecting, cover the programming port of the Arduino with an insulating material to prevent accidental contact with the shield.
Code and Libraries
Add these libraries to your code:
cpp
CopyEdit
#include <SPFD5408_Adafruit_GFX.h> // Core graphics library
#include <SPFD5408_Adafruit_TFTLCD.h> // Hardware-specific library
#include <SPFD5408_TouchScreen.h>
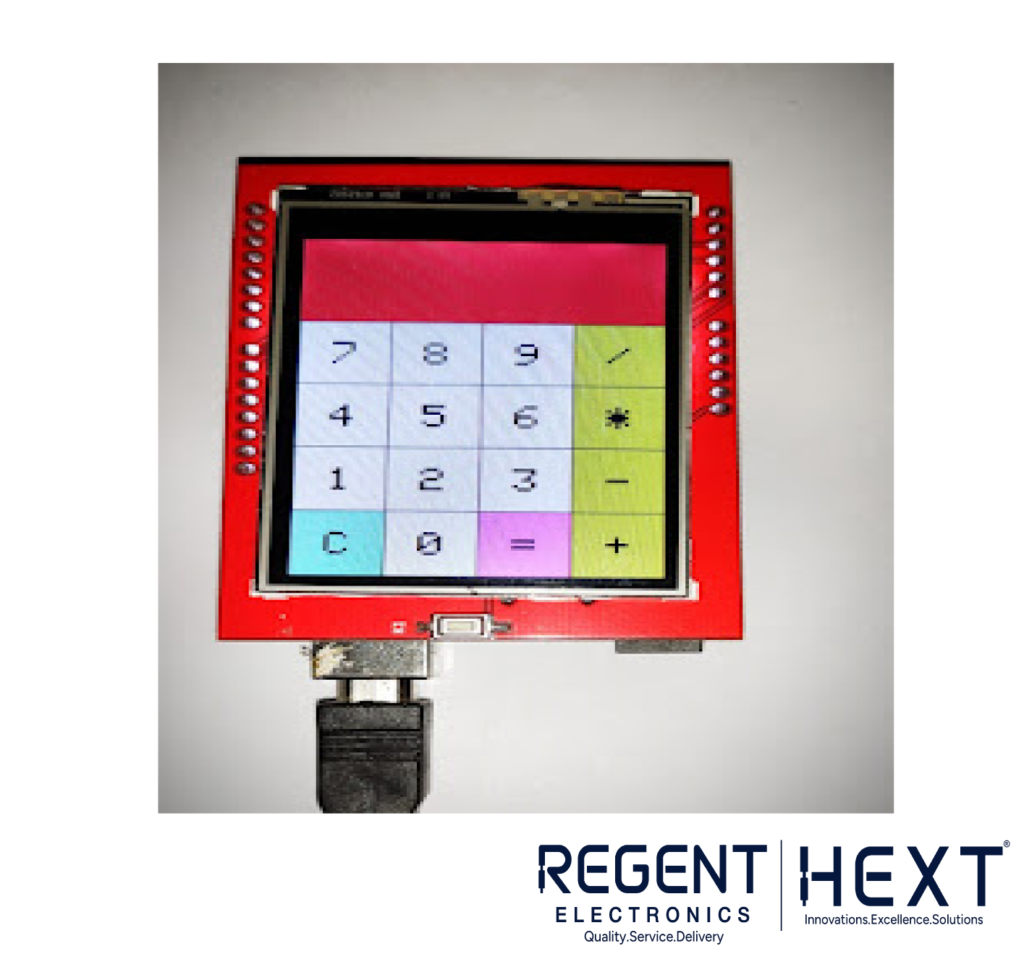
The calculator logic divides the screen into sections based on touch coordinates, assigning specific areas to digits and symbols.
Calculator Code
Here’s the core code for the calculator:
cpp
CopyEdit
#include <SPFD5408_Adafruit_GFX.h>
#include <SPFD5408_Adafruit_TFTLCD.h>
#include <SPFD5408_TouchScreen.h>
// Define touchscreen pins and settings
#define YP A3
#define XM A2
#define YM 9
#define XP 8
#define LCD_CS A3
#define LCD_CD A2
#define LCD_WR A1
#define LCD_RD A0
#define LCD_RESET A4
#define MINPRESSURE 10
#define MAXPRESSURE 1000
TouchScreen ts = TouchScreen(XP, YP, XM, YM, 300);
Adafruit_TFTLCD tft(LCD_CS, LCD_CD, LCD_WR, LCD_RD, LCD_RESET);
String buttons[4][4] = {
{“7”, “8”, “9”, “/”},
{“4”, “5”, “6”, “*”},
{“1”, “2”, “3”, “-“},
{“C”, “0”, “=”, “+”}
};
int X, Y;
long num1, num2, currentNum;
char operation;
bool isResult = false;
void setup() {
Serial.begin(9600);
tft.reset();
tft.begin(0x9341);
tft.setRotation(0);
tft.fillScreen(0xFFFF);
drawCalculator();
}
void loop() {
TSPoint p = getTouch();
if (p.z > MINPRESSURE && p.z < MAXPRESSURE) {
processTouch(p.x, p.y);
}
}
TSPoint getTouch() {
TSPoint p = ts.getPoint();
pinMode(XM, OUTPUT);
pinMode(YP, OUTPUT);
p.x = map(p.x, 850, 180, 0, tft.width());
p.y = map(p.y, 100, 780, 0, tft.height());
return p;
}
void drawCalculator() {
// Draw buttons and layout
// Implementation details here
}
void processTouch(int x, int y) {
// Detect and handle button presses
// Implementation details here
}
This code includes functionality for detecting touch inputs, performing calculations, and updating the display.
Enhancements and Applications
- Add BMP Image Support: Use the SD card slot to display custom images.
- Advanced Features: Expand the calculator to include scientific functions.
Conclusion
This project is an excellent way to learn about TFT LCD touch screens and Arduino programming. With a bit of creativity, you can customize this calculator to suit your needs or explore other interactive projects using the same shield.
Start building today and unlock endless possibilities with your Arduino UNO!