
LilyPad Arduino Microcontroller Boards: A Comprehensive Guide for Wearables and E-Textiles

Arduino development boards have revolutionized the way we approach projects in automation, robotics, and beyond. Known for their versatility, cost-effectiveness, and open-source ecosystem, Arduino boards offer endless possibilities. Among these, the LilyPad Arduino family stands out for its unique design tailored specifically for wearable technology and e-textiles. In this blog, we will explore the various LilyPad Arduino boards, their key features, applications, pinouts, specifications, and the differences between them.

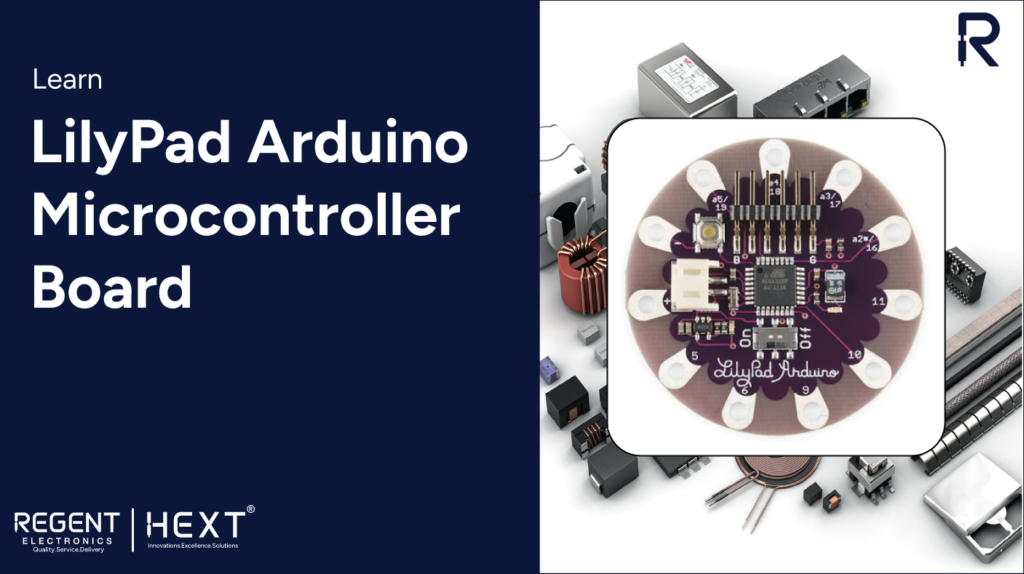
What is LilyPad Arduino?
LilyPad Arduino is a line of development boards specifically created for e-textile and wearable applications. These boards, designed by Leah Buechley and SparkFun Electronics, are unique in that they feature large connection pads, making them easy to stitch into fabric using conductive thread. Powered by rechargeable batteries, they can interface with sensors, actuators, and other components embedded into clothing, offering seamless integration into wearable technology.
One key characteristic of LilyPad boards is their lack of Ethernet or Wi-Fi support. Instead, they typically rely on cellular 3G connections for communication. Whether you’re working on an innovative fashion project or creating wearable tech, the LilyPad Arduino boards provide an easy, flexible platform for your designs.
Types of LilyPad Arduino Boards
The LilyPad Arduino family consists of various boards designed to cater to different project requirements. Below are the main types:
- Arduino LilyPad Simple
- Arduino LilyPad Simple Snap
- Arduino LilyPad USB
- Arduino LilyPad USB Plus
- Arduino LilyPad Main Board
1. Arduino LilyPad Simple
The LilyPad Simple is a fantastic option for beginners, featuring the ATMega328 microcontroller. This board has an easily identifiable pinout, making it great for projects that involve stitching components into fabric. It includes a built-in power supply socket and an on/off switch for convenient control.
Pinout:

- 9 digital I/O pins, 1 +3.3V pin, and 1 ground pin
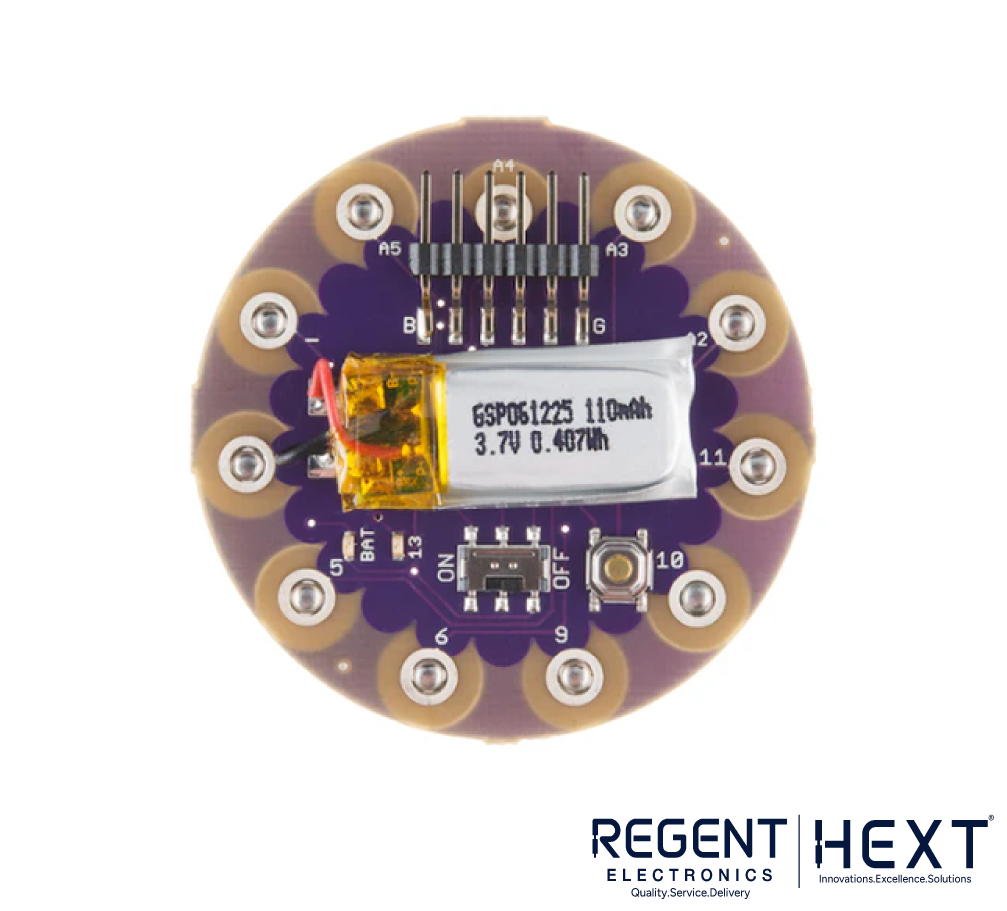
- Built-in Lithium Polymer battery charging circuit
- Power options: Micro-USB connector or a LiPo battery via the VCC port
- PWM pins: 5, 6, 9, 10, 11 (for 8-bit PWM output)
The LilyPad Simple board is ideal for controlling LEDs, sensors, and other small devices. Its simplicity and ease of use make it a great choice for those new to wearable electronics.
2. Arduino LilyPad Simple Snap
Similar to the LilyPad Simple, the SimpleSnap model incorporates female snap connectors instead of through-hole pins, making it easier to connect components without soldering. The board features an integrated lithium polymer battery and charging circuit.
Pinout:
- 9 I/O pins, 1 +5VDC, 1 ground
- Battery charging indicator LED
- PWM pins: 5, 6, 9, 10, 11
This board is perfect for projects where you need to frequently attach and detach components using snaps, all while keeping the electronics clean and safe from damage.
3. Arduino LilyPad USB

The LilyPad USB comes with an ATmega32u4 microcontroller, offering built-in USB communication. Unlike the other boards, this model doesn’t require a USB-to-serial adapter, simplifying the connection process. It includes a micro-USB connection and a JST connector for a 3.7V LiPo battery.
Pinout:

- 9 digital I/O pins, 1 +5VDC, 1 ground
- Built-in USB communication via ATmega32u4
- PWM pins: 3, 9, 10, 11, 13
This board is ideal for projects where USB communication is required, such as creating USB-powered wearable gadgets or using the board as a USB device.
4. Arduino LilyPad USB Plus

The LilyPad USB Plus offers additional features, including an integrated RGB LED and six white LEDs forming a bar graph. Powered by the ATmega32U4 chip, this board simplifies wearable projects by eliminating the need for an external power supply, thanks to the built-in JST power connector.
Pinout:

- 14 digital I/O pins (with 4 power and ground pins)
- 7 analog inputs
- Built-in power source via JST connector
- USB port for programming
This board is ideal for more advanced projects that require multiple I/O pins and visual feedback through LEDs.
5. Arduino LilyPad Main Board

The LilyPad Main Board is designed for projects that demand more analog input pins. It’s powered by the ATmega328 microcontroller and supports a wide voltage range (2 to 5 volts), making it versatile for various projects. It features a simple design with wide pin-out holes for easy stitching.
Pinout:
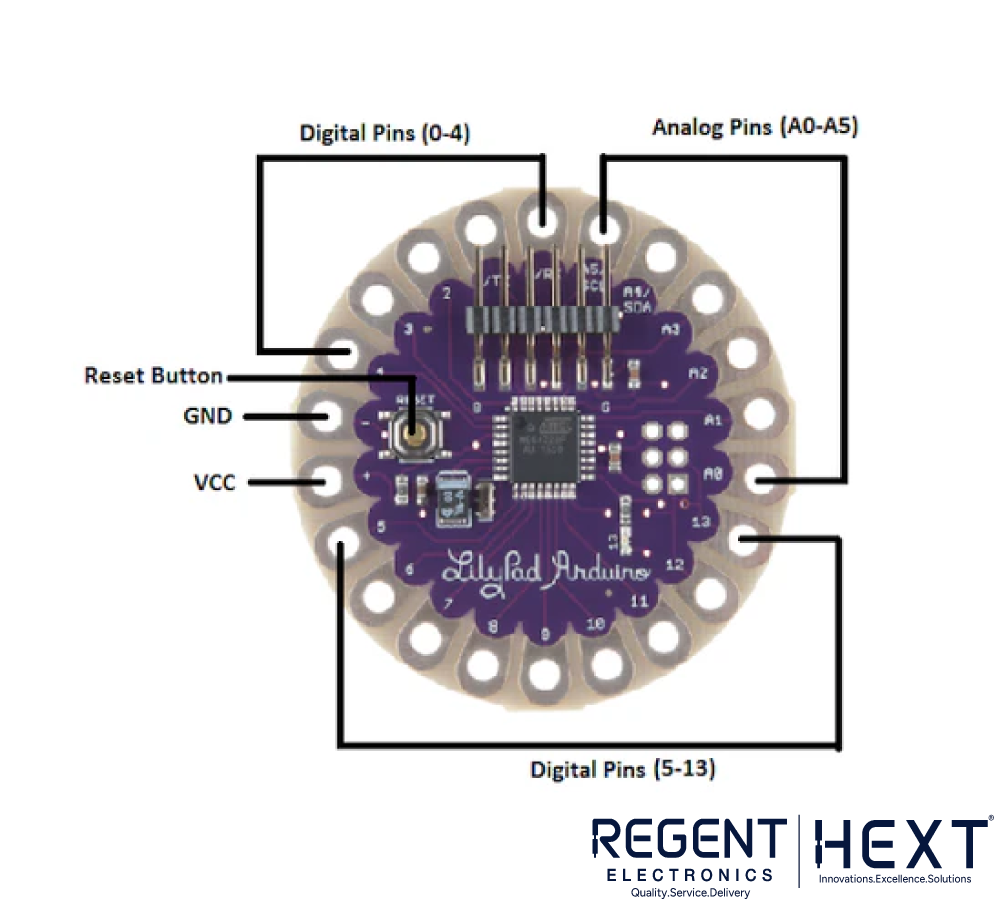
- 14 digital I/O pins
- 6 analog inputs (A0 to A5)
- PWM pins available
- Can operate between 2.7V and 5.5V
If your wearable tech project requires extensive analog sensing capabilities, the LilyPad Main Board is a great option for your design.
How to Use LilyPad Arduino with Arduino IDE
To use your LilyPad Arduino board with the Arduino Desktop IDE:
- Install the Arduino IDE on your computer.
- Connect your board using the USB-to-Serial adapter or other connection methods.
- Open the Blink sketch in the Arduino IDE.
- Select your board and port under the “Tools” menu.
- Upload the sketch to the LilyPad Arduino.
Key Differences Between LilyPad Boards
| Feature | LilyPad Simple | LilyPad Simple Snap | LilyPad USB | LilyPad USB Plus | LilyPad Main Board |
| Microcontroller | ATMega328 | ATMega328 | ATMega32u4 | ATMega32u4 | ATMega328 |
| Digital I/O Pins | 9 | 9 | 9 | 10 | 14 |
| Analog Input Pins | 4 | 4 | 4 | 7 | 6 |
| Programming Interface | FTDI | FTDI | USB | FTDI | FTDI |
| Battery Attachment | JST Connector | Built-in LiPo | JST Connector | Built-in LiPo | Sew Tabs |
Conclusion
LilyPad Arduino boards are an excellent choice for integrating electronics into wearable technology and e-textiles. Whether you’re a beginner or an advanced user, there is a LilyPad board that suits your needs. From controlling LEDs to collecting sensor data, the flexibility of these boards allows you to design innovative wearable projects with ease. Explore the various LilyPad Arduino models today to bring your ideas to life!