

DIY RGB Lights: A Step-by-Step Guide to Brighten Your Space with Custom Light Shows
If you’re looking for a fun and practical way to add a personalized touch to your home or office, creating your own DIY RGB lights is the perfect project! RGB (Red, Green, Blue) lights allow you to customize the atmosphere of any room, while also giving you the opportunity to dive into the world of electronics and coding. In this guide, we’ll walk you through creating your own DIY RGB light setup from scratch, giving you control over the colors, patterns, and effects to suit your unique style.
Materials You’ll Need for Your DIY RGB Light Project
Before you get started, gather the following materials to build your custom RGB light system:
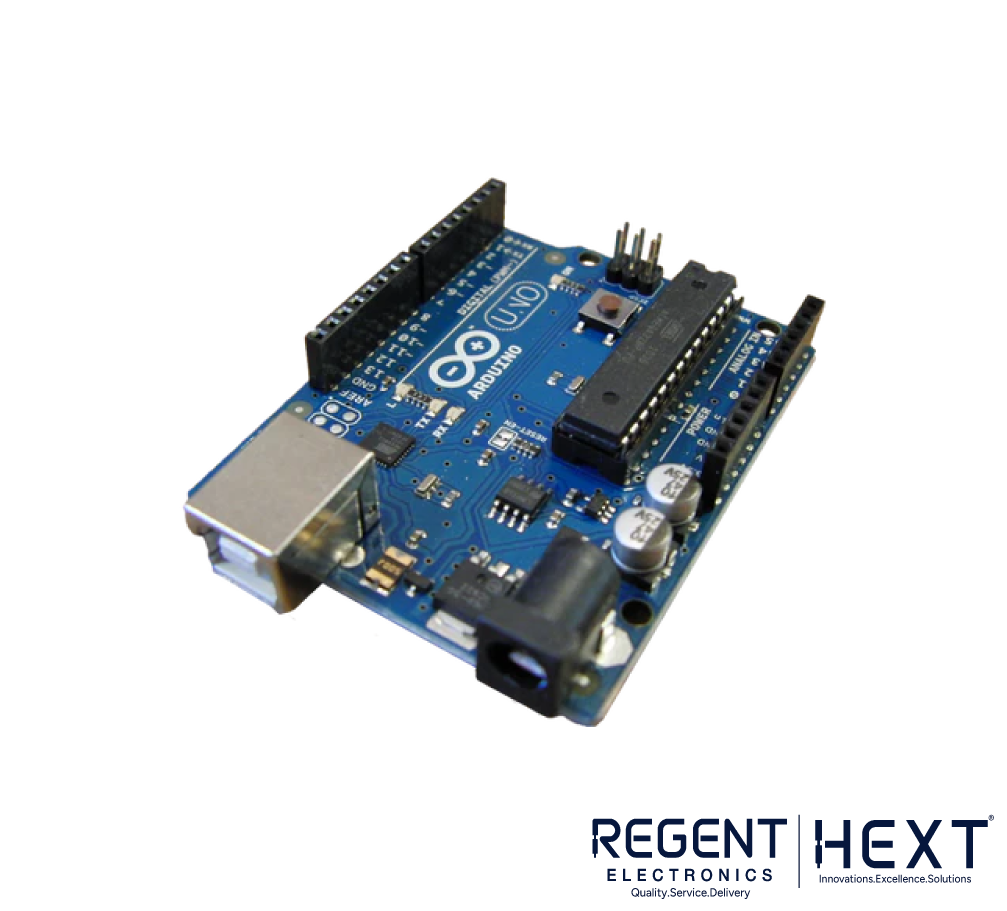


- Arduino Uno Board
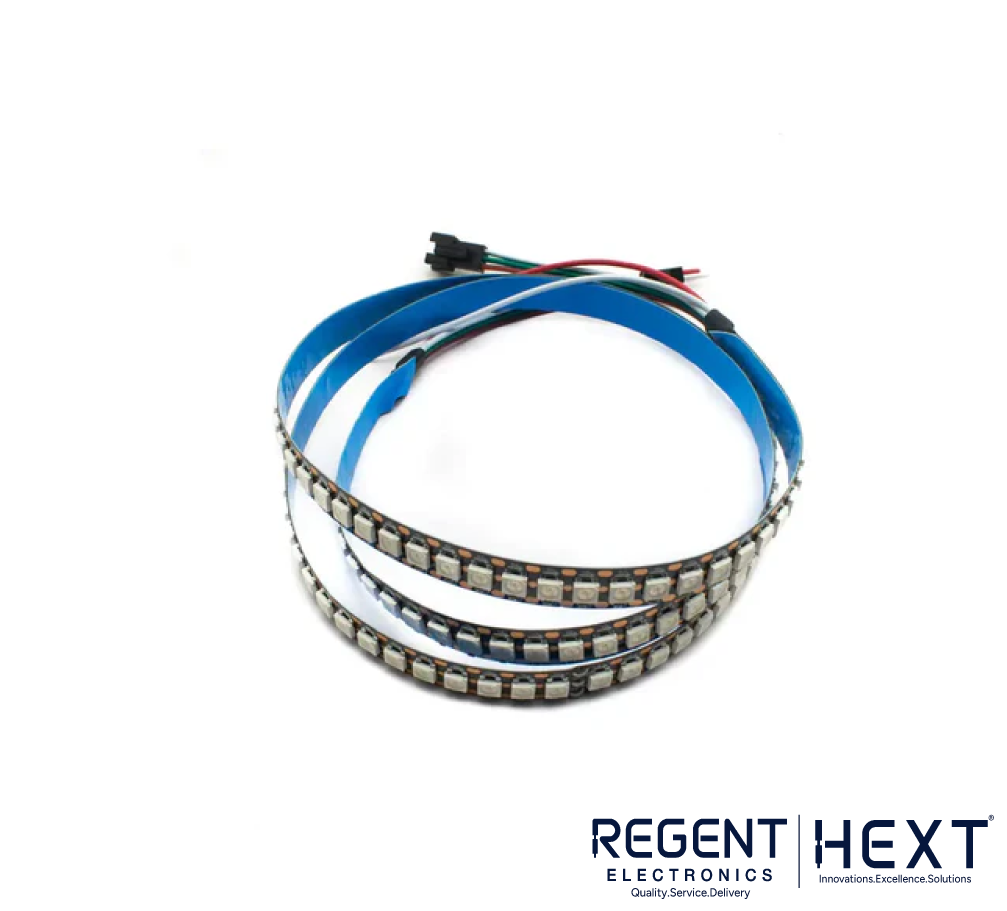
- RGB LED Strip or Individual RGB LEDs
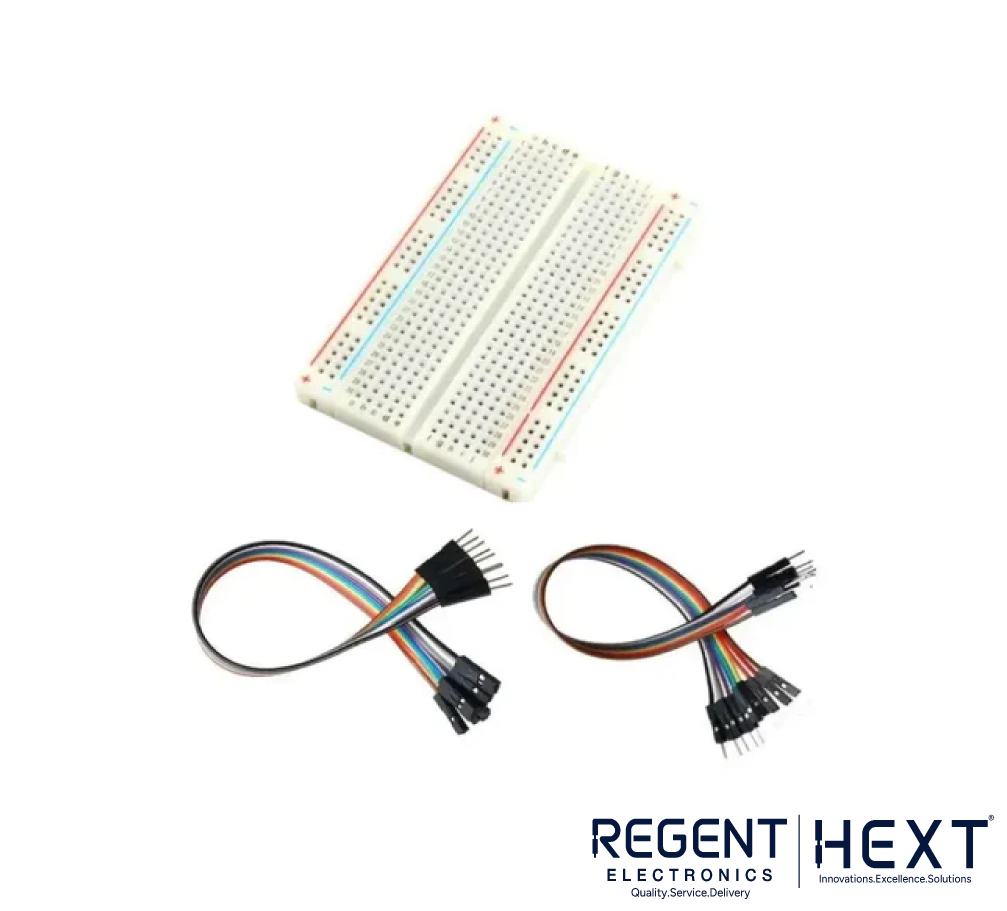
- Breadboard and Jumper Wires
- Resistors (220Ω or 330Ω)
- Power Supply
- NPN Transistors (e.g., 2N2222)

Step 1: Assemble the RGB LED Circuit
Connect the RGB LED Strip
Start by connecting your RGB LED strip to your breadboard. If you’re using individual RGB LEDs, ensure you correctly wire the common cathode or anode, depending on the type of LEDs.
Wire the Transistors
The transistors will control the current flow to the RGB LEDs. Connect the collector of each transistor to the red (R), green (G), and blue (B) pins of the RGB LED strip. The emitter pins of the transistors should be connected to the ground. Finally, wire the base of each transistor to a 220Ω resistor, which will then connect to the PWM pins (e.g., 9, 10, and 11) of the Arduino board.
Arduino Connections
Connect the Arduino to your computer via USB or use an external power source. Ensure the ground pin of the Arduino is connected to both the LED strip and the transistor circuit’s ground to complete the circuit.
Step 2: Write the Code for Your RGB Lights
Install Arduino IDE
If you haven’t already, download and install the latest version of the Arduino IDE from the official website.
Create the Code
Next, write the code in the Arduino IDE that will control the RGB light’s behavior. This code will include instructions for how the RGB LEDs should cycle through different colors and patterns based on PWM signals sent from the Arduino.
Upload the Code
Once you’ve written your code, upload it to your Arduino board and watch as your RGB lights come to life! You can easily modify the code to add more color transitions, sequences, or interactive effects.
Step 3: Test and Install Your RGB Lights
Test Your RGB Lights
Before installation, power up your Arduino and observe how the LED strip reacts. It should cycle through various colors, confirming that your circuit and code are working correctly.
Install the RGB Strip
Now that everything is functioning as expected, find the perfect spot for your RGB LED strip. You can mount it along the perimeter of a room, behind furniture, or on shelves. Use adhesive backing or mounting brackets to securely attach the strip to your desired location.
Customizing Your RGB Lighting Setup
Once your basic RGB lighting system is set up, there are plenty of ways to take it further. Here are some customization ideas to enhance your light show:
- Interactive Controls: Add buttons or potentiometers to let you manually adjust the colors of the lights in real-time.
- Wireless Remote Control: Incorporate an IR remote or Bluetooth module for remote control, giving you the flexibility to adjust colors from a distance.
- Sound Reactive Lights: Add a microphone module to make your RGB lights pulse and change colors in sync with the rhythm of music or sounds.
- Pre-set Color Patterns: Program advanced color sequences and patterns, such as a smooth gradient or flashing effects, to give your lights a dynamic, ever-changing look.
Conclusion
Creating your own DIY RGB light setup is an enjoyable and rewarding project that adds a touch of creativity and customization to your space. Whether you’re a beginner or have some experience with electronics and coding, this project provides a fantastic opportunity to learn and personalize your environment. By following this guide, you’ll have your own custom light show in no time, perfect for setting the mood or showcasing your DIY skills.
By incorporating key components like the Arduino Uno, RGB LED strips, and creative programming, you can easily transform any space with a vibrant and customizable lighting setup. Ready to start your own RGB lighting project? Head over to Regent Electronics for all the parts and supplies you need to get started!