
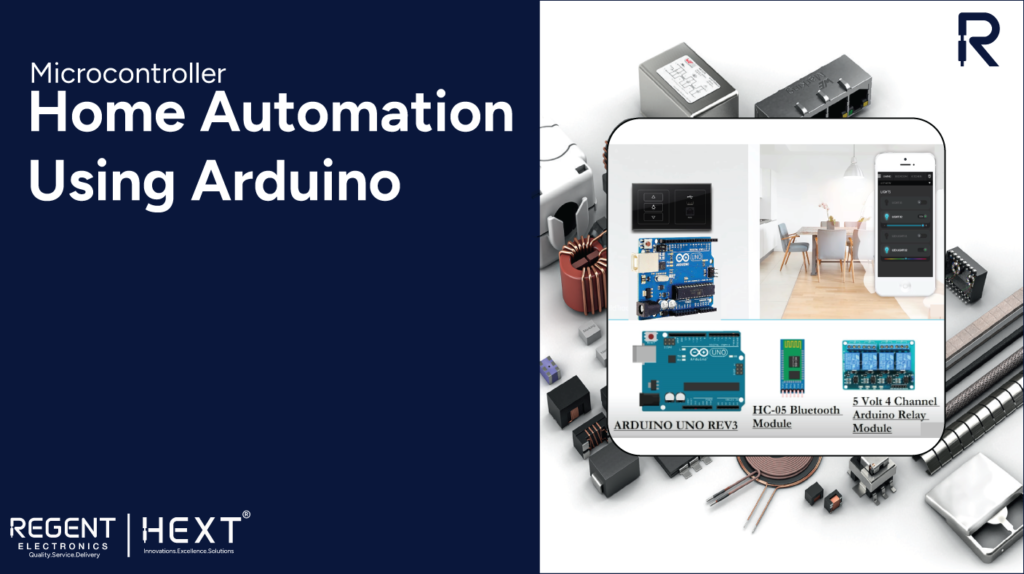
Home Automation Using Arduino: Simplify Your Life with Smart Technology
Introduction to Home Automation
In today’s fast-paced world, technology is evolving rapidly, and what seemed futuristic just a few years ago is now a part of everyday life. One of the most exciting advancements in technology is home automation, which allows you to control and monitor various aspects of your home with the touch of a button. In this blog, we will explore how to create a simple home automation system using an Arduino board, enabling you to automate various devices in your home, such as door locks, lights, and more.
Why Home Automation?
Everyone seeks convenience, and home automation offers just that. The demand for automated systems is increasing as people strive to save time, energy, and effort by automating everyday tasks. Why waste your energy on turning on lights, locking doors, or controlling appliances when you can automate these tasks effortlessly? Let’s dive into how you can design your very own home automation system using Arduino.
Components Required for Home Automation
To get started with home automation using Arduino, you will need the following components:
Hardware:
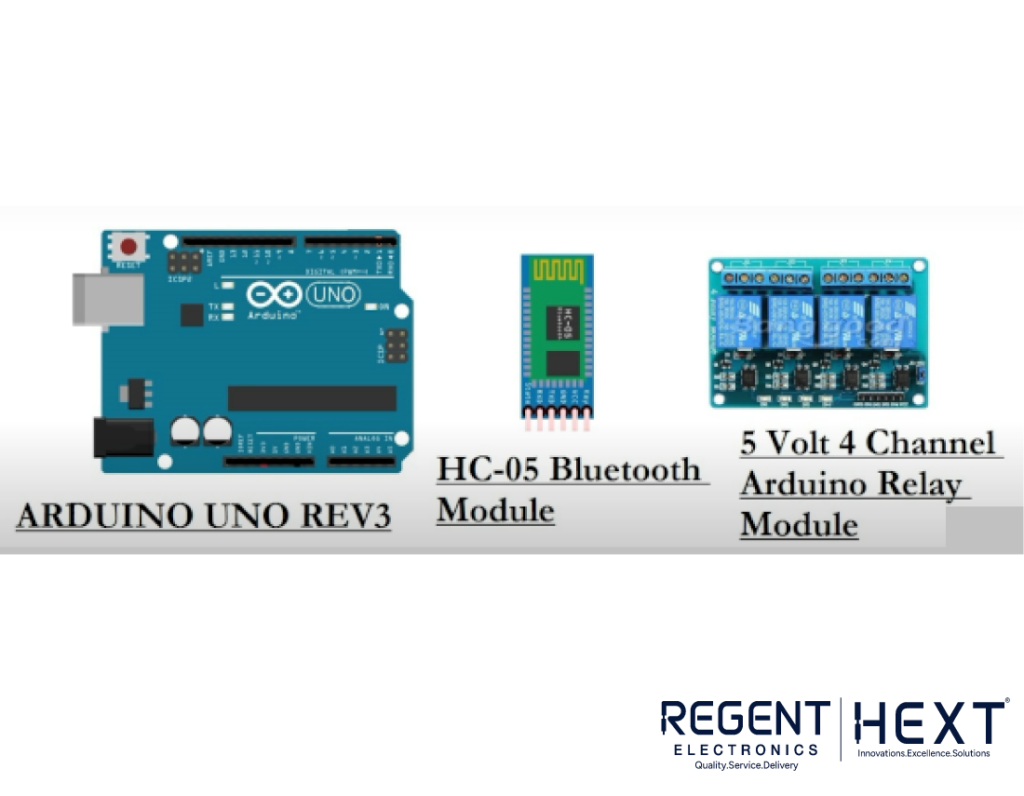
- Arduino Board (Uno/Nano)
- Keypad
- Door Lock Actuator
- Relay Module
- LCD Display
- Smartphone
- SIM800L GSM Module
Software:
- Arduino IDE
- Custom Code for Automation
Once you’ve gathered all the necessary components, you’ll be ready to design a custom home automation system. But before we jump into the design process, let’s outline a simple plan of action.
Step 1: Door Lock Automation
The first device we will automate is the door lock system. This system allows you to either text your Arduino system or enter a password to unlock the door.
- Method 1: Text Message Unlocking
Using the SIM800L GSM Module, you can send a text message to the system. The Arduino will verify the message and, if valid, will unlock the door. - Method 2: Password Unlocking
For this method, you will mount a keypad outside the door. The user enters a passcode, which the Arduino will verify. If the passcode is correct, the door will unlock; otherwise, a burglar alarm will be triggered.
These methods allow you to create an automated and secure way to control access to your home.
Step 2: Controlling Appliances with Relay Modules
Once the door system is automated, it’s time to automate other household appliances like lights and fans. Here, the Relay Module comes into play.
A relay is an electromechanical device that enables low-power Arduino systems to control high-voltage AC devices, such as lights or fans, safely. Relays are inexpensive and provide a practical solution for controlling AC appliances with a low-voltage DC system like Arduino.
However, when working with AC devices, it is essential to follow proper safety precautions to avoid electrical hazards.
Step 3: Bluetooth Control with HC-05
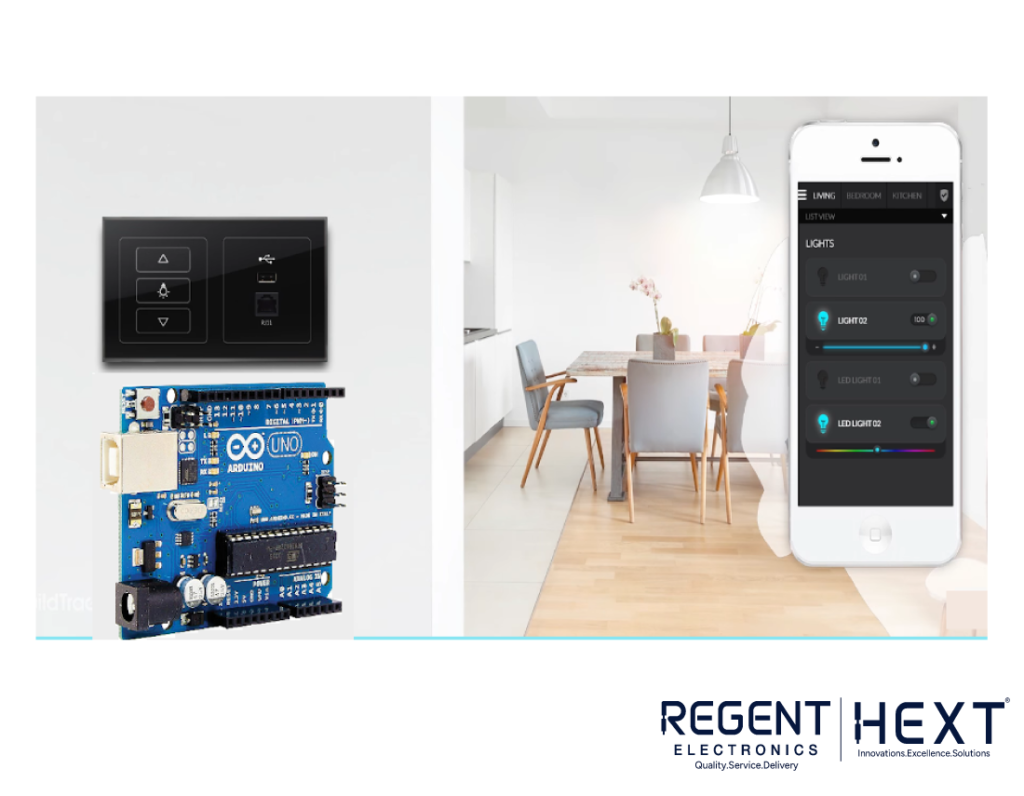
To control devices remotely from your smartphone, we’ll use Bluetooth technology. The HC-05 Bluetooth Module allows your Arduino system to communicate with your smartphone, enabling you to control home appliances with a simple app on your phone.
By establishing a Bluetooth connection between the Arduino and the smartphone, you can control various devices in your home without the need for physical switches.
For detailed instructions on how to connect the HC-05 Bluetooth module with Arduino and control your devices through a smartphone, check out our detailed guide on Bluetooth home automation.
Step 4: Motion Detection with PIR Sensor
Another useful feature of home automation is automatic light control based on motion detection. The PIR (Passive Infrared) Sensor detects movement and can be used to automatically turn lights on or off based on whether someone is in the room.
Here’s a simple Arduino code for motion detection with a PIR sensor:
cpp
CopyEdit
int relay = 11;
int sensor = 8;
int led = 13;
void setup() {
pinMode(relay, OUTPUT);
pinMode(sensor, INPUT);
pinMode(led, OUTPUT);
digitalWrite(relay, LOW);
digitalWrite(sensor, LOW);
digitalWrite(led, LOW);
while(millis() < 13000) {
digitalWrite(led, HIGH);
delay(50);
digitalWrite(led, LOW);
delay(50);
}
digitalWrite(led, HIGH);
}
void loop() {
if (digitalRead(sensor) == HIGH) {
digitalWrite(relay, HIGH);
delay(3000);
digitalWrite(relay, LOW);
while(digitalRead(sensor) == HIGH);
}
}
This simple motion detection code can be customized to suit your needs, allowing you to automate your home’s lighting system based on movement.
Step 5: Online Home Automation
Up until now, we’ve covered offline automation, but what if you want to control your home remotely, even when you’re not at home? This is where online home automation comes in.
To make your system online, you will need a cloud server. While it might sound expensive, there are free cloud servers like Blynk that you can use to make your home automation system accessible from anywhere.
You will also need an ESP Wi-Fi module to connect your Arduino system to the internet via your home router. Once connected, you can use a smartphone app (such as Blynk) to send commands from your phone to the cloud. The cloud will then communicate with your Arduino through an API, allowing you to control your home devices remotely.
Conclusion
In this blog, we’ve walked you through the basics of home automation using Arduino. We’ve covered door lock automation, appliance control using relay modules, Bluetooth control via the HC-05 module, and even motion detection with a PIR sensor. Additionally, we explored how to take your automation system online using a cloud server and Wi-Fi connectivity.
Home automation offers great convenience, efficiency, and security. If you’re interested in building your own smart home system, Regent Electronics offers a wide range of components, including Arduino boards, sensors, modules, and more, to help bring your ideas to life. Visit Regent Electronics today and start creating your own home automation system!
If you have any questions or want to dive deeper into home automation, feel free to leave a comment, and we’ll be happy to assist you!
4o mini