
How to Power Arduino Nano with Battery: A Complete Guide
Introduction
Are you trying to power your Arduino Nano with a battery for a portable project? Struggling to figure out how to do it? You’re in the right place! In this guide, we will show you how to easily power your Arduino Nano using different types of batteries, making your projects mobile and efficient.
The Arduino Nano is often used for portable applications due to its compact size and low power consumption. Whether you’re building a battery-powered project or working on something that requires mobility, powering your Arduino Nano with a battery can make your project much more versatile.
Ways to Power Arduino Nano with a Battery
You can use several types of batteries to power your Arduino Nano. Let’s look at the most common options:
- Lithium-Ion Batteries
- Lithium-Polymer (Li-Po) Batteries
- AA Rechargeable/Non-Rechargeable Batteries
- Other Battery Types

In this blog, we will focus on the most popular and accessible methods, such as Lithium-Ion and AA batteries. While Li-Po batteries are commonly used in high-performance applications like drones, they are not typically necessary for Arduino Nano projects. Instead, we’ll stick to the simpler and more commonly used options.
Powering Arduino Nano with Lithium-Ion Batteries
Lithium-Ion (Li-ion) batteries are an excellent choice for powering your Arduino Nano because they are affordable, easy to charge, and have a long life cycle. One of the most widely used types of Li-ion batteries is the 18650 cell.
Components Needed:
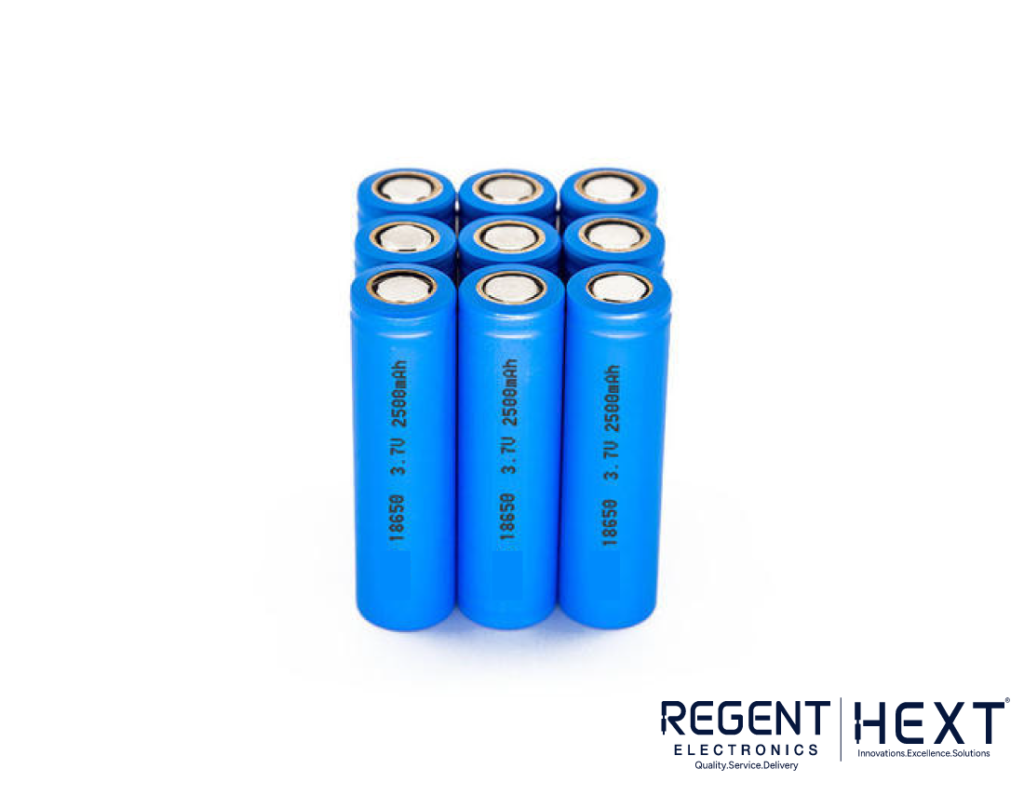
- Lithium-Ion Battery (18650 cell)
- Battery Holder
- Battery Protection Board
- Micro-USB Charger
Let’s go step-by-step to power your Arduino Nano with a Lithium-Ion battery.
Step 1: Place the Battery into the Holder
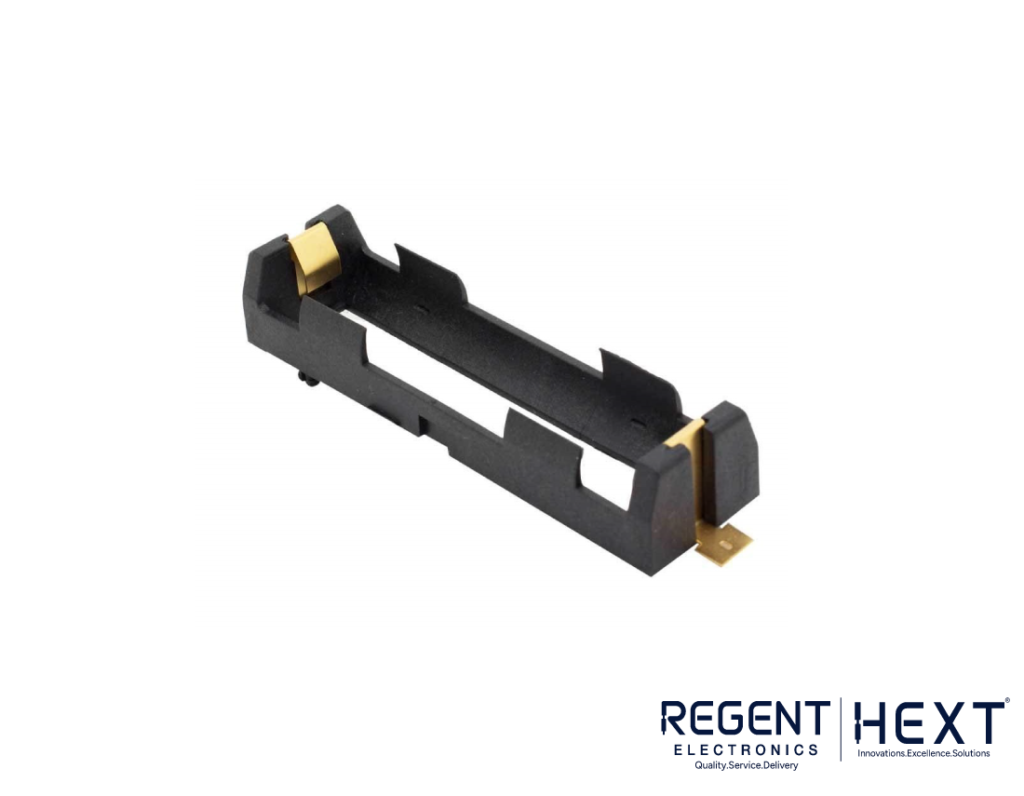
Select the appropriate battery holder based on the type of battery you’re using. For this guide, we will use the 18650 Li-Ion battery, so we need a holder designed for 18650 cells. Place the battery into the holder, ensuring the terminals align correctly.
Step 2: Connect the Battery Holder to the Protection Board
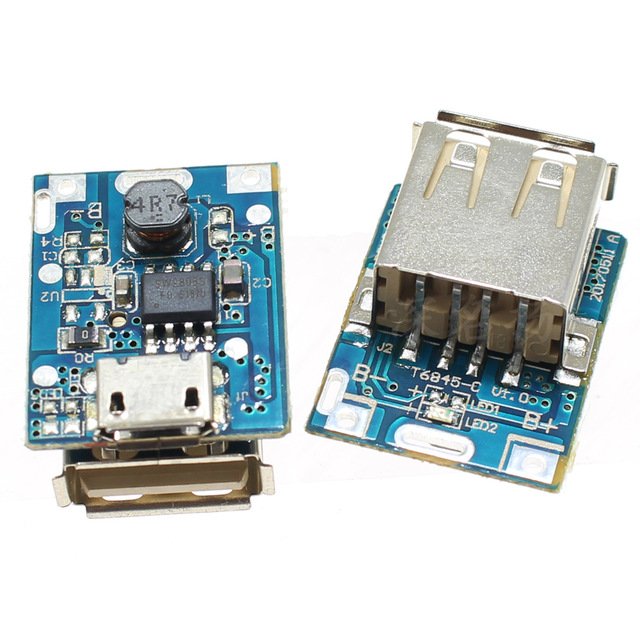
Next, connect the positive (+) and negative (-) terminals from the battery holder to the protection board. Be sure to solder the connections properly to avoid any issues. The protection board helps prevent overcharging and ensures the safe operation of the battery.
Step 3: Charge the Battery with a Micro-USB Charger
Now, you can charge your battery using a standard micro-USB phone charger. Simply connect the micro-USB port of the protection board to the charger. When the battery is fully charged, a green LED will light up, indicating that it’s ready for use.
Step 4: Connect the Protection Board to the Arduino Nano
Once the battery is charged, remove the micro-USB charger and connect the USB port of the Arduino Nano to the female USB port on the protection board. This will allow the battery to power the Arduino Nano. Your Arduino board will now be up and running.
This setup is ideal for creating portable Arduino projects, and the battery holder with a protection board can even double as a power bank for other devices such as your phone. It’s an incredibly versatile and efficient solution.
Advantages of Using Lithium-Ion Batteries for Arduino Nano:
- Affordable and easy to find – Lithium-Ion batteries are cost-effective and readily available.
- Good life cycle – These batteries last a long time, making them perfect for ongoing projects.
- Versatile – The battery setup can also serve as a power bank for charging other devices.
- Compact and lightweight – The battery and protection board combination is small, making it ideal for portable projects.
Alternative: Powering Arduino Nano with AA Batteries
If you don’t want to use Lithium-Ion batteries, you can also power your Arduino Nano using AA rechargeable batteries. For this, you will need AA battery holders, rechargeable AA batteries (NiMH), and a voltage regulator (since the Arduino Nano operates at 5V).
Conclusion
In this blog, we’ve explored how to power your Arduino Nano with different types of batteries, with a focus on using Lithium-Ion batteries for portable, mobile projects. We’ve covered the components needed, the setup process, and the benefits of using this type of battery for Arduino-based projects.
With Regent Electronics providing all the necessary components like Arduino boards, battery holders, protection boards, and more, you can easily gather everything you need to create your own battery-powered projects.
If you found this guide helpful or have any further questions, feel free to leave a comment below. We’re here to help you bring your projects to life!
Power your Arduino with ease and make your projects more versatile with battery-powered solutions from Regent Electronics.