

Interfacing a Buzzer with Arduino – Step-by-Step Guide with Code
Introduction
An electric buzzer is an audio signaling device that produces sound in the 1 to 7 kHz frequency range. Buzzers are widely used due to their affordability, lightweight design, and ease of use. They are commonly found in electric doorbells, alarm clocks, security systems, games, and electronic devices requiring auditory feedback.
In this guide, we will cover the basics of a buzzer, its types, and how to interface a buzzer with an Arduino. Let’s get started!
What is a Buzzer?
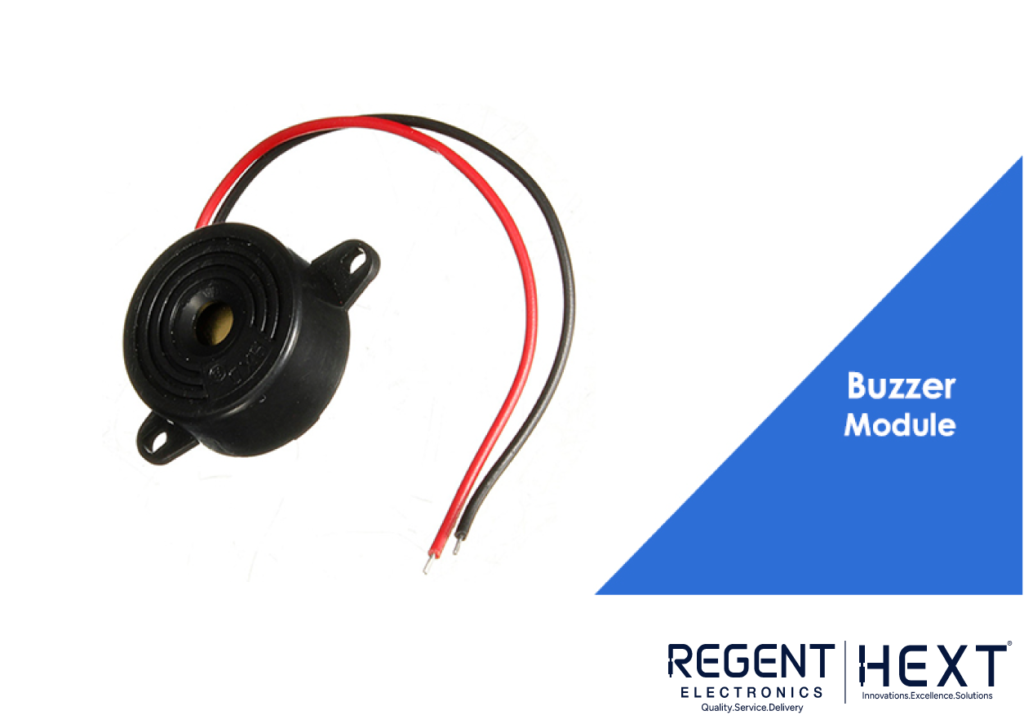
A buzzer, also known as a beeper, is an audio signaling device that generates sound within a specific frequency range. The human ear is particularly sensitive to this range, making it ideal for notification systems and alarms. Buzzers are used to produce clicks, beeps, and ringing sounds in various applications.
Types of Buzzers
Buzzers are broadly categorized into two types:
- Active Buzzers – These have an internal oscillator and require only a DC voltage to function.
- Passive Buzzers – Require an external frequency signal to produce sound.
Additionally, based on construction, buzzers are classified into:
1. Piezoelectric Buzzers

Piezoelectric buzzers work on the piezoelectric effect principle. They consist of a piezoelectric ceramic disc and a metal plate. When an alternating current (AC) is applied, the ceramic disc vibrates, producing sound.
2. Magnetic Buzzers
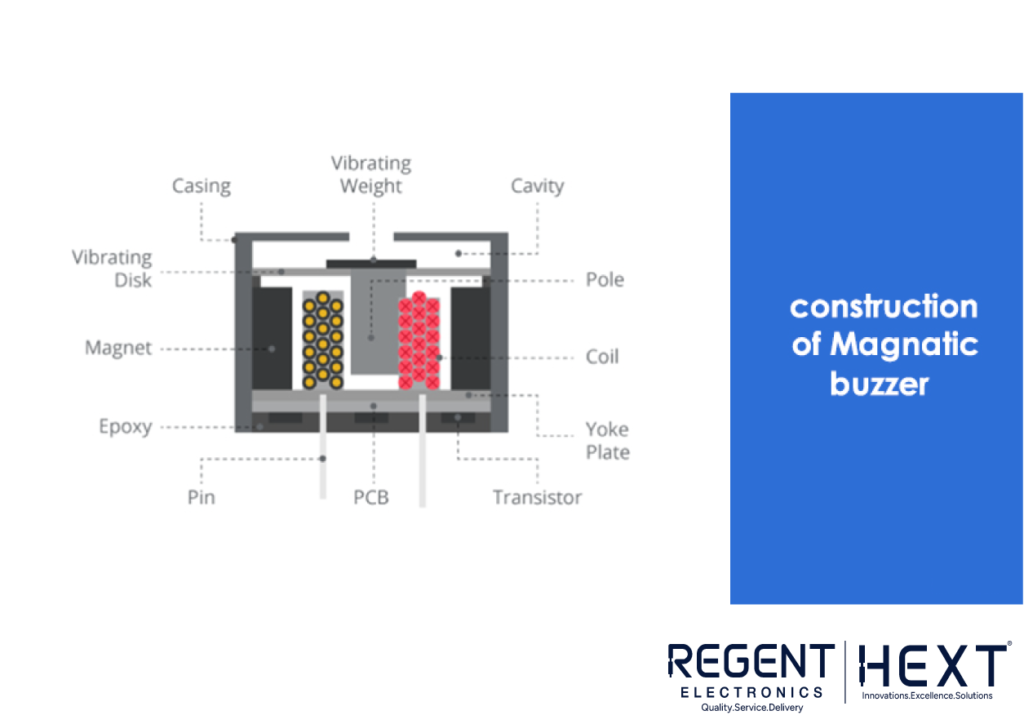
Magnetic buzzers consist of a ferromagnetic disc and coil. When current is applied, the electromagnetic force attracts the disc, creating vibrations that generate sound.
3. Electromagnetic Buzzers

Electromagnetic buzzers are a combination of an oscillator, solenoid coil, magnet, and vibration diaphragm. When powered, an oscillator generates current, passing through the solenoid coil and producing a magnetic field. This interaction causes the diaphragm to vibrate, producing sound.
Interfacing a Buzzer with Arduino

Required Components
To interface a buzzer with an Arduino, you will need:
- Piezo Buzzer
- Arduino Uno
- 100-ohm Resistor
- Jumper Wires
- Breadboard
Circuit Connections

- Connect the positive terminal of the buzzer to Digital Pin 10 on the Arduino.
- Connect the negative terminal of the buzzer to the GND pin on the Arduino through a 100-ohm resistor.
Arduino Code
Below is a simple code to generate sound using a buzzer:
const int SPEAKER = 10; // The speaker is connected to pin 10
int freq = 50; // Starting frequency
void setup() {
pinMode(SPEAKER, OUTPUT);
}
void loop() {
freq += 100; // Increase frequency
if (freq > 8000) {
noTone(SPEAKER);
freq = 50;
}
tone(SPEAKER, freq);
delay(100);
}
Bonus: Play a Mario Theme Song on the Buzzer
If you want to make your project more fun, you can program the buzzer to play the Mario theme song using predefined frequency values.
Download Mario Theme Code (Link to the code file if needed)
Applications of Buzzers
Buzzers are used in various applications, including:
- Alarm Systems – Home security, smoke alarms, and intrusion detection systems.
- Notification Systems – Keypad feedback, washing machines, and microwave ovens.
- Stud Lights – Used in roads to indicate lane divisions.
- Games and Toys – Interactive gaming controllers and alert systems.
Conclusion
In this blog, we explored the buzzer, its types, and how to interface it with an Arduino. By following the step-by-step guide and code, you can easily integrate a buzzer into your Arduino projects.
If you have any questions or suggestions, feel free to drop a comment below. We’d love to hear about your experiences and projects!
Happy coding! 🚀