
Real-Time YouTube Subscriber Display with Arduino Nano ESP32 and MAX7219 Display Module
The Arduino Nano ESP32 is the latest IoT development board from Arduino, designed to bring powerful features in a compact size. Built around the ESP32-S3 microcontroller, this board offers exceptional capabilities, including Wi-Fi and Bluetooth connectivity, a dual-core 32-bit processor, 16MB flash memory, and 512KB SRAM. It supports both Arduino and MicroPython programming and seamlessly integrates with the Arduino IoT Cloud. Equipped with a USB-C connector for easy programming and debugging, the Arduino Nano ESP32 is an excellent choice for IoT applications.
In this project, we will create a real-time YouTube Subscriber Display using the Arduino Nano ESP32 and the MAX7219 LED Dot Matrix Display Module. This project not only highlights the capabilities of the new board but also provides insight into potential challenges you may encounter while working with it. Let’s get started!
What is an Arduino Nano ESP32?
The Arduino Nano ESP32 combines the compact form factor of the Nano series with the powerful features of the ESP32-S3 microcontroller. With a dual-core 32-bit LX7 processor, 16MB flash, 8MB RAM, and built-in Wi-Fi/Bluetooth 5.0, this board is perfect for various IoT and embedded projects.
How to Program the Arduino Nano ESP32?
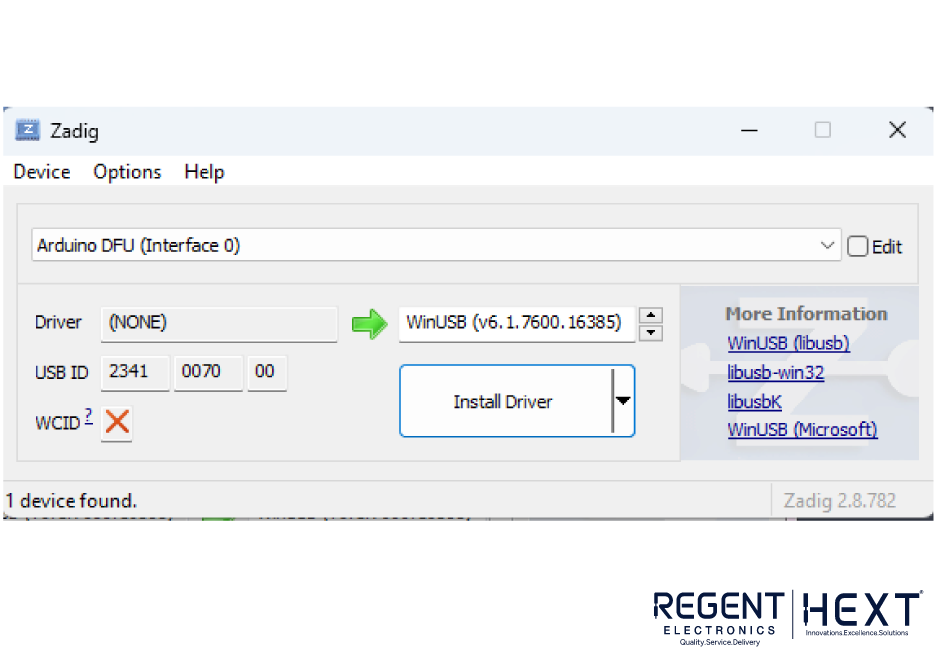
Programming the Arduino Nano ESP32 is similar to other Arduino boards. However, it utilizes the DFU method and JTAG for uploading, requiring the installation of the Zadig USB driver before uploading any code.
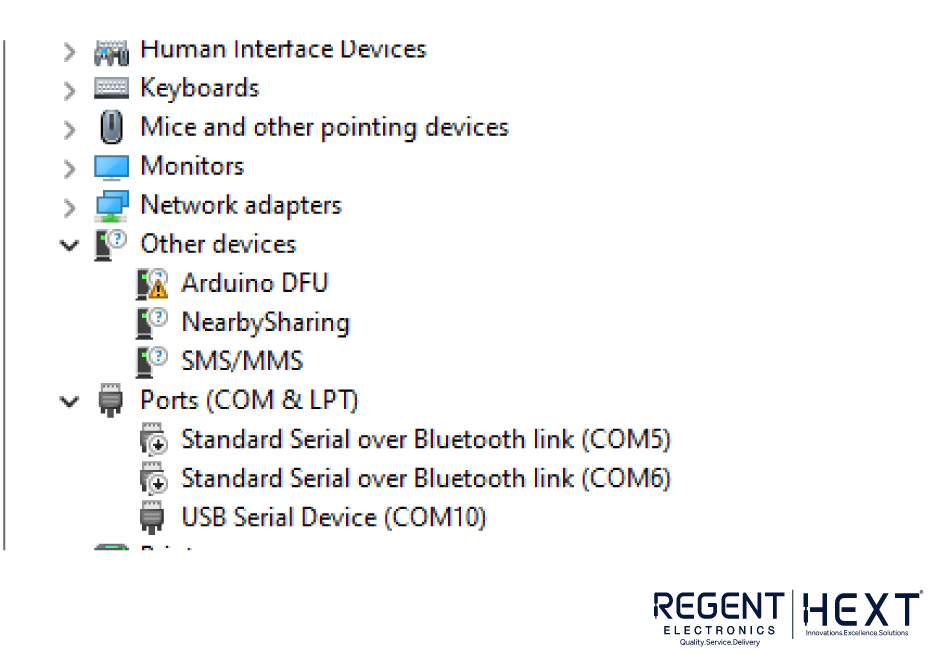
Updating the Arduino Nano ESP32 Driver
To update the driver, use the Zadig USB driver installer, which automatically detects and installs the missing driver for the Arduino Nano ESP32.
Components Required
To build the YouTube Subscriber Display, you will need the following components:

- Arduino Nano ESP32 Development Board – 1
- MAX7219 Dot Matrix Display – 2
- Jumper Wires – 5
- DC Barrel Jack – 1
- 3D Printed Enclosure – 1
- Acrylic Sheet for Cover – 1
- Soldering Kit (Solder & Soldering Iron)
- Power Adapter – 1
The MAX7219 Dot Matrix Display
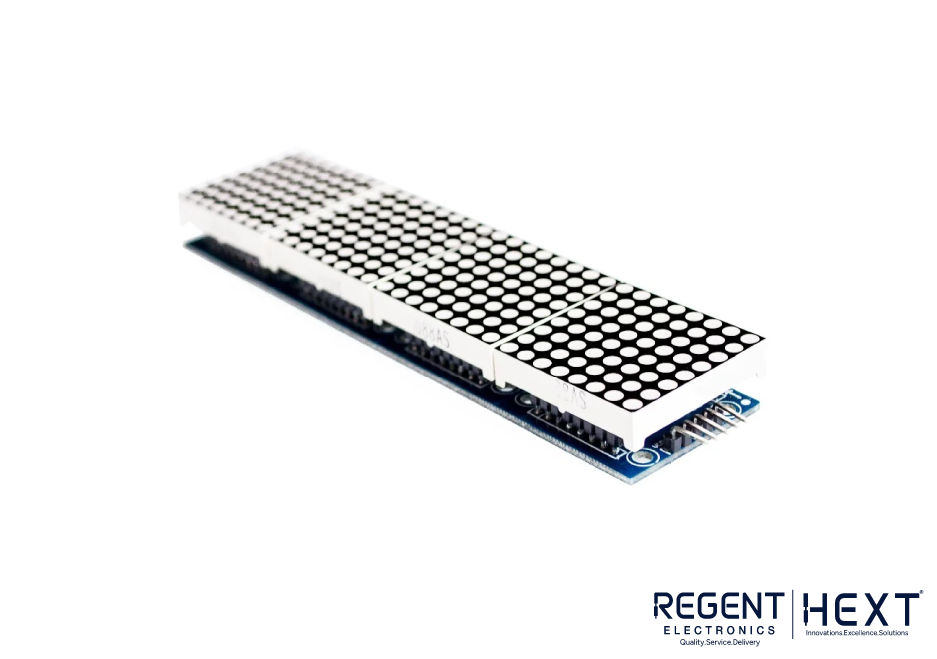
The MAX7219 is a powerful integrated circuit that controls LED dot matrix displays. It simplifies the wiring and reduces the number of GPIO pins required for controlling LED displays, making it a popular choice for electronic display applications.
Circuit Diagram and Connections
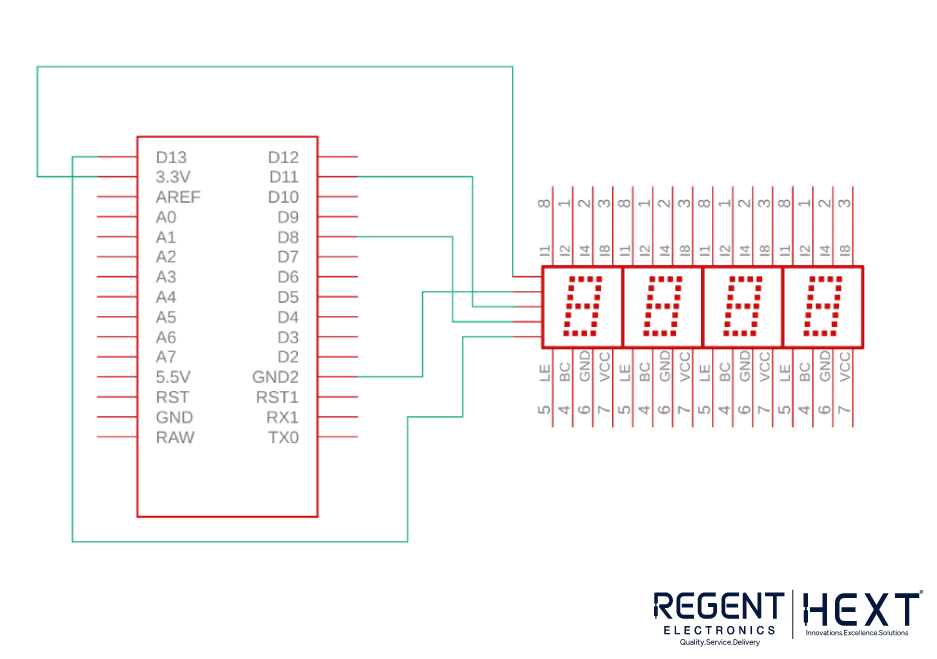
Below is the connection setup between the Arduino Nano ESP32 and the MAX7219 Dot Matrix Display:
| Arduino Nano ESP32 Pin | MAX7219 Display Pin |
| 3.3V | VCC |
| GND | GND |
| D8 | CS |
| D13 | CLK |
| D11 | DATA |
Code for YouTube Subscriber Display
Below is an overview of the code required to fetch and display the subscriber count.
#include <MD_Parola.h>
#include <MD_MAX72xx.h>
#include <SPI.h>
#include “Arduino.h”
#include <WiFi.h>
#include <WiFiClientSecure.h>
#include <HTTPClient.h>
#include <ArduinoJson.h>
#include “theSwedishMaker.h”
#define HARDWARE_TYPE MD_MAX72XX::FC16_HW
#define MAX_DEVICES 8
#define CS_PIN 8
const char* ssid = “your_wifi_ssid”;
const char* password = “your_wifi_password”;
const char* serverName = “https://api.example.com/subscribers”;
MD_Parola P = MD_Parola(HARDWARE_TYPE, CS_PIN, MAX_DEVICES);
WiFiClientSecure client;
void setup() {
P.begin();
P.setIntensity(10);
P.setFont(NULL);
P.displayClear();
Serial.begin(115200);
WiFi.begin(ssid, password);
while (WiFi.status() != WL_CONNECTED) {
delay(500);
}
client.setInsecure();
}
void loop() {
if (WiFi.status() == WL_CONNECTED) {
HTTPClient http;
http.begin(serverName);
int httpResponseCode = http.GET();
if (httpResponseCode > 0) {
String response = http.getString();
DynamicJsonDocument doc(1024);
deserializeJson(doc, response);
String subscriberCount = doc[“subscriberCount”].as<String>();
P.print(subscriberCount);
}
http.end();
}
delay(60000); // Refresh every 60 seconds
}
Conclusion
In this project, we successfully built a real-time YouTube Subscriber Display using the Arduino Nano ESP32 and MAX7219 Display Module. We fetched the subscriber count from an API and displayed it on an LED matrix. This project highlights Wi-Fi connectivity, API interaction, JSON data handling, and LED matrix display control. The Arduino Nano ESP32 proves to be a versatile and powerful choice for IoT projects, opening up endless possibilities for innovation.
Stay tuned for more exciting IoT projects!