

How to Calibrate Raspberry Pi Touchscreen Display
If you’re experiencing inaccurate touch response on your Raspberry Pi touchscreen display, proper calibration is essential to enhance touch precision. In this step-by-step guide, we’ll walk you through the process of calibrating your Raspberry Pi touchscreen to ensure an accurate and responsive touch experience.
Why Touchscreen Calibration is Important
Many users report issues where the touchscreen pointer does not align correctly with their touch inputs. Calibration helps fine-tune the display for precise interactions, making it easier to navigate and use applications efficiently.
Before beginning the calibration process, ensure that your display is set up correctly. Now, let’s get started!
Step 1: Enter Root Mode
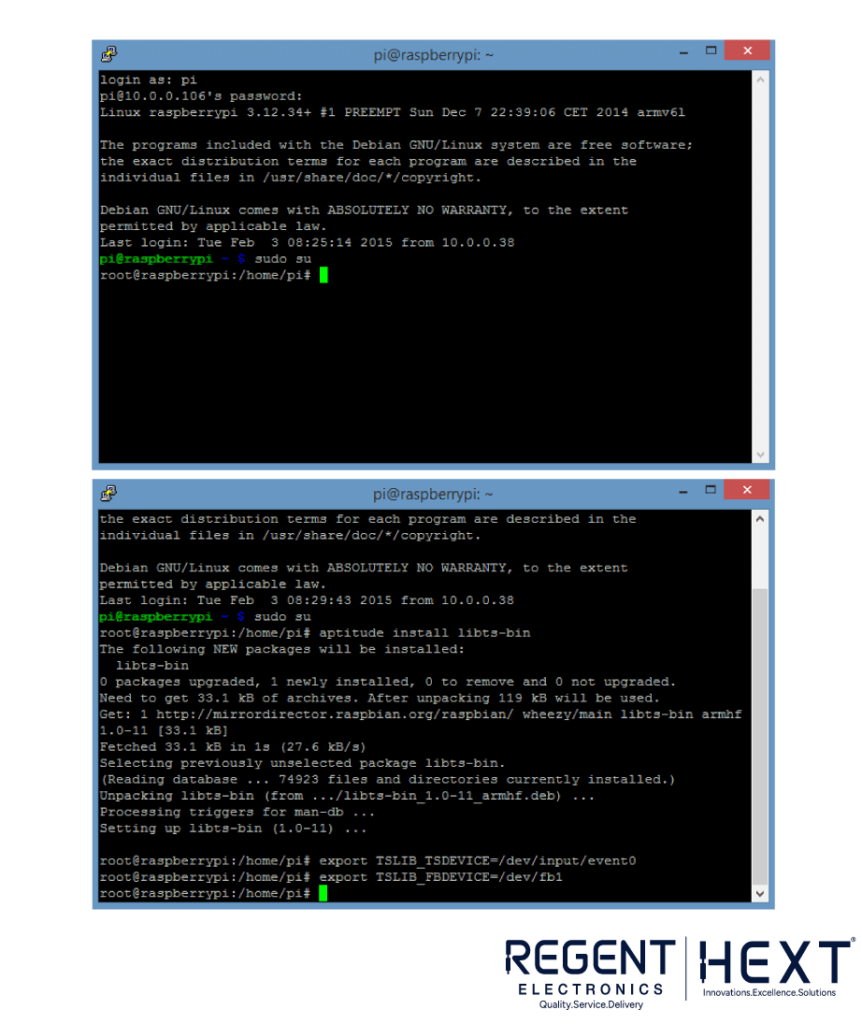
To perform calibration, you need superuser (root) privileges. Open the terminal and enter the following command:
sudo su
This grants the necessary permissions to make system changes.
Step 2: Install Calibration Tool
Now, install the required calibration tool, xinput_calibrator, along with other necessary libraries for touchscreen adjustments:
aptitude install libts-bin
This installs the tslib library, which helps in touchscreen response control. A configuration file /etc/ts.conf is created, where you can tweak settings for optimizing pointer response.
Step 3: Set Environmental Variables
Before using the calibration tool, set the necessary environmental variables:
export TSLIB_TSDEVICE=/dev/input/event0
export TSLIB_FBDEVICE=/dev/fb1
These variables need to be re-entered every time you restart your Raspberry Pi or log out of your SSH session.
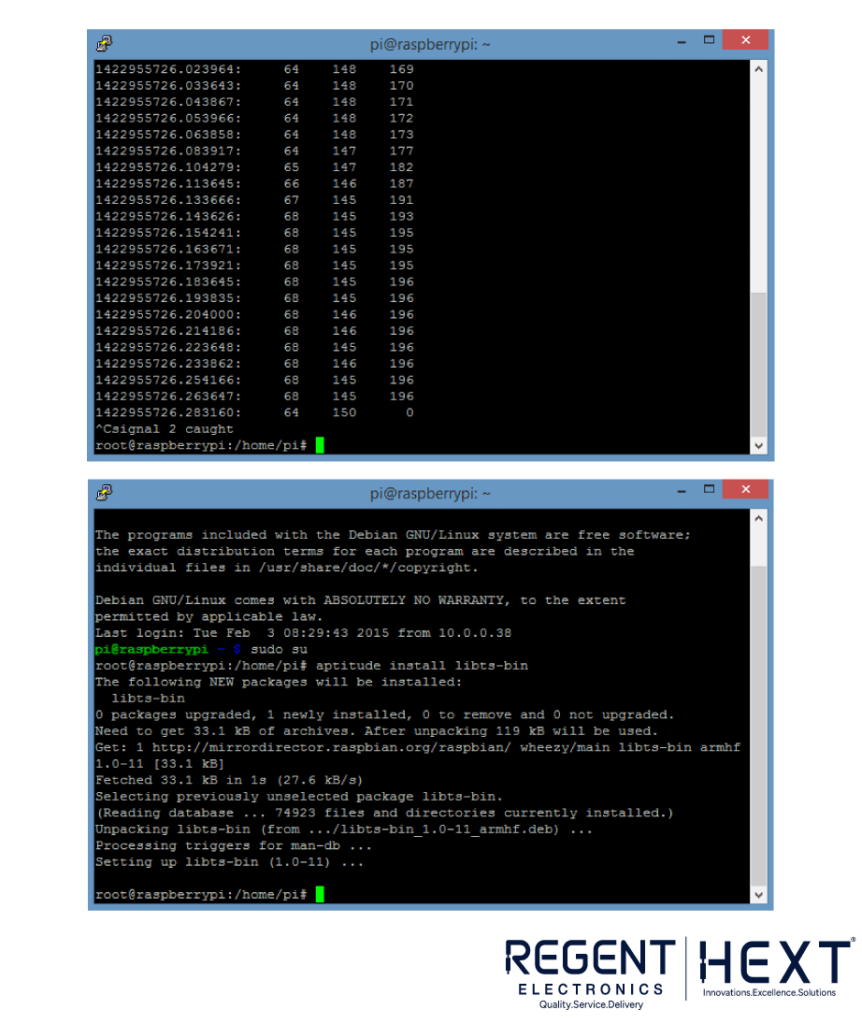
Step 4: Run the Calibration Tool
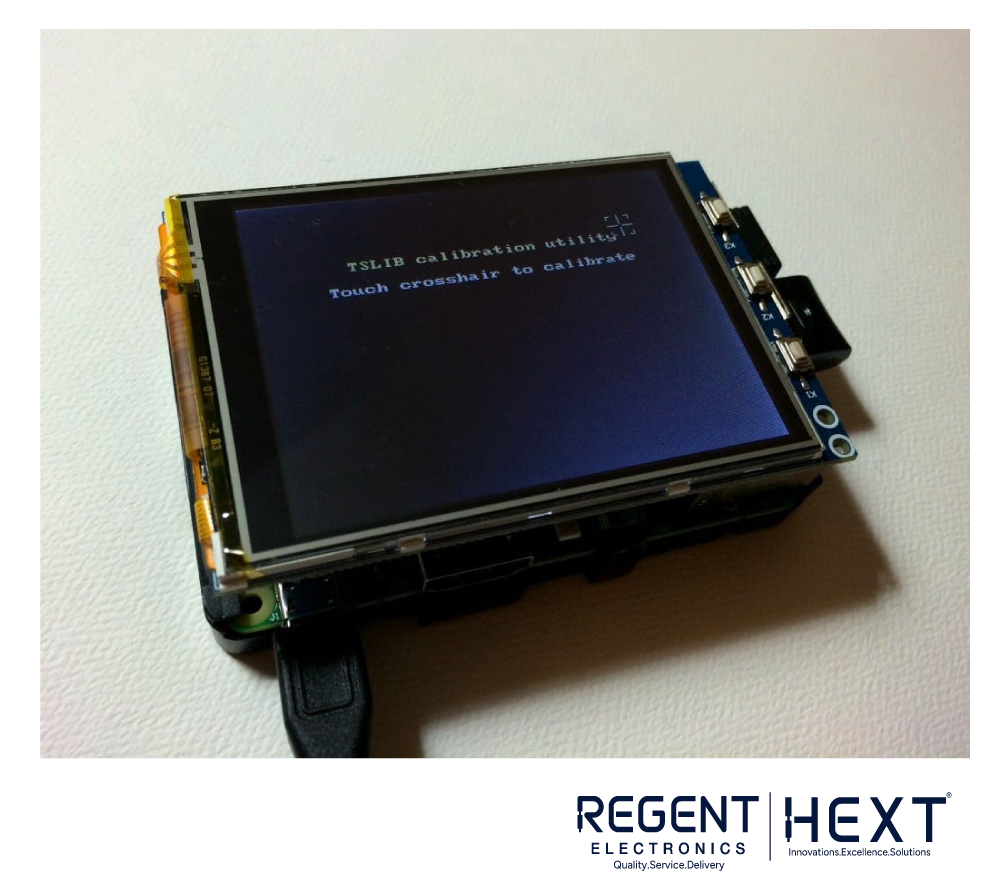
Now, start the calibration process using the following command:
ts_calibrate
You’ll see five crosses appear at different screen positions. Carefully tap each cross as accurately as possible.
Once completed, PuTTY will display the calibration data. This data is stored in the file /etc/pointercal. To view it, run:
cat /etc/pointercal

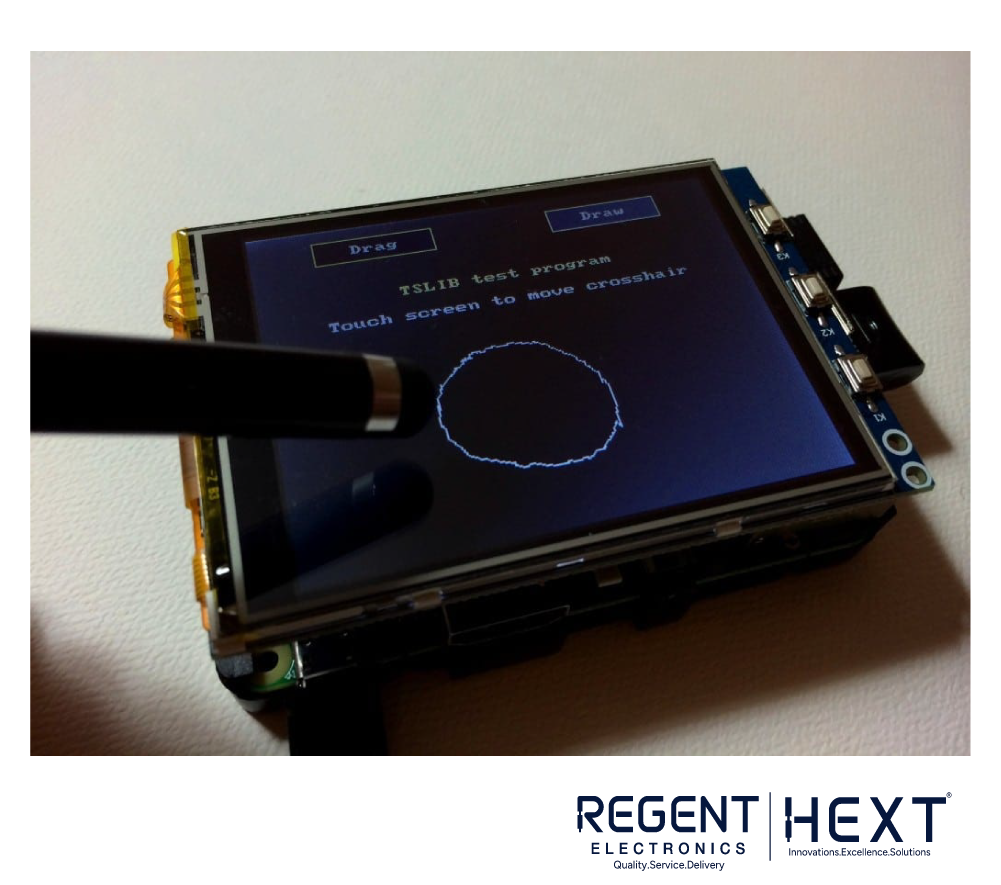
Step 5: Test the Calibration
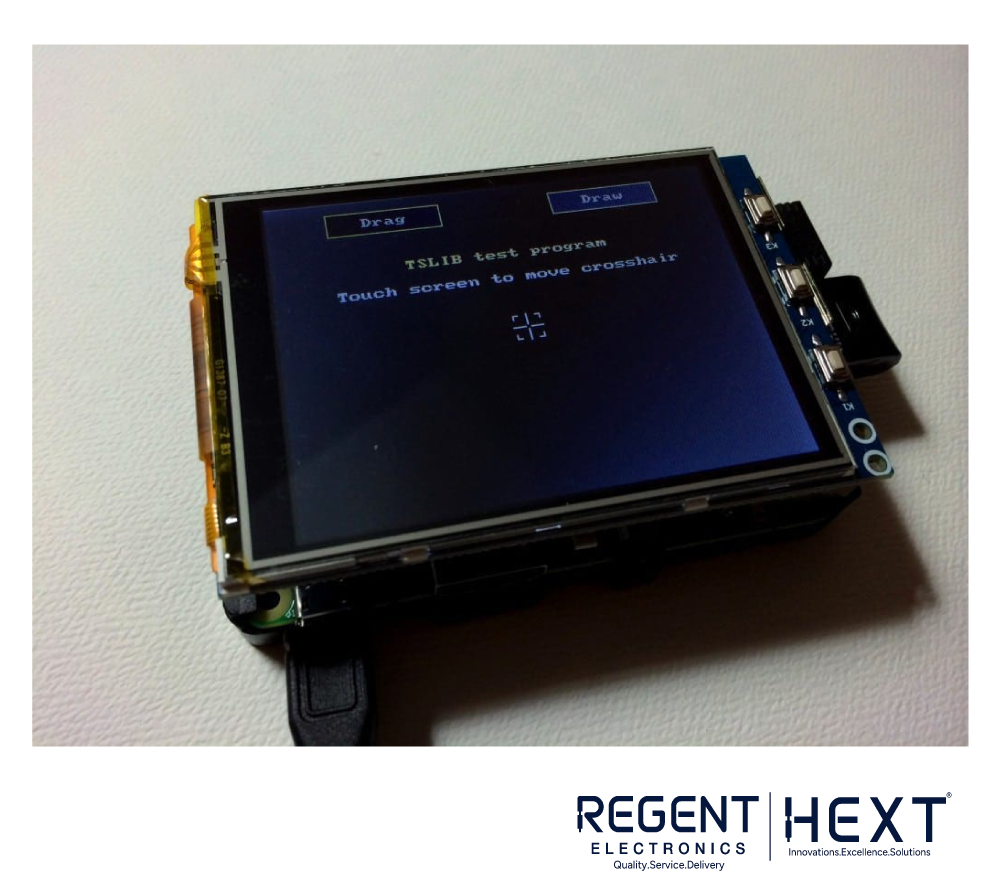
To verify if the calibration was successful, use the testing program:
ts_test
A cross will appear on the screen. Move it around and observe how closely it follows your finger or stylus.
To further test, press the “Draw” button and move your finger or stylus around the screen to check accuracy.
If the touch response is still inaccurate, repeat the calibration process.
Final Step: Save and Reboot
Once you’re satisfied with the calibration, reboot your Raspberry Pi for the settings to take effect:
sudo reboot
After rebooting, your Raspberry Pi touchscreen should now be properly calibrated, providing an improved touch experience.
Conclusion
Although this process takes a few steps, it significantly improves the accuracy of your Raspberry Pi touchscreen display. If you face any issues during the setup or have further questions, feel free to leave a comment below.
If you found this guide helpful, share it with your friends! Stay tuned for more Raspberry Pi tutorials from Regent Electronics. Happy tinkering!