
How to Install OpenCV on Raspberry Pi
Installing OpenCV on a Raspberry Pi is an essential step for anyone interested in computer vision. This guide will walk you through the installation process in a simple and structured manner.
Why Install OpenCV on Raspberry Pi?
OpenCV is a powerful library of programming functions designed for real-time computer vision. It allows you to perform image and video processing, enabling applications like motion detection and facial recognition.
Raspberry Pi is an excellent platform for learning OpenCV due to its affordability, flexibility, and ease of use.
Required Materials
- Raspberry Pi (1, 2, 3, or 4)
- Micro SD Card
- Power Supply
- Ethernet or WiFi Connection
- Raspberry Pi Camera Module or USB Webcam
Optional: Raspberry Pi Case
Installing OpenCV on Raspberry Pi
Before we begin, ensure that your Raspberry Pi’s software packages are up-to-date by running the following commands:
sudo apt update
sudo apt upgrade
Step 1: Install Necessary Dependencies
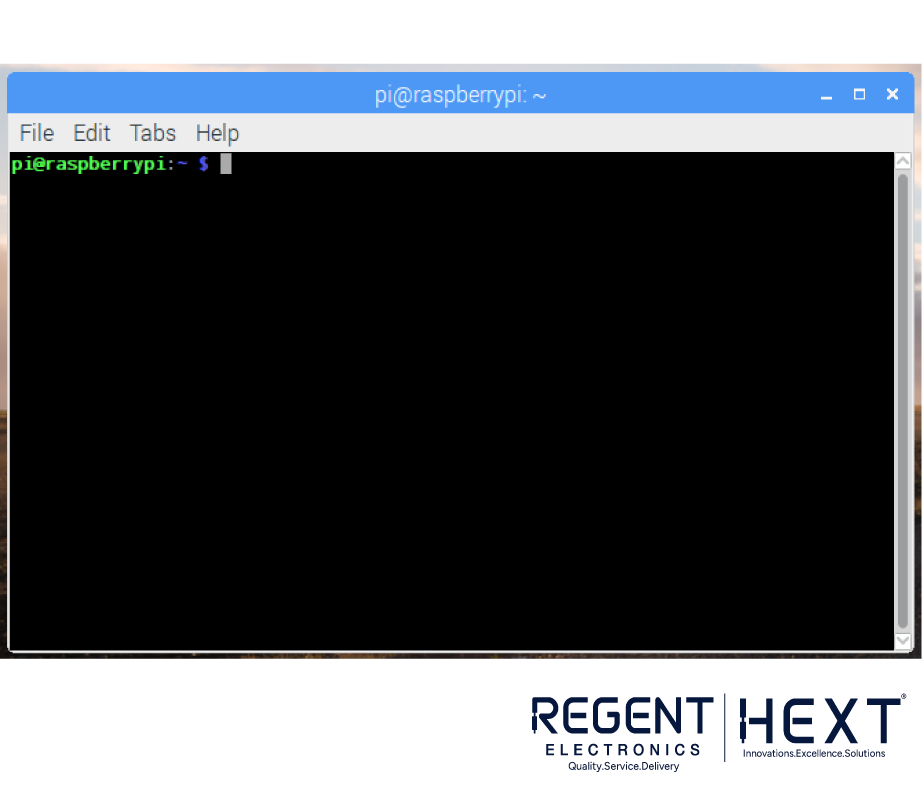
Run the following commands to install all required packages step by step.
sudo apt install cmake build-essential pkg-config git
sudo apt install libjpeg-dev libtiff-dev libjasper-dev libpng-dev libwebp-dev libopenexr-dev
sudo apt install libavcodec-dev libavformat-dev libswscale-dev libv4l-dev libxvidcore-dev libx264-dev libdc1394-22-dev libgstreamer-plugins-base1.0-dev libgstreamer1.0-dev
sudo apt install libgtk-3-dev libqtgui4 libqtwebkit4 libqt4-test python3-pyqt5
sudo apt install libatlas-base-dev liblapacke-dev gfortran
sudo apt install libhdf5-dev libhdf5-103
sudo apt install python3-dev python3-pip python3-numpy
Ensure all installations complete successfully before proceeding.
Step 2: Increase Swap Space
Increase the swap file size to help with the compilation process.
sudo nano /etc/dphys-swapfile
Change the following line:
CONF_SWAPSIZE=100
to:
CONF_SWAPSIZE=2048
Save and close the file, then restart the swap service:
sudo systemctl restart dphys-swapfile
Step 3: Download OpenCV Source Code
Clone OpenCV repositories to your Raspberry Pi:
git clone https://github.com/opencv/opencv.git
git clone https://github.com/opencv/opencv_contrib.git
Step 4: Compile OpenCV
Create a build directory and navigate to it:
mkdir ~/opencv/build
cd ~/opencv/build
Use cmake to generate the build files:
cmake -D CMAKE_BUILD_TYPE=RELEASE \
-D CMAKE_INSTALL_PREFIX=/usr/local \
-D OPENCV_EXTRA_MODULES_PATH=~/opencv_contrib/modules \
-D ENABLE_NEON=ON \
-D ENABLE_VFPV3=ON \
-D BUILD_TESTS=OFF \
-D INSTALL_PYTHON_EXAMPLES=OFF \
-D OPENCV_ENABLE_NONFREE=ON \
-D CMAKE_SHARED_LINKER_FLAGS=-latomic \
-D BUILD_EXAMPLES=OFF ..
Compile OpenCV (this may take some time):
make -j$(nproc)
Step 5: Install OpenCV
Once compilation is complete, install OpenCV:
sudo make install
sudo ldconfig
Cleaning Up
Reduce the swap size back to 100MB:
sudo nano /etc/dphys-swapfile
Change:
CONF_SWAPSIZE=2048
to:
CONF_SWAPSIZE=100
Restart the swap service:
sudo systemctl restart dphys-swapfile
Testing OpenCV Installation

To verify that OpenCV is installed, open Python and run:
python3
import cv2
cv2.__version__
If OpenCV is installed correctly, you will see the version number displayed.
Conclusion

Installing OpenCV on Raspberry Pi requires patience, but once set up, it unlocks a range of computer vision capabilities. If you encounter any issues or have suggestions, feel free to leave a comment.
Stay tuned for more Raspberry Pi tutorials from Regent Electronics!
