
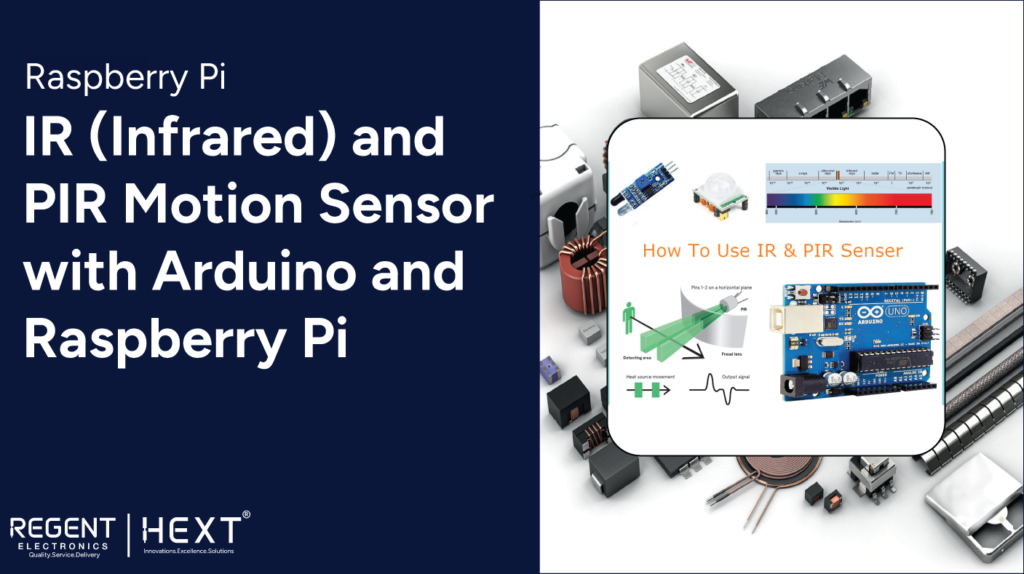
IR (Infrared) and PIR Motion Sensor with Arduino and Raspberry Pi
Introduction
In this blog, we will discuss the types of infrared sensors and how to interface an IR sensor with Raspberry Pi 4 and Arduino board.
Understanding PIR and IR Sensors with Arduino and Raspberry Pi
Previously, we explored the interfacing of an ultrasonic sensor with Raspberry Pi. In this section, we will discuss different types of infrared sensors and how to integrate an IR sensor with Raspberry Pi 4 and an Arduino board.
IR sensors are widely used in line-following robots and 3D printing machines as IR limit switches. But do you know how an IR sensor works? No worries! Let’s break it down.
An IR sensor emits signals and detects objects based on the received signal state. Infrared sensors are categorized into two types:
Types of Infrared Sensors
- Active IR Sensor
- Passive IR Sensor
Active IR Sensor
An active IR sensor consists of a transmitter and a receiver. The transmitter, typically an IR LED, emits infrared light, and the receiver detects the reflected signal.
Interfacing Active IR Sensor with Arduino and Raspberry Pi

Components Required:
- IR Sensor
- Arduino Board
- Connecting Cables
- Raspberry Pi
- Arduino IDE
- Thonny IDE
In the image below, you can see an IR sensor module with three output pins: GND, VCC, and Signal. The GND and VCC pins power the module, and the signal pin provides output.
How to Verify If the IR Sensor is Working?
If the IR sensor is not providing accurate output, the following issues might be the cause:
- Program Issue – Ensure the signal pin is correctly connected.
- Incorrect Gain of 555 Timer IC – Adjust the potentiometer for accurate readings.
- Short Circuit in the PIR Sensor – If a component is overheating, the module might be damaged.
- Checking Sensor Functionality – Use a mobile camera to check for a red light from the sensor.
IR Sensor Interfacing with Arduino

The diagram below illustrates the interface of an IR sensor with an Arduino board. The signal pin is connected to D7, while the module is powered via the VCC and GND pins.
Arduino Code for Infrared Sensor
int SignalPin = 2;
void setup() {
pinMode(SignalPin, INPUT);
Serial.begin(9600);
}
int Object = HIGH;
void loop() {
Object = digitalRead(SignalPin);
if (Object == LOW) {
Serial.println(“Object Not Found”);
delay(200);
} else {
Serial.println(“Obstacle Found”);
}
delay(100);
}
IR Sensor Interfacing with Raspberry Pi

Why Use a Level Converter?
The Raspberry Pi operates at 3.3V, and connecting a higher voltage directly may damage the board. A level converter ensures safe voltage levels.
Python Code for Raspberry Pi
import RPi.GPIO as GPIO
def button_callback(Detection):
print(“Object Detected”)
GPIO.setwarnings(False)
GPIO.setmode(GPIO.BOARD)
GPIO.setup(34, GPIO.IN, pull_up_down=GPIO.PUD_DOWN)
GPIO.add_event_detect(10, GPIO.RISING, callback=button_callback)
GPIO.cleanup()
PIR Sensor Motion Introduction

Unlike active IR sensors, passive IR (PIR) sensors detect infrared radiation from objects without requiring a separate transmitter and receiver. These sensors are widely used in home security applications.
Adjusting Sensitivity and Delay
PIR sensors come with two potentiometers:
- Sensitivity Potentiometer – Adjusts the sensing range.
- Output Timing Potentiometer – Adjusts the delay duration.
Troubleshooting PIR Sensor Issues
- No Output in the First Minute – This is normal as the sensor calibrates itself.
- Unstable Output – Adjust the sensitivity or reposition the sensor away from direct air and light exposure.
PIR Sensor Interfacing with Arduino

The diagram below shows how to connect a PIR sensor to an Arduino board. The sensor’s signal pin is connected to D9, and it is powered through the Arduino.
Arduino Code for PIR Motion Sensor
int led = 13;
int sensor = 9;
int state = LOW;
int val = 0;
void setup() {
pinMode(led, OUTPUT);
pinMode(sensor, INPUT);
Serial.begin(9600);
}
void loop() {
val = digitalRead(sensor);
if (val == HIGH) {
digitalWrite(led, HIGH);
delay(100);
if (state == LOW) {
Serial.println(“Motion detected!”);
state = HIGH;
}
}
}
PIR Sensor Interfacing with Raspberry Pi

The diagram below illustrates the connection of a PIR sensor to Raspberry Pi.
Python Code for PIR Motion Sensor
import RPi.GPIO as GPIO
from time import sleep
GPIO.setwarnings(False)
GPIO.setmode(GPIO.BOARD)
GPIO.setup(14, GPIO.IN)
while True:
input = GPIO.input(14)
if input == 0:
print(“No object detected”)
sleep(0.1)
elif input == 1:
print(“Object detected”)
sleep(0.1)
Conclusion
In this blog, we explored the functionalities of IR and PIR sensors and their interfacing with Arduino and Raspberry Pi. If you have any questions, feel free to ask in the comment section. Happy learning!