

How to Set Up Raspberry Pi for the First Time (With Precautions) – Regent Electronics
Get Started with Raspberry Pi Today!
Setting up a Raspberry Pi might seem simple, but missing a step can cause issues. This guide will ensure a smooth setup process with all necessary precautions.
Precautions Before Setting Up
- Discharge Your Hands: Static electricity can damage components. Touch a conductive surface to discharge static before handling the Raspberry Pi.
- Protect GPIO Pins: Avoid touching GPIO pins directly as they are sensitive and can be damaged.
- Use an Official Adapter: Third-party adapters may not provide consistent voltage and can damage your Pi.
- Use a Raspberry Pi Case: A protective case can prevent accidental damage.
- Add a Heat Sink or Fan: This helps maintain optimal temperature and improves longevity.
Step 1: Placing the Raspberry Pi

- Avoid Liquids: Keep the Raspberry Pi away from any potential spills.
- Prevent Short Circuits: Since the Raspberry Pi is a bare-board computer, do not place it on metallic or conductive surfaces.
- Use a Case: If available, install a Raspberry Pi case to protect the board.
Step 2: Connecting the Power Adapter
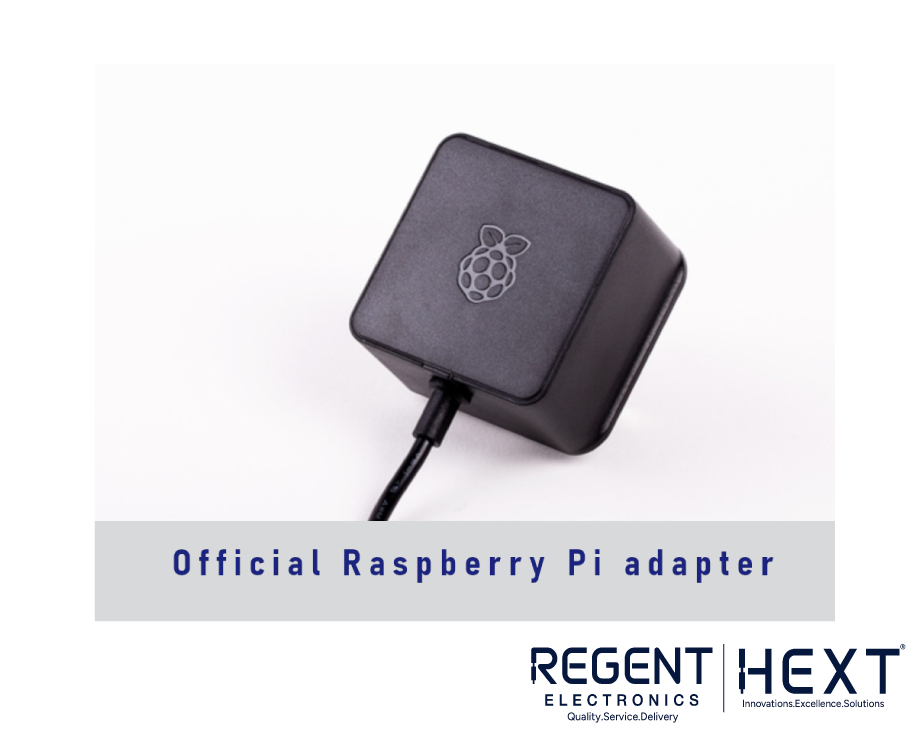
- Use an official Raspberry Pi adapter to avoid inconsistent voltage issues.
- Raspberry Pi models require different power ratings:
- Raspberry Pi 4B & 400: Needs a 3A adapter (USB-C port).
- Raspberry Pi 3B+ & Older Models: Requires a 2.5A adapter (Micro-USB port).
- Ensure nothing is touching the GPIO pins before powering up.
Step 3: Connecting HDMI Cables
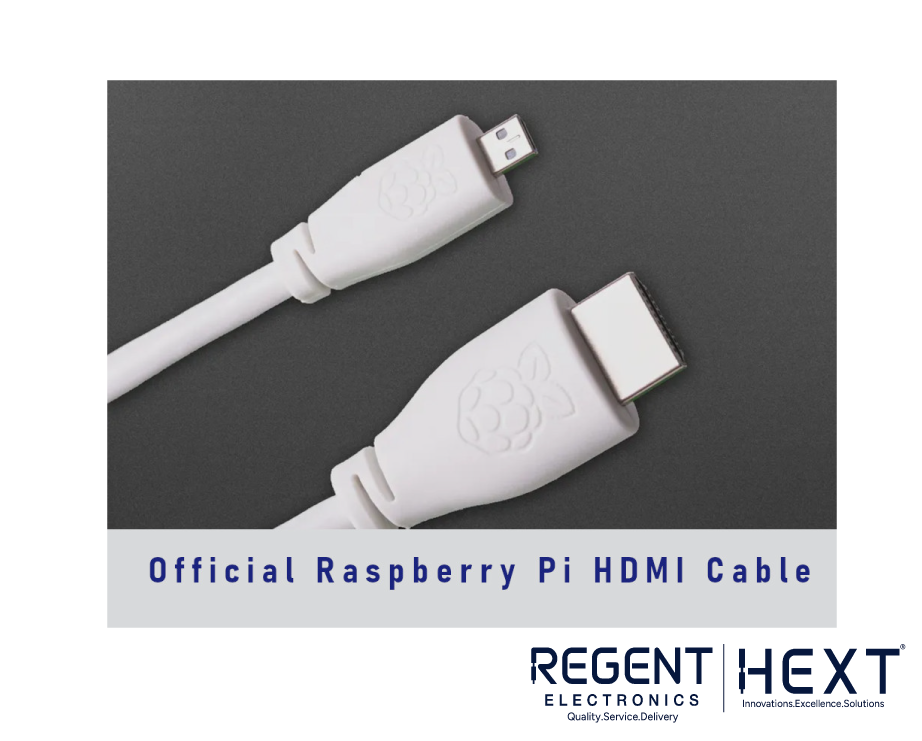
- Use an official Raspberry Pi HDMI cable for better durability and compatibility.
- Some third-party HDMI converters may not work properly, leading to display issues.
- Double-check the HDMI connection if no display appears.
Step 4: Installing the OS on the SD Card
Downloading the Raspberry Pi OS
- Visit the official Raspberry Pi website to download the OS.
- Choose the Desktop version with recommended software for a better experience.
- Format the SD card to FAT32 before flashing the OS.
Flashing the OS onto the SD Card
You can use different methods to flash the OS:
- EtchDroid: If using an Android device, connect the SD card via OTG and flash using EtchDroid.
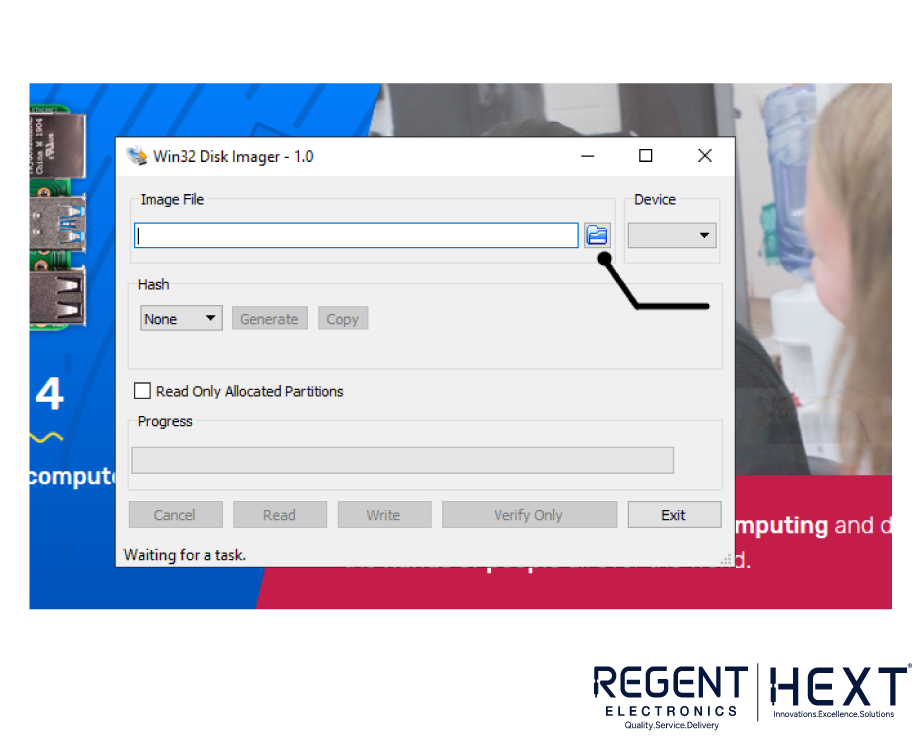
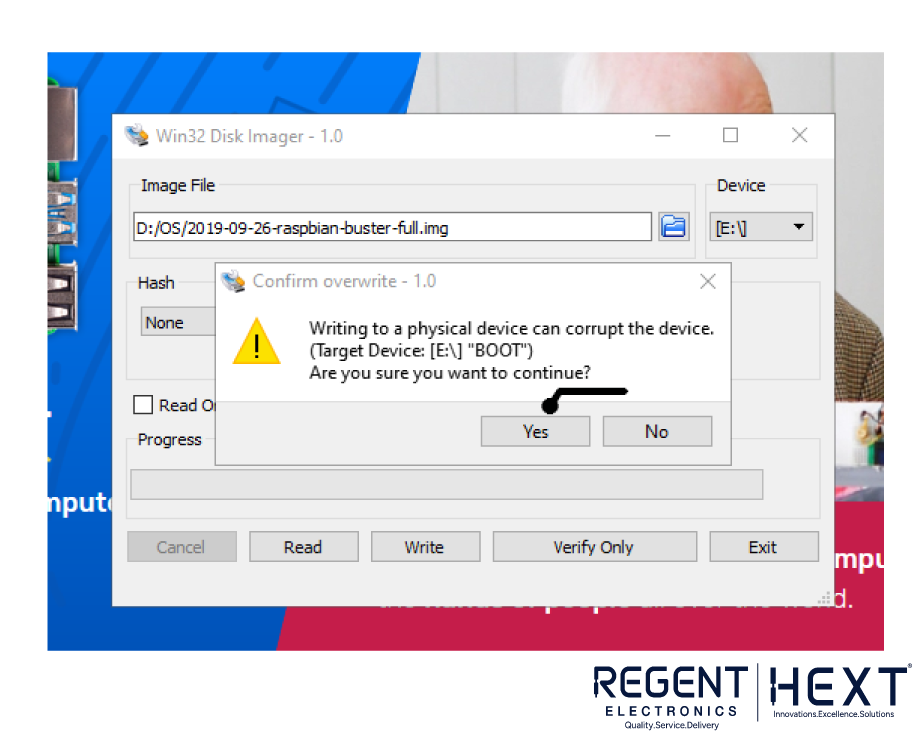
- Win32DiskImager (Recommended for PC):
- Extract the .img file from the downloaded OS.
- Insert the SD card into your PC using an adapter.
- Open Win32DiskImager or Balena Etcher.
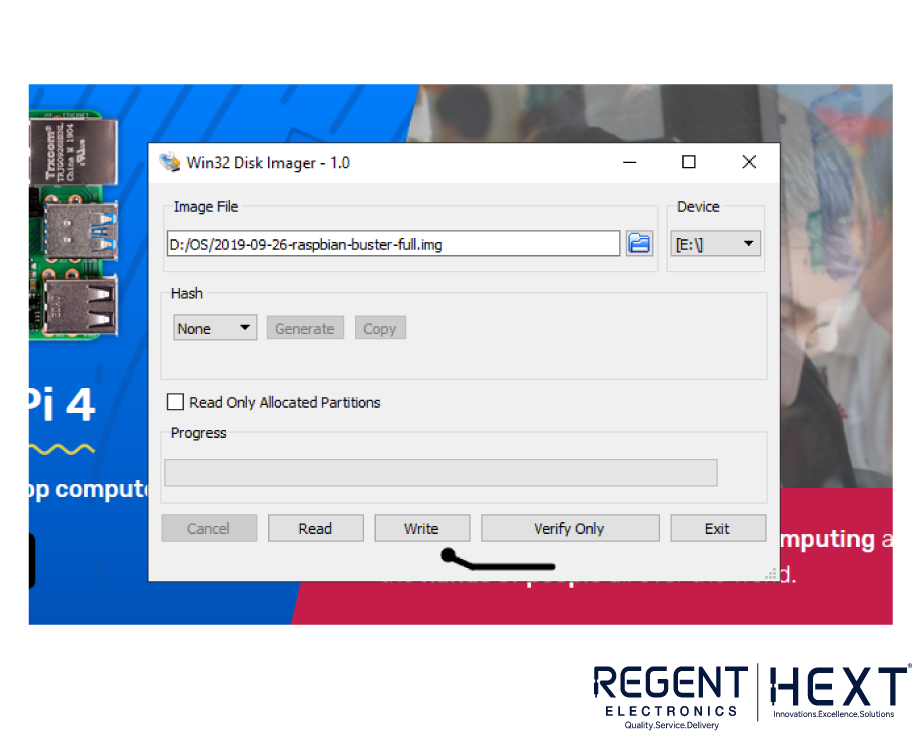
- Select the .img file and click Write.
- Once the process completes, safely eject the SD card.
Final Words
In this guide, we covered the essential steps to set up your Raspberry Pi correctly. From proper placement, power connection, and HDMI setup to OS installation, following these steps will help you avoid common issues. If you encounter any problems, feel free to comment below, and we’ll be happy to assist you.
Stay tuned for more tutorials from Regent Electronics!