

How to Work with Raspberry Pi 4 GPIO Using Python
Raspberry Pi GPIO allows users to interface with the physical world using simple Python programming. This article provides a comprehensive guide on how to work with Raspberry Pi 4 GPIO using Python.
Understanding Raspberry Pi 4 GPIO
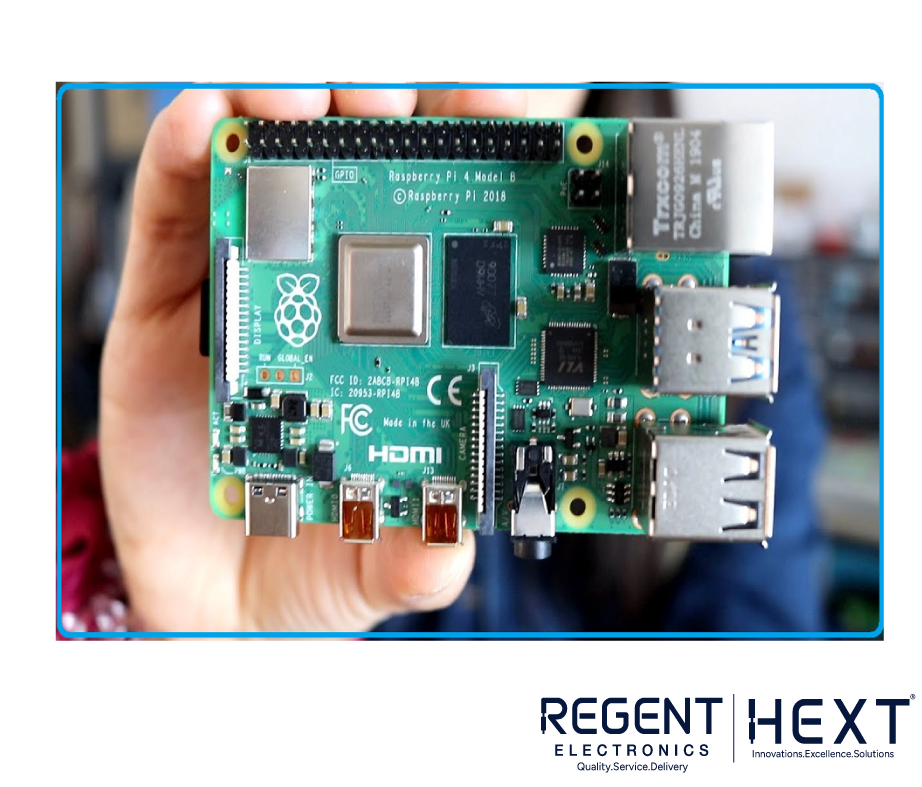
The Raspberry Pi 4 is a powerful single-board computer with numerous features that make it an excellent choice for electronics projects. One of the most essential features is its GPIO (General-Purpose Input/Output) pins, which allow the board to interact with sensors, modules, and other electronic components.
These GPIO pins offer flexibility that many small-scale microcontrollers lack. With support for multiple programming languages and a simple IoT environment, Raspberry Pi 4 is a great tool for developers and hobbyists alike.
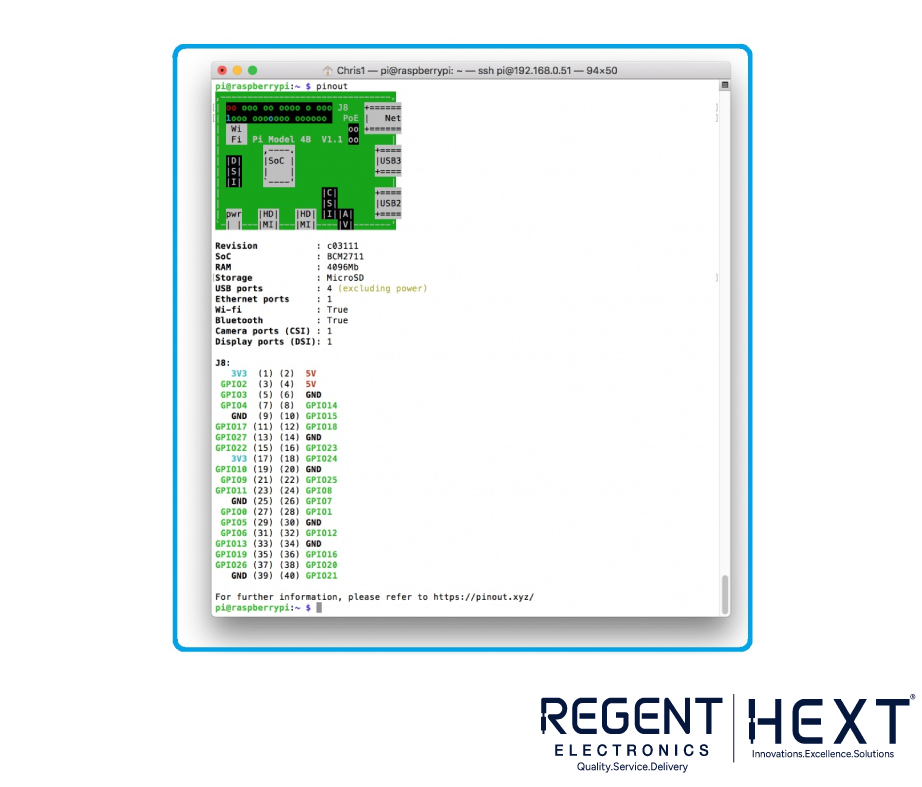
GPIO Pin Overview
GPIO pins enable Raspberry Pi to receive data from sensors and control external devices. The board processes input data and executes actions based on programmed logic. Additionally, it supports multiple communication protocols like I2C, SPI, and UART, which facilitate connectivity with a range of sensors and modules.
Important Note on GPIO Voltage Levels
Raspberry Pi GPIO operates at 3.3V logic levels. It is crucial to avoid using components that require voltages higher than 3.3V directly, as it could damage the board. Each GPIO pin can provide a maximum current of 16mA.
Communication Protocols on Raspberry Pi 4
I2C (Inter-Integrated Circuit)
I2C is a widely used protocol for connecting multiple devices with minimal wiring.
- Data (SDA): GPIO2
- Clock (SCL): GPIO3
- EEPROM Data: GPIO0
- EEPROM Clock: GPIO1
SPI (Serial Peripheral Interface)
SPI is ideal for high-speed communication between the Raspberry Pi and external devices.
- SPI0:
- MOSI: GPIO10
- MISO: GPIO9
- SCLK: GPIO11
- CE0: GPIO8
- CE1: GPIO7
- SPI1:
- MOSI: GPIO20
- MISO: GPIO19
- SCLK: GPIO21
- CE0: GPIO18
- CE1: GPIO17
- CE2: GPIO16
UART (Universal Asynchronous Receiver-Transmitter)
Used for serial communication with other devices.
- TX (Transmit): GPIO14
- RX (Receive): GPIO15
Getting Started with Raspberry Pi GPIO and Python
To begin working with GPIO pins in Python, you need to install the RPi.GPIO library. Use the following command:
sudo apt-get install python3-rpi.gpio
Now, you can write a simple Python script to control GPIO pins.
Example: Blinking an LED
import RPi.GPIO as GPIO
import time
GPIO.setmode(GPIO.BCM)
GPIO.setup(18, GPIO.OUT)
while True:
GPIO.output(18, GPIO.HIGH)
time.sleep(1)
GPIO.output(18, GPIO.LOW)
time.sleep(1)
This script turns an LED on and off with a 1-second delay.
Conclusion
Raspberry Pi 4 GPIO provides vast possibilities for electronics projects. With Python programming, you can easily control sensors, modules, and other peripherals. In upcoming articles, we will explore relay modules and IR distance sensors. Stay tuned for more exciting Raspberry Pi tutorials!
For more information and high-quality Raspberry Pi components, visit Regent Electronics today!