
DIY Weighing Machine Using Arduino – Regent Electronics
Introduction
What if you didn’t have to spend money on a weighing scale? You can easily build your own at home using a few sensors and boards. This tutorial will guide you through building a homemade weighing machine using an Arduino and a load cell.
Understanding the Weighing Machine
A weighing machine is a device used to measure mass or weight. Most weighing machines operate using a load cell to measure weight accurately. In this guide, we will learn how to interface a load cell with an Arduino, calibrate it, and display the measured weight on a 16×2 LCD screen.
By the end of this tutorial, you will have a fully functional DIY weighing machine incorporating a load cell as a weight sensor.
How Does a Weighing Machine Work?
A weighing scale works by utilizing a strain gauge sensor, commonly known as a load cell.
What Does a Weighing Machine Measure?
It measures force, which it then converts into weight. This process is divided into two parts:
- Sensing Part: Contains sensors that measure weight and convert it into electrical signals.
- Processing Part: Receives the electrical signals from the sensor, amplifies them, converts them into digital form, and displays the weight on a screen.
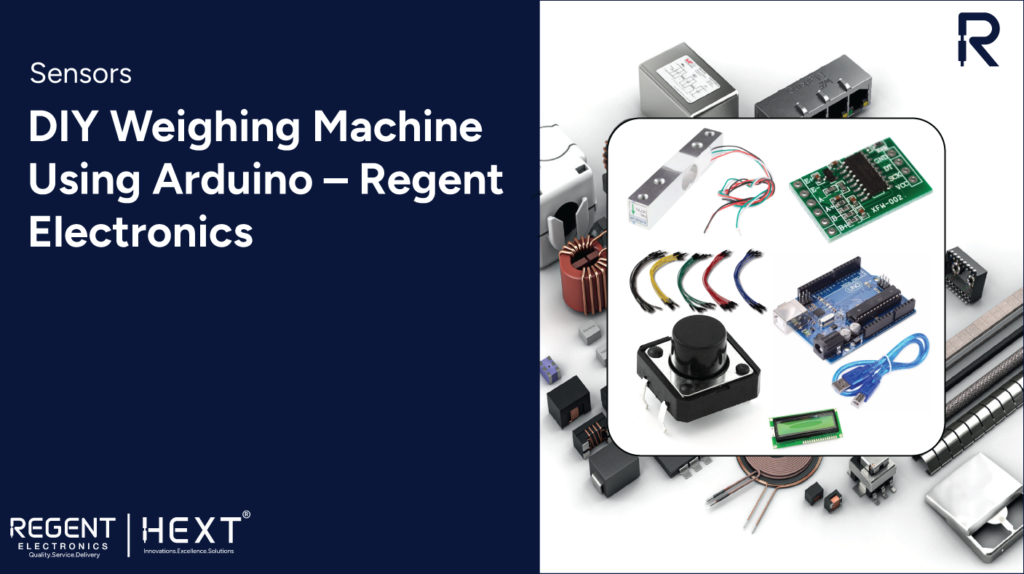
Components Required
To build this project, you will need the following components:


- Arduino with cable
- Load Cell
- HX711 Amplifier
- 16×2 LCD Module
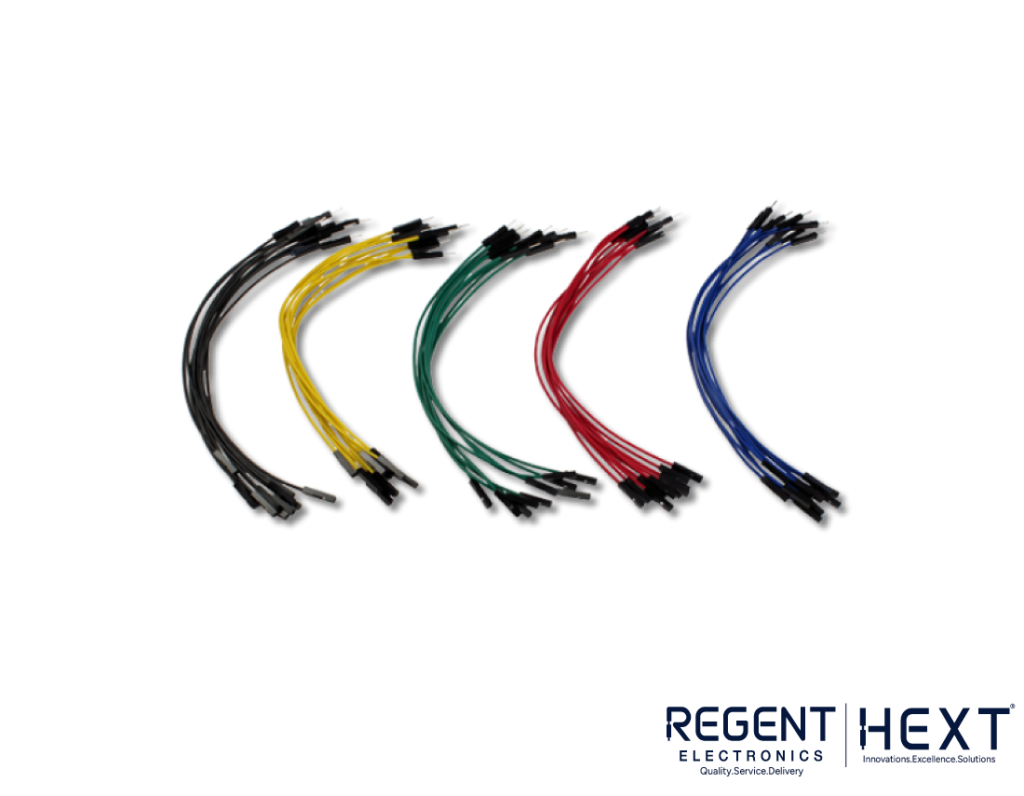
- Jumper Wires
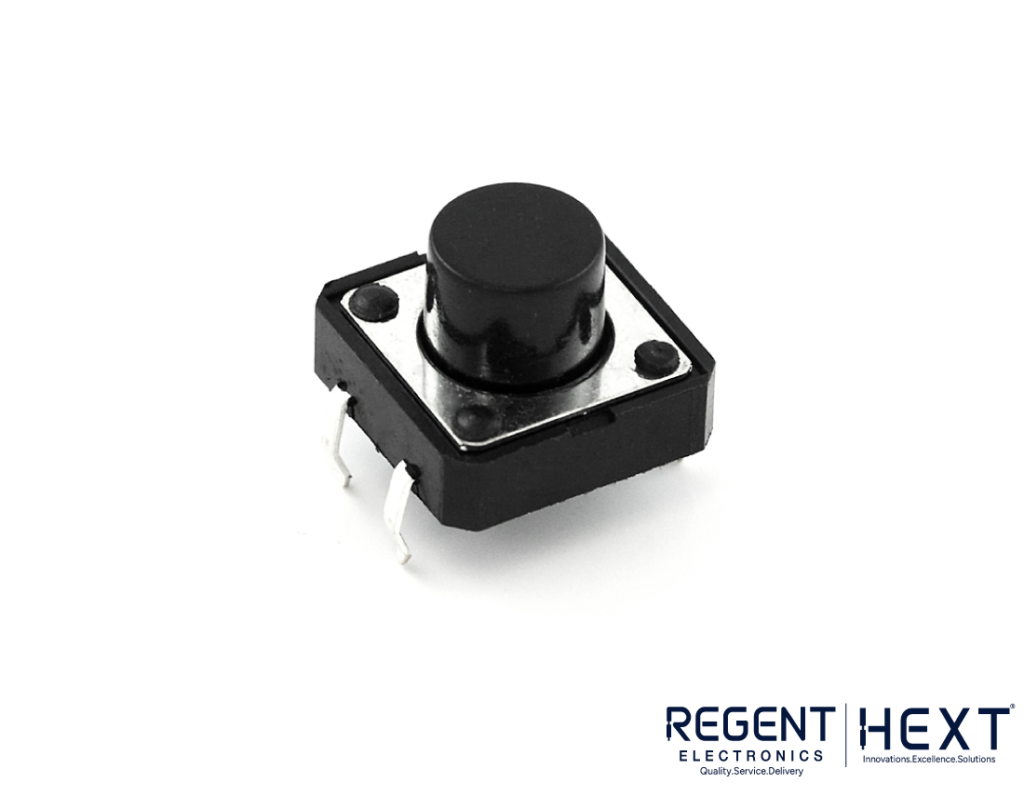
- Push-button
- Breadboard
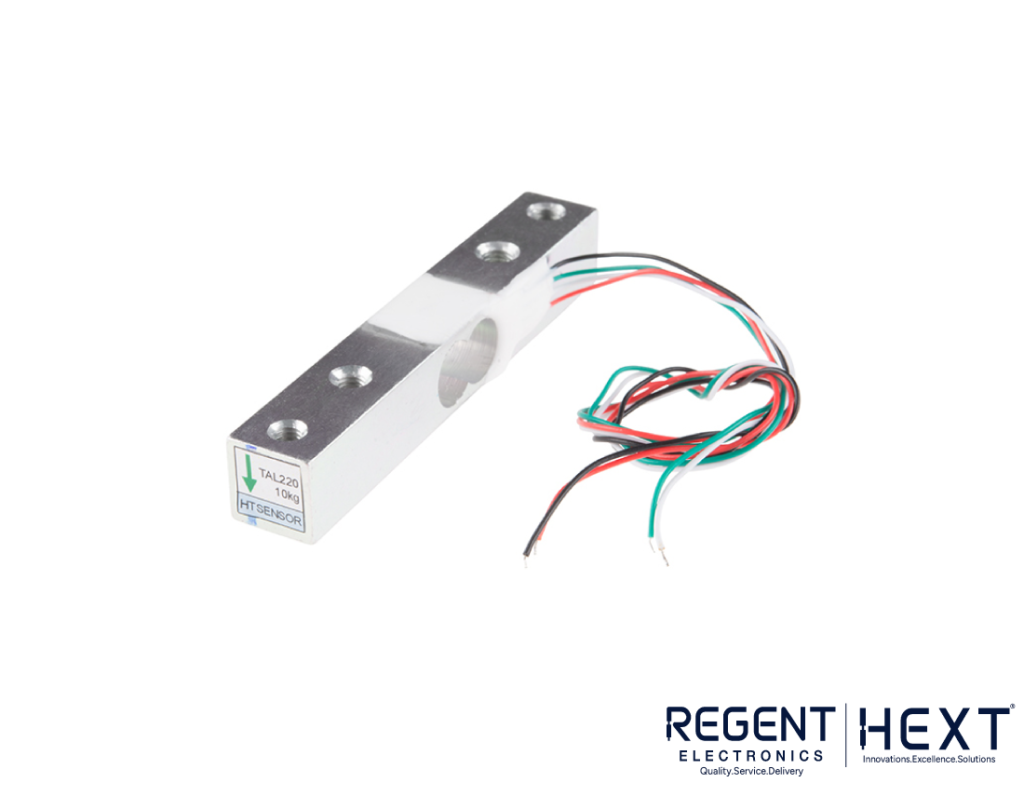
What is a Load Cell?
A load cell is a sensor or transducer that converts force into measurable electrical signals. When force is applied to the load cell, it changes its inner resistance, generating a micro-level electrical signal. This signal is then amplified using the HX711 amplifier.
Types of Load Cells:
- Capacitive Load Cell: Works based on the change in capacitance when force is applied.
- Resistive Load Cell: Works on the principle of piezo-resistance, where applied force changes the resistance, leading to variations in output voltage.
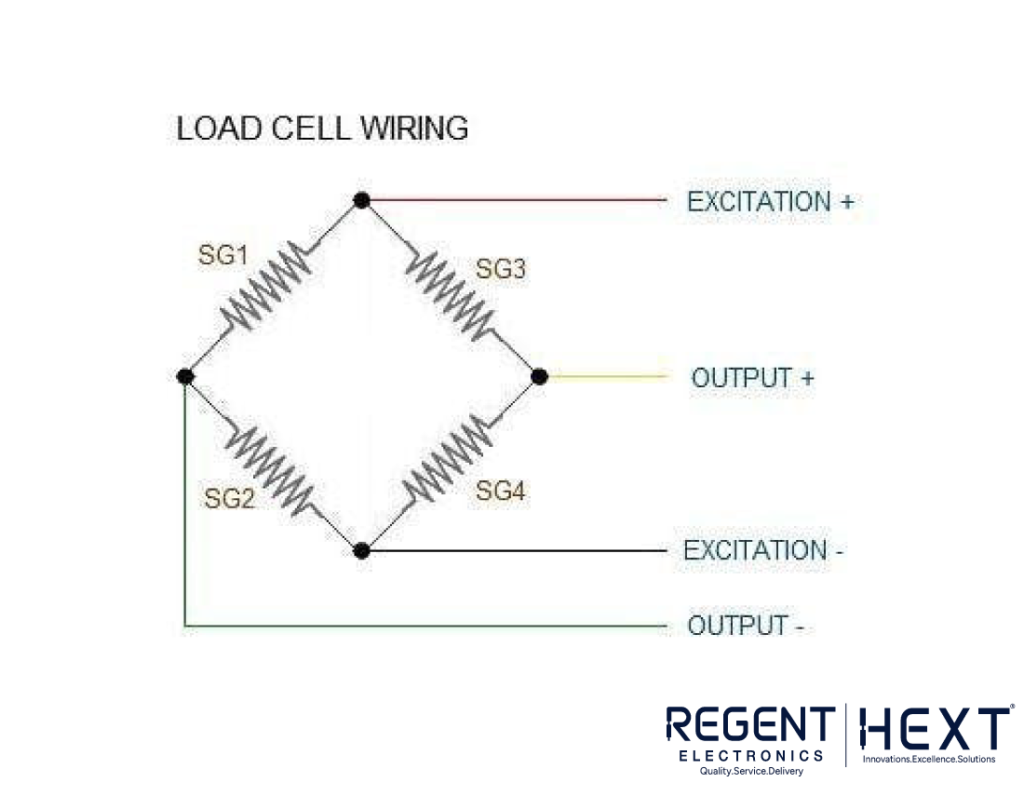
A load cell typically has four output wires:
- Red: Excitation +
- Black: Excitation –
- White: Output +
- Green: Output –
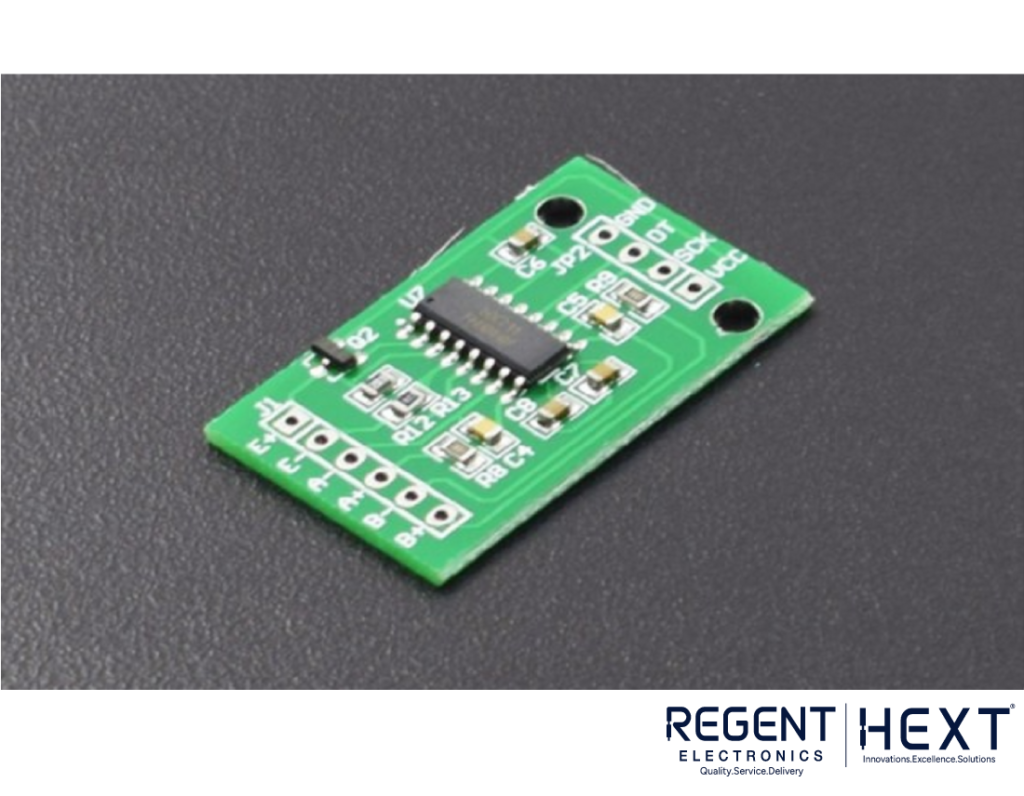
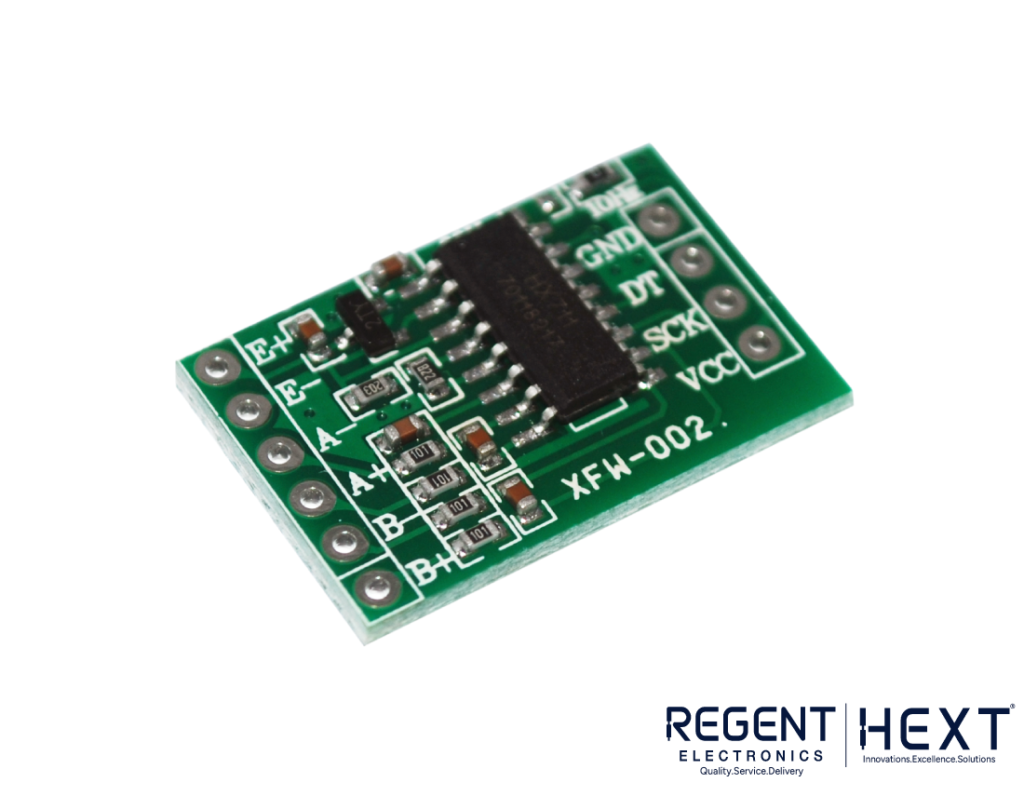
What is HX711?

The HX711 is an analog-to-digital converter (ADC) specifically designed for load cells. It includes a low-noise programmable amplifier with a gain of 32, 64, and 128. The amplified signal is then processed by a microcontroller to obtain weight readings.
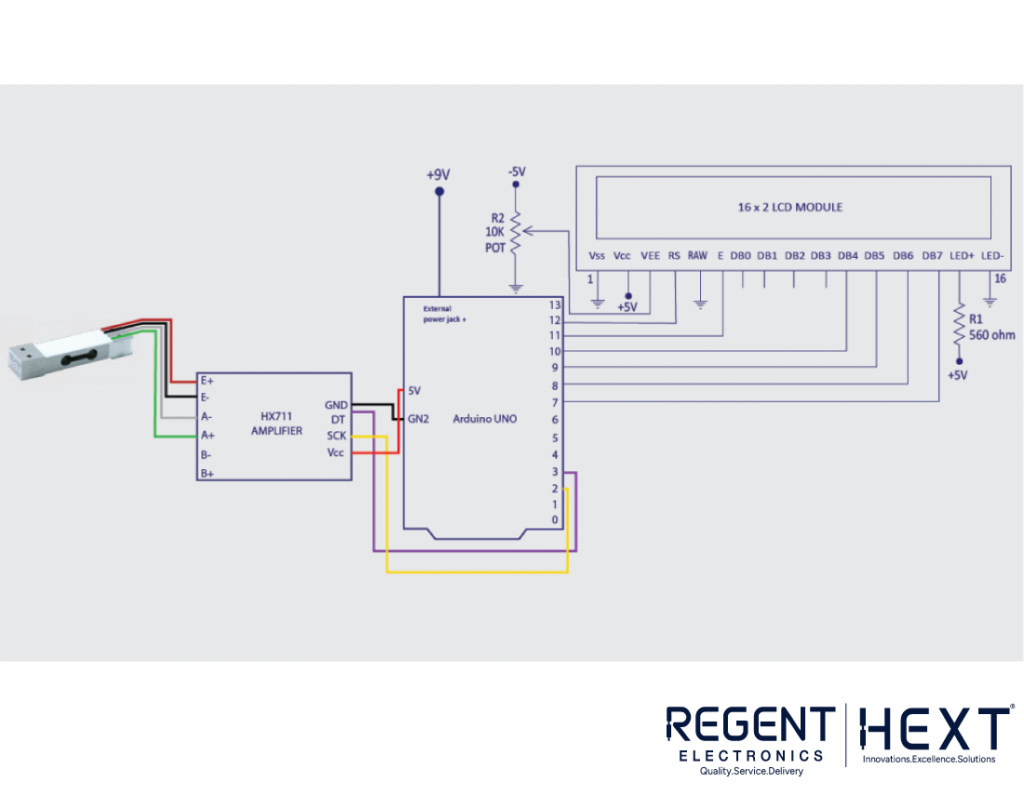
Connecting the Load Cell to Arduino

The load cell is connected to the Arduino via the HX711 module. The wiring is as follows:
| Load Cell | HX711 | Arduino |
| Red | E+ | 5V |
| Black | E- | GND |
| White | A- | CLK (Pin 11) |
| Green | A+ | DT (Pin 12) |
Setting Up the Load Cell
To measure weight using a load cell, attach a wooden or fiber plate on top of the load cell to place objects for measurement. Secure the plate using screws to ensure accurate readings.
Interfacing the 16×2 LCD with Arduino
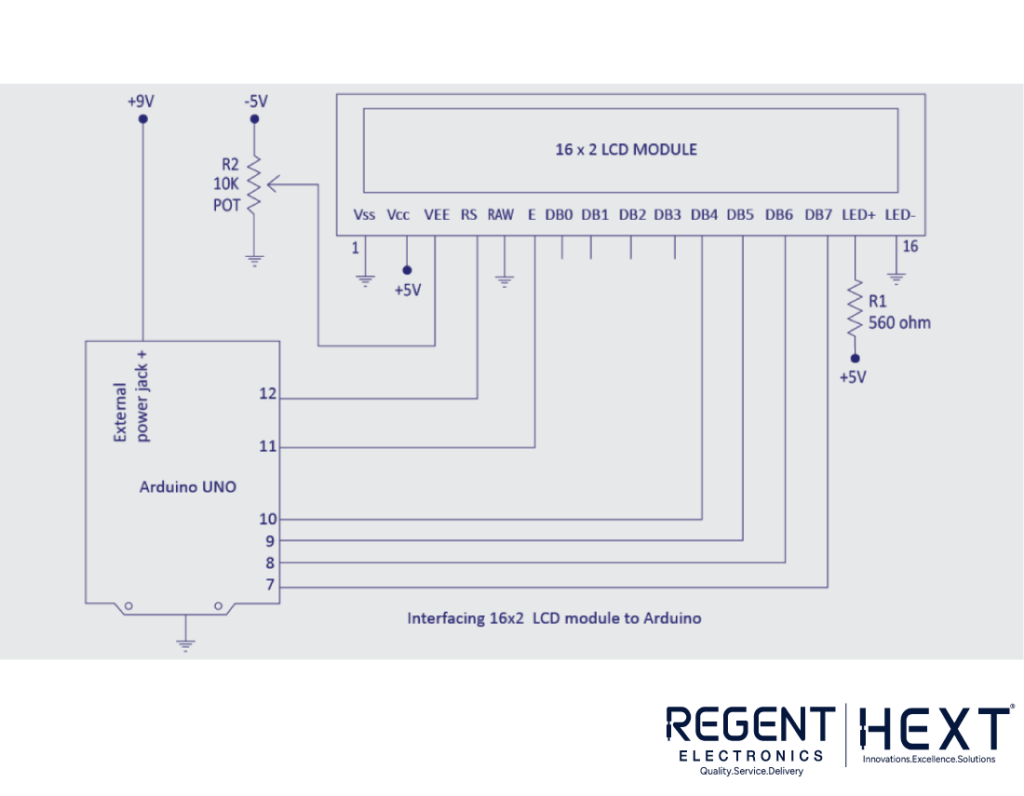
To display weight readings on an LCD screen, connect the LCD to the Arduino using the following wiring:
| Arduino | 16×2 LCD |
| GND | Vss |
| VCC | VCC |
| 12 | RS |
| GND | RW |
| 11 | EN |
| 10 | DB4 |
| 9 | DB5 |
| 8 | DB6 |
| 7 | DB7 |
| VCC | LED+ |
| GND | LED- |
Programming the Load Cell
To begin, download and install the Arduino IDE software. Before uploading the code, install the HX711 library for Arduino.
Arduino Code:
#include “HX711.h”
#include <LiquidCrystal.h>
#define DOUT 3
#define CLK 2
HX711 scale;
float calibration_factor = -116650.00;
const int rs = 12, en = 11, d4 = 10, d5 = 9, d6 = 8, d7 = 7;
LiquidCrystal lcd(rs, en, d4, d5, d6, d7);
void setup() {
lcd.begin(16, 2);
lcd.clear();
lcd.setCursor(0,0);
lcd.print(“DIY WEIGHING”);
lcd.setCursor(1,4);
lcd.print(“MACHINE”);
delay(2000);
lcd.clear();
Serial.begin(9600);
scale.begin(DOUT, CLK);
scale.set_scale();
scale.tare();
}
void loop() {
scale.set_scale(calibration_factor);
Serial.print(“Reading: “);
Serial.print(scale.get_units(), 3);
Serial.print(” kg”);
Serial.println();
lcd.setCursor(0,0);
lcd.print(“Weight: “);
lcd.setCursor(10,0);
lcd.print(scale.get_units(), 3);
lcd.setCursor(14,0);
lcd.print(“Kg”);
if(Serial.available()) {
char temp = Serial.read();
if(temp == ‘a’) calibration_factor += 10;
else if(temp == ‘z’) calibration_factor -= 10;
else if(temp == ‘s’) calibration_factor += 100;
else if(temp == ‘x’) calibration_factor -= 100;
else if(temp == ‘d’) calibration_factor += 1000;
else if(temp == ‘c’) calibration_factor -= 1000;
else if(temp == ‘f’) calibration_factor += 10000;
else if(temp == ‘v’) calibration_factor -= 10000;
else if(temp == ‘t’) scale.tare();
}
}
Final Words
With these simple steps, you can build your own DIY weighing machine using Arduino. We hope this tutorial was helpful. If you have any questions or face difficulties during the process, feel free to reach out in the comments section.