
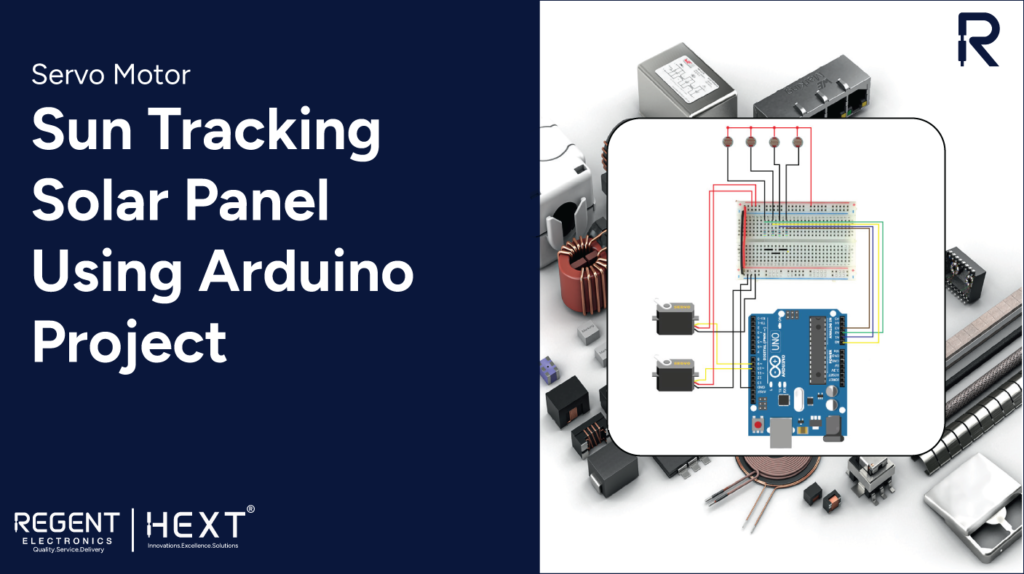
Sun Tracking Solar Panel Using Arduino: A Complete Guide with Code
Introduction
Harnessing solar energy efficiently has become a priority in renewable energy solutions. A sun-tracking solar panel significantly increases energy absorption by aligning itself with the sun’s movement. In this guide, we will create a Sun Tracking Solar Panel using Arduino Uno, equipped with LDR sensors and servo motors to automatically adjust its position for maximum sunlight exposure.
Why Use a Solar Tracking System?
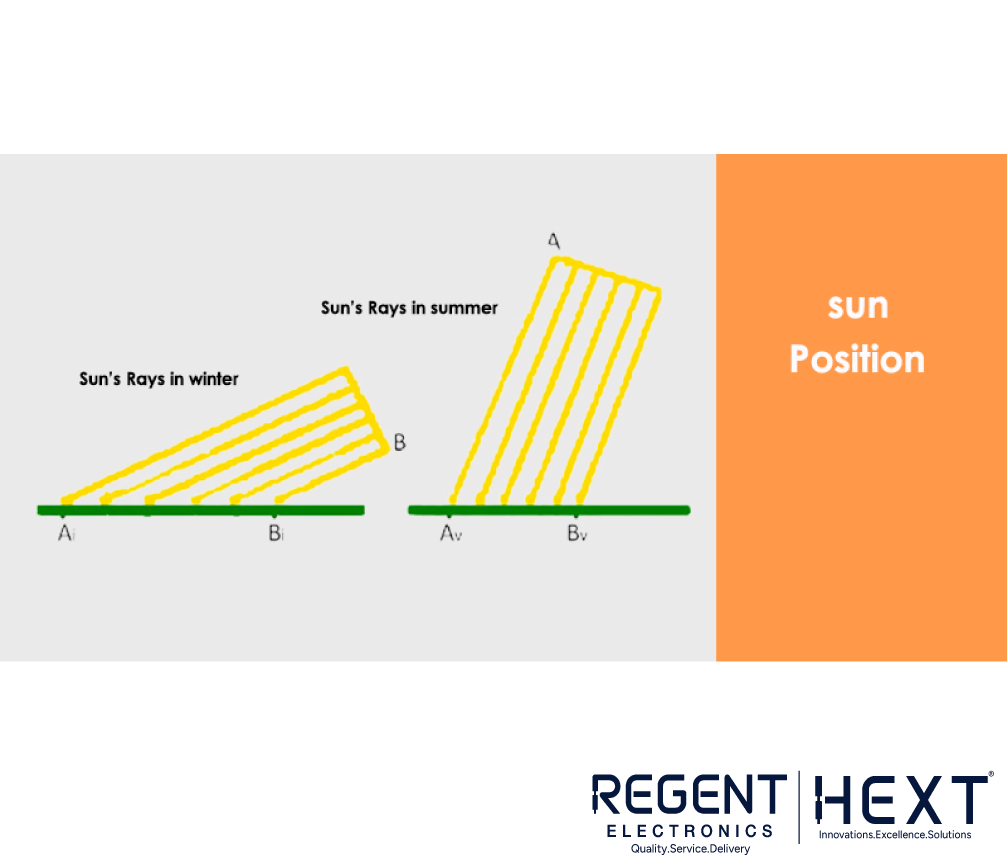
The Earth’s rotation affects the sun’s position throughout the day and across seasons. The efficiency of solar panels depends on the angle of incidence of sunlight. A solar tracker ensures that panels maintain an optimal position, increasing energy absorption compared to fixed panels.
Types of Solar Tracking Systems
- Single-Axis Solar Tracker: Rotates on a single axis (horizontal or vertical) to follow the sun.
- Dual-Axis Solar Tracker: Moves in both horizontal and vertical directions for maximum efficiency.
Benefits of a Solar Tracking System
- Increased Energy Production: Generates more electricity compared to fixed panels.
- Optimized Land Utilization: Extracts more power per unit area.
- Cost-Effective in the Long Run: Reduces energy dependency by optimizing solar panel efficiency.
- Peak Hour Optimization: Increases energy production during high-rate peak hours.
How Does a Sun-Tracking Solar Panel Work?
A solar panel contains photovoltaic (PV) cells that detect light intensity. When sunlight hits these cells, they generate electricity. By integrating Light Dependent Resistors (LDRs) and servo motors, the panel automatically adjusts its position for optimal sunlight absorption.
In this project:
- LDR sensors detect sunlight intensity.
- Arduino Uno processes sensor data.
- Servo motors adjust the panel’s orientation accordingly.
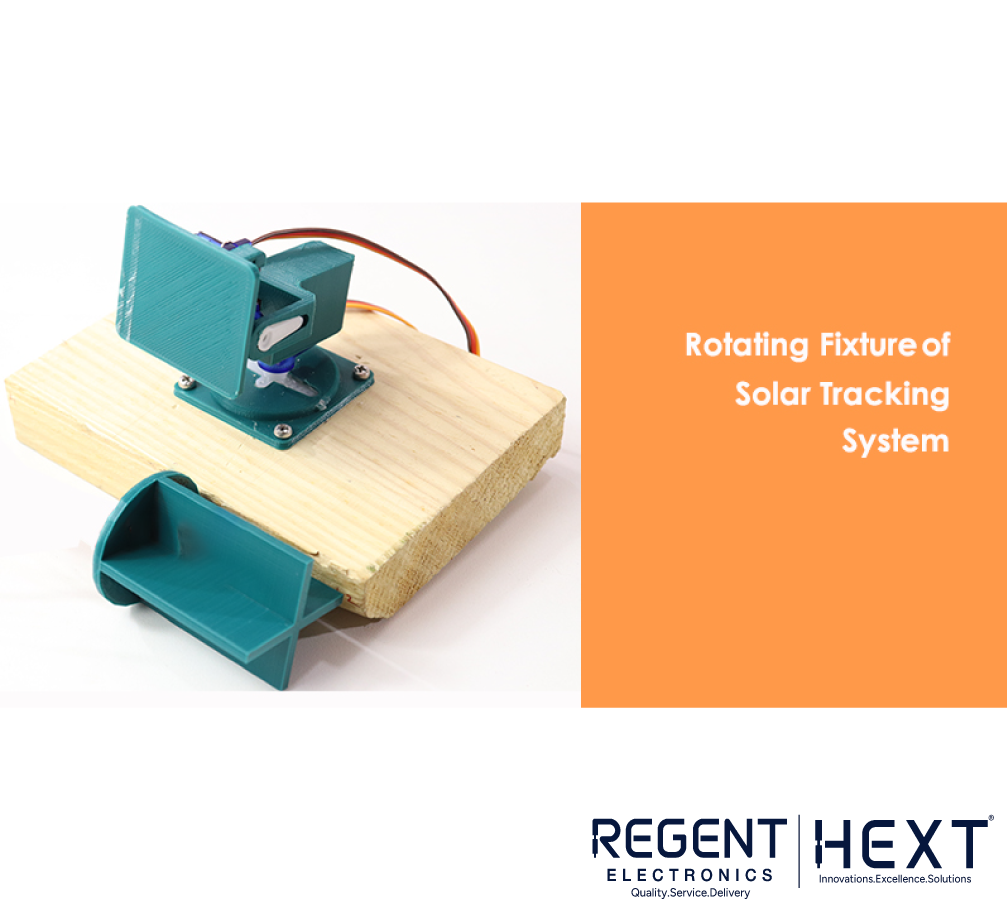
Building the Sun Tracking Solar Panel
Required Components
- Arduino Uno (Microcontroller)
- SG90 Servo Motors (For panel rotation)
- LDR Sensors (Light detection)
- 5V Power Supply (For Arduino)
- Solar Panel (Small-sized for prototype)
- Resistors (1K Ohm) (For LDR calibration)
- Connecting Wires
- 3D-Printed or DIY Frame (Cardboard, wood, plastic, etc.)
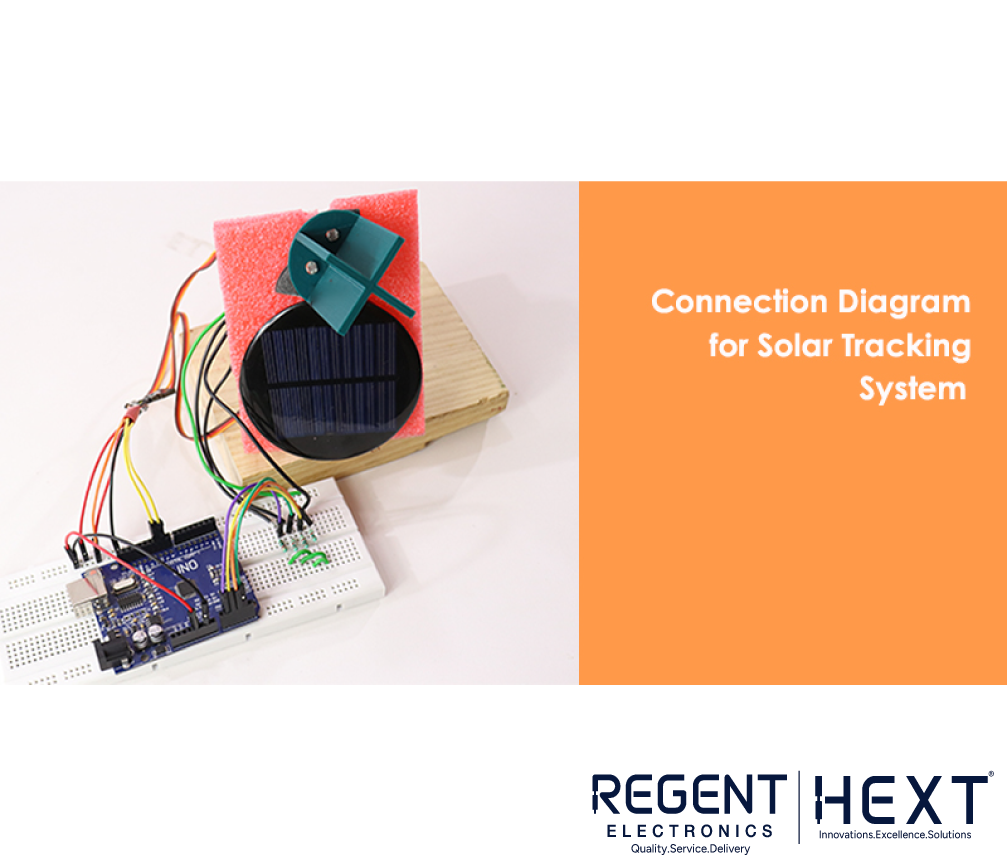
Connection Diagram
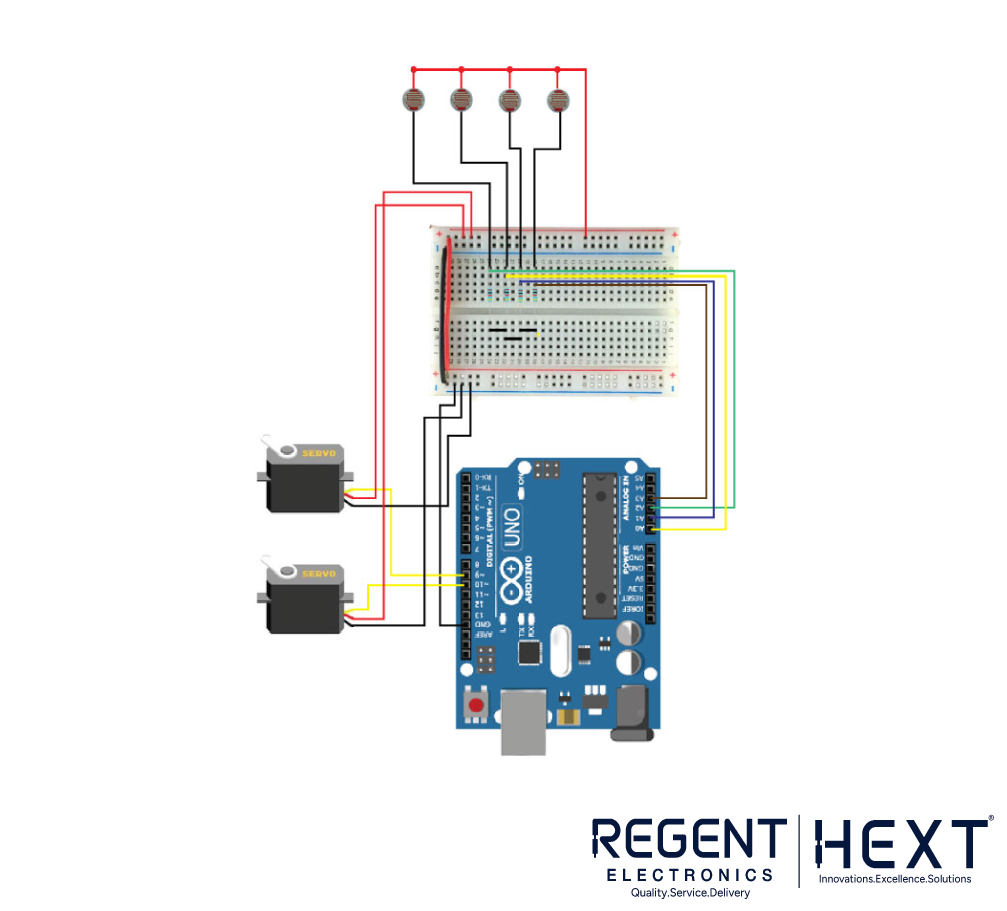
- Connect LDR sensors to analog pins on Arduino.
- Connect servo motors to PWM pins.
- Power the system using an external 5V power source.
Arduino Code for Sun Tracking Solar Panel
#include <Servo.h>
Servo servohori;
int servoh = 0;
int servohLimitHigh = 160;
int servohLimitLow = 60;
Servo servoverti;
int servov = 0;
int servovLimitHigh = 160;
int servovLimitLow = 60;
int ldrtopl = A0;
int ldrtopr = A1;
int ldrbotl = A2;
int ldrbotr = A3;
void setup() {
servohori.attach(10);
servoverti.attach(9);
servohori.write(90);
servoverti.write(90);
Serial.begin(9600);
}
void loop() {
int topl = analogRead(ldrtopl);
int topr = analogRead(ldrtopr);
int botl = analogRead(ldrbotl);
int botr = analogRead(ldrbotr);
int avgtop = (topl + topr) / 2;
int avgbot = (botl + botr) / 2;
int avgleft = (topl + botl) / 2;
int avgright = (topr + botr) / 2;
if (avgtop < avgbot) {
servov = min(servov + 1, servovLimitHigh);
} else if (avgbot < avgtop) {
servov = max(servov – 1, servovLimitLow);
}
if (avgleft > avgright) {
servoh = min(servoh + 1, servohLimitHigh);
} else if (avgright > avgleft) {
servoh = max(servoh – 1, servohLimitLow);
}
servoverti.write(servov);
servohori.write(servoh);
delay(50);
}
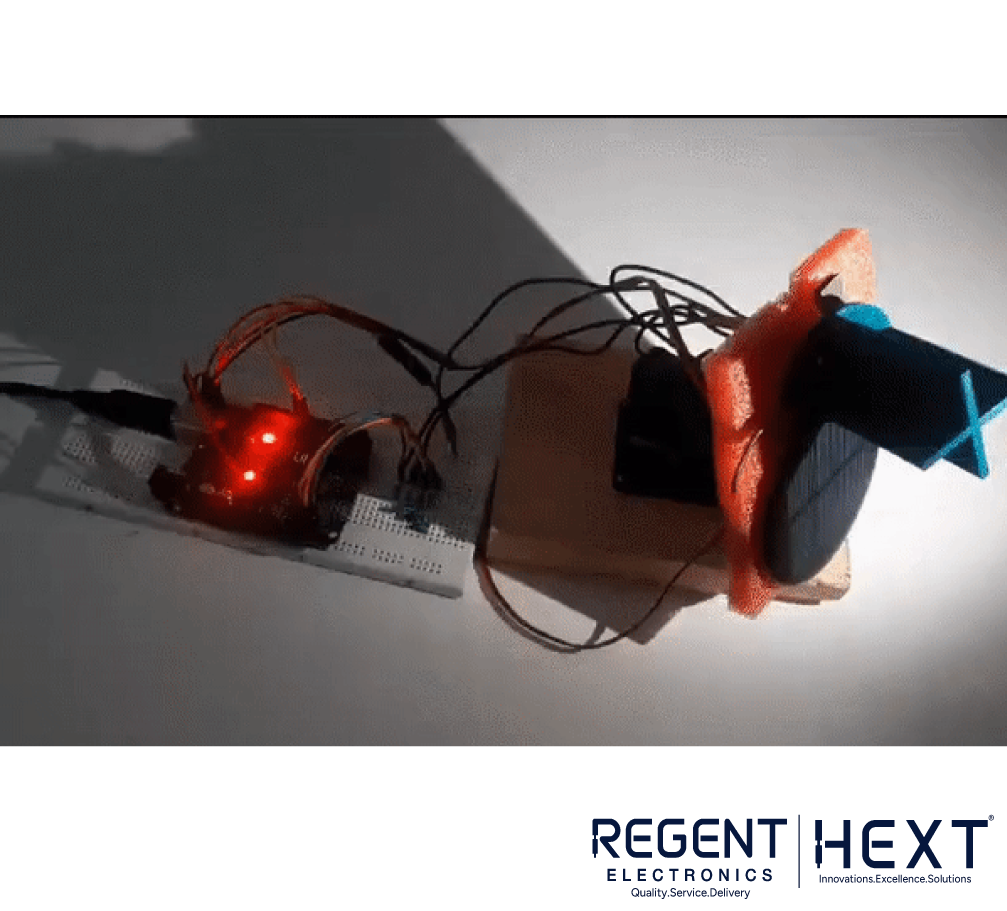
Final Output
After uploading the code, the servo motors will rotate the solar panel towards the direction of maximum sunlight, guided by the LDR sensors. This results in higher energy absorption and efficiency.
Conclusion
In this guide, we built a Sun Tracking Solar Panel using Arduino Uno, servo motors, and LDR sensors. This system significantly improves energy efficiency by dynamically adjusting the solar panel’s position based on sunlight intensity. With further enhancements, you can implement a real-time solar tracking system for large-scale applications.
For more electronics projects and tutorials, stay tuned to Regent Electronics! 🚀