
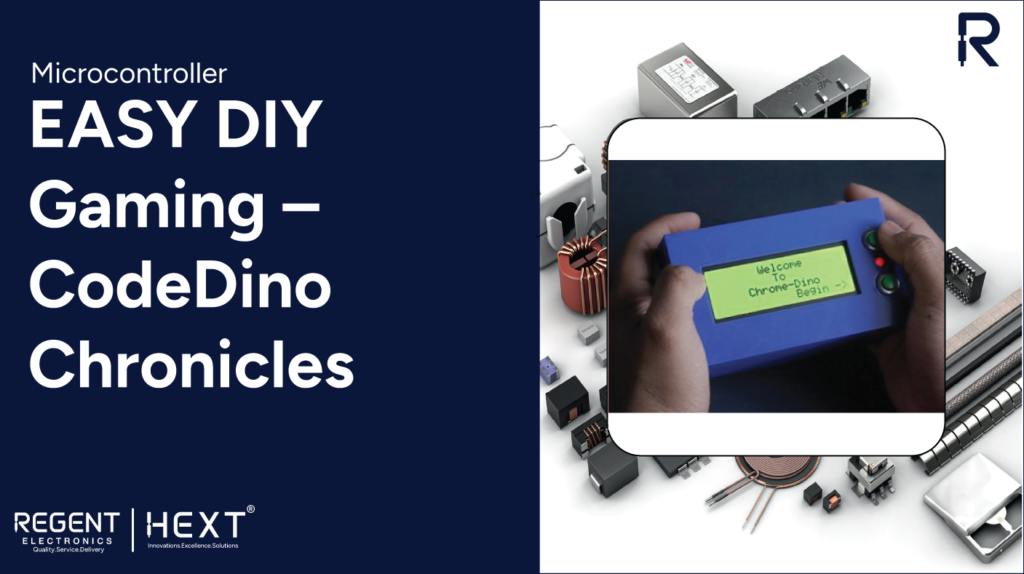
DIY Handheld Dino Game with Raspberry Pi Pico – A Step-by-Step Guide
Gaming enthusiasts and DIY makers, get ready! In this guide, we’ll walk you through building a handheld Dino game using the powerful Raspberry Pi Pico. With a 20×4 LCD display and a 1500mAh battery, this project ensures long gaming sessions without interruptions. Whether you’re a beginner or a seasoned electronics hobbyist, this fun and engaging project is perfect for testing your coding and hardware skills.
What is the Dino Game?
Originally designed as an Easter egg for Google Chrome, the Dino Game appears when your internet connection is lost. It features a pixelated dinosaur that jumps over obstacles when you press the spacebar. Now, let’s bring this game to life in a handheld format!
Why Choose Raspberry Pi Pico?
The Raspberry Pi Pico is a compact, affordable microcontroller powered by the RP2040 chip. Its dual-core ARM Cortex-M0+ processor and versatile input/output options make it an excellent choice for interactive projects.
Key Features of Raspberry Pi Pico:
- Dual-core ARM Cortex-M0+ processor
- 264kB RAM
- Multiple communication interfaces (I2C, SPI, UART)
- 16 PWM channels
- Low power consumption
- On-chip temperature sensor
We chose the Raspberry Pi Pico due to its affordability, efficiency, and extensive community support, making it ideal for future upgrades and modifications.
Project Requirements
Hardware Components:
- Raspberry Pi Pico
- 20×4 LCD Display with I2C module
- 1500mAh Lithium Battery
- Boost Converter & 1A Charging Module
- Push Buttons & Switches
- LEDs & Buzzer
- Prototype Board & Jumper Cables
- Headers & Connectors
Software & Libraries:
- Thonny IDE (for programming the Raspberry Pi Pico)
- LCD Libraries for display control
- MicroPython firmware for Raspberry Pi Pico
Setting Up the Development Environment
- Download and install Thonny IDE on your computer.
- Connect Raspberry Pi Pico to your PC via USB.
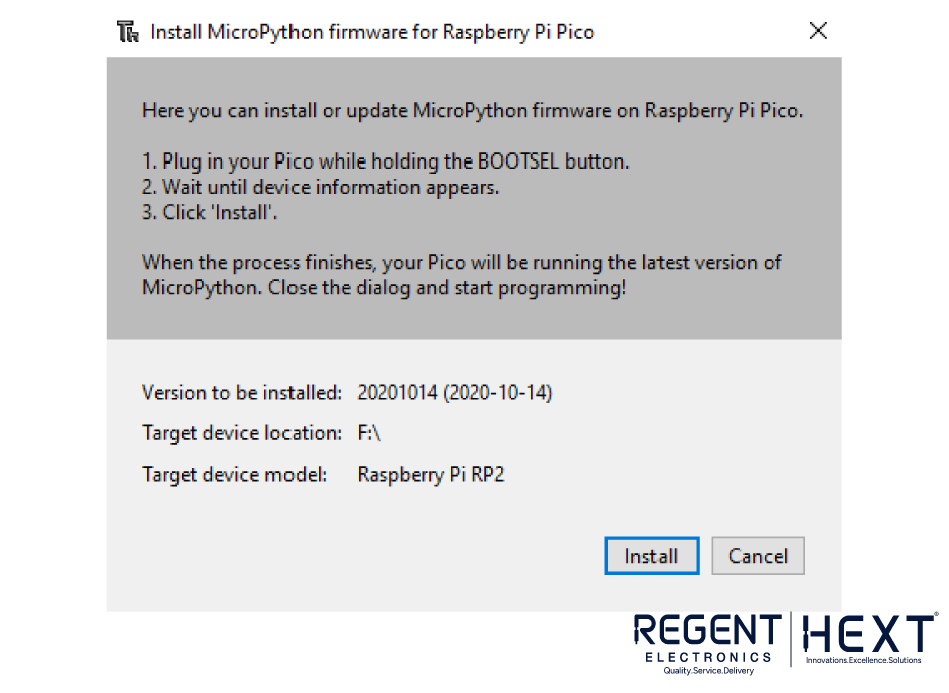
- Update the firmware (if needed) by selecting the appropriate MicroPython version in Thonny IDE.
- Install required libraries for LCD and SD card module.
Circuit Diagram & Hardware Interfacing
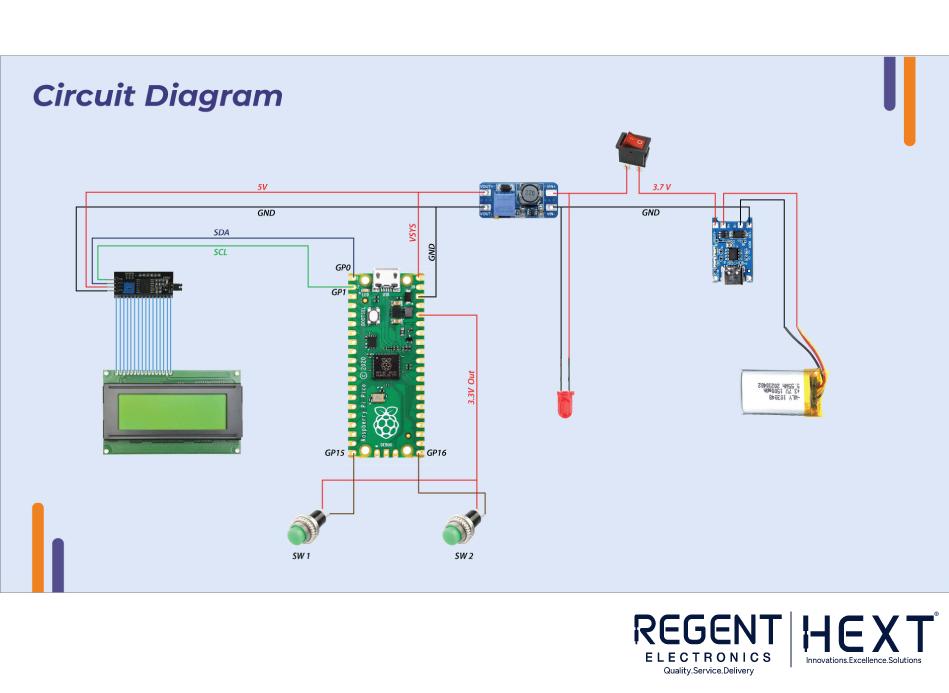
Wiring Guide:
- LCD Display: Connect SDA & SCL of the display to GPIO pins on the Raspberry Pi Pico.
- Buttons: Map jump and reset buttons to available GPIO pins.
- Buzzer: Attach to GPIO 17 for sound effects.
- Battery & Power Management: Integrate the boost converter to maintain a steady power supply.
Coding the Dino Game
Now, let’s program our handheld Dino game! The core game logic includes:
- Obstacle generation using random positioning.
- Character movement with button presses.
- Collision detection to determine game over.
- Score tracking and increasing game difficulty over time.
Below is a snippet of the main game code:
from machine import Pin, I2C, PWM
from pico_i2c_lcd import I2cLcd
from random import randint
from time import sleep
button = Pin(15, Pin.IN, Pin.PULL_DOWN)
buzzer = PWM(Pin(17))
i2c = I2C(0, sda=Pin(0), scl=Pin(1), freq=400000)
lcd = I2cLcd(i2c, 0x27, 4, 20)
lcd.backlight_on()
score = 0
while True:
lcd.clear()
lcd.putstr(“Dino Game\n”)
lcd.putstr(“Score: ” + str(score))
if button.value():
buzzer.duty_u16(512)
sleep(0.1)
buzzer.duty_u16(0)
score += 10
sleep(0.5)
This code initializes the LCD, button, and buzzer while implementing the game logic. For the full version, you can integrate additional features like animation and advanced scoring mechanisms.
Testing & Debugging
- Check connections to ensure all components are properly wired.
- Debug firmware issues by re-installing MicroPython if needed.
- Monitor button responsiveness for real-time gameplay control.
- Optimize power consumption by adjusting the boost converter settings.
Final Thoughts
Building a DIY handheld Dino Game with Raspberry Pi Pico is a fun and rewarding experience. It introduces essential embedded programming, circuit design, and game development concepts in a hands-on way. Plus, with a few tweaks, you can add more features like sound effects, speed variations, and an OLED display upgrade.
Ready to start your DIY gaming journey? Get your components and start building today!