
DIY RFID Door Lock Using Raspberry Pi Pico – Secure & Efficient
Introduction
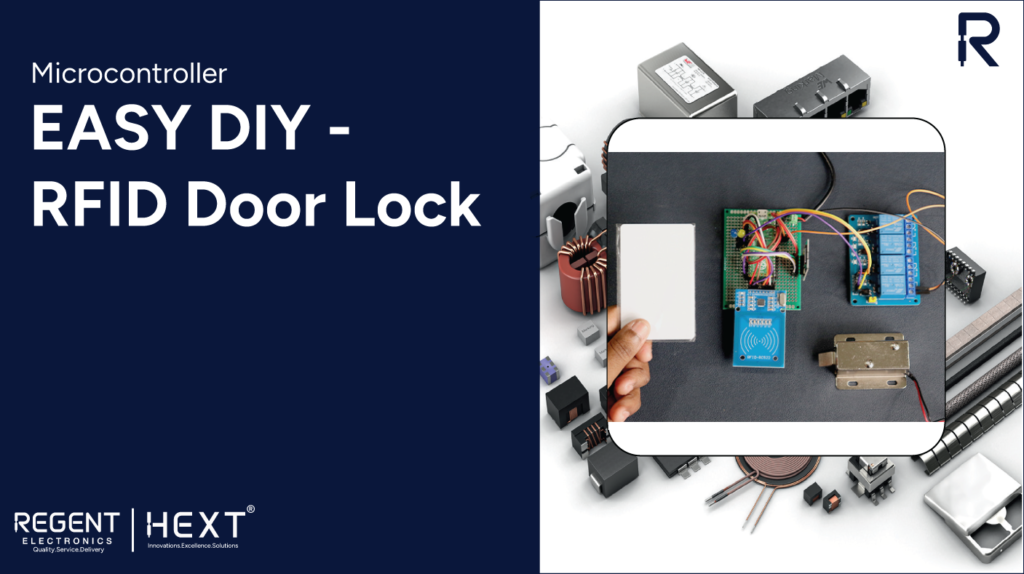
Looking for a smart, secure, and efficient way to control door access? In this guide, we’ll walk you through building an RFID Door Lock using Raspberry Pi Pico. The RFID system will store card credentials on an SD card, making it easy to modify access permissions without reprogramming the microcontroller.
Why Use RFID for a Door Lock?
RFID technology is widely used in security systems due to its unique identification codes, allowing access control for different individuals. It is:
- Fast – Just tap the card, and the door unlocks instantly.
- Secure – Only authorized RFID cards grant access.
- Convenient – No need for physical keys, reducing security risks.
How RFID Works
RFID (Radio Frequency Identification) works by transmitting radio waves from the reader to the tag, which powers up the embedded chip inside the tag. The tag then sends a unique identification code back to the reader, which is processed by the microcontroller.
Active vs. Passive RFID Systems
- Active RFID: Uses a battery-powered tag for longer-range detection.
- Passive RFID: Relies on electromagnetic induction for power and works within a 5-10 cm range, ideal for door security.
Why Choose Raspberry Pi Pico?
The Raspberry Pi Pico is a low-cost yet powerful microcontroller featuring:
- Dual-Core ARM Cortex-M0+ processor
- I2C, SPI, and UART controllers for future expansions
- Low power consumption
- Built-in clock and temperature sensor
Hardware Requirements
To build this RFID Door Lock, you’ll need:
- Raspberry Pi Pico
- RC522 RFID module
- RFID tags (at least 2)
- 1602 LCD module with I2C adapter
- 24V DC solenoid door lock
- SD card module + SD card
- Relay module
- 24V Power supply
- Jumper wires and headers
Software Requirements
- Thonny IDE (for coding)
- LCD & SD card libraries for Pi Pico
Setting Up Your Raspberry Pi Pico

- Install Thonny IDE: Download and install it on your system.
- Update Raspberry Pi Pico firmware:
- Connect the Pico via USB.
- Open Thonny IDE and select the correct Python environment.
- Update firmware (if required) from the IDE.
- Install necessary libraries:
- LCD library for display integration
- SD card library for storing RFID credentials
Circuit Diagram and Wiring

Connect the RFID Module (RC522) to Raspberry Pi Pico:
| RFID Module | Raspberry Pi Pico |
| VCC | 3.3V |
| GND | GND |
| SCK | GP3 |
| MOSI | GP4 |
| MISO | GP5 |
| SDA | GP2 |
Connect SD Card Module to Raspberry Pi Pico:
| SD Module | Raspberry Pi Pico |
| VCC | 3.3V |
| GND | GND |
| SCK | GP10 |
| MOSI | GP11 |
| MISO | GP12 |
| CS | GP13 |
Connect LCD Display to Raspberry Pi Pico:
| LCD Module | Raspberry Pi Pico |
| VCC | 3.3V |
| GND | GND |
| SDA | GP0 |
| SCL | GP1 |
Connect Relay Module to Raspberry Pi Pico:
| Relay Module | Raspberry Pi Pico |
| VCC | 3.3V |
| GND | GND |
| IN4 | GP8 |
Coding Your RFID Door Lock
- Create an employee.txt file on the SD card to store RFID credentials in the format:
- [Name] CARD_ID:[Card ID]
- Upload the main Python script to Raspberry Pi Pico.
- Ensure all libraries are correctly installed before running the script.
Working of the RFID Door Lock
- When powered on, the Pico initializes the RFID module, LCD, and SD card.
- It then waits for an RFID card to be scanned.
- Upon scanning, the card ID is checked against the stored data on the SD card.
- If a match is found, the relay is activated, unlocking the door for a few seconds.
- The LCD displays access status for better user feedback.
Conclusion
Building an RFID Door Lock using Raspberry Pi Pico is a practical and effective way to enhance security. The SD card-based credential storage makes it flexible and easy to update. By following this guide, you can create a DIY smart security system for homes, offices, or restricted areas.