
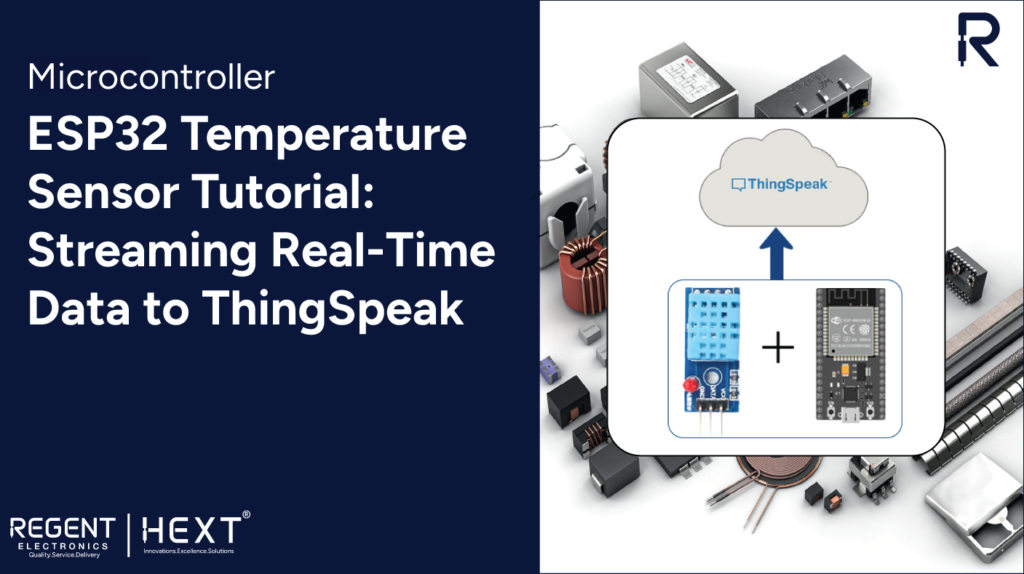
ESP32 Temperature Sensor Tutorial: Streaming Real-Time Data to Thing Speak
Introduction
In this tutorial, we will create a simple IoT project that streams temperature data from an ESP32 board to the ThingSpeak cloud. This setup will allow real-time monitoring of room temperature from anywhere using the internet. We will accomplish this using the API provided by ThingSpeak.
What is an API?
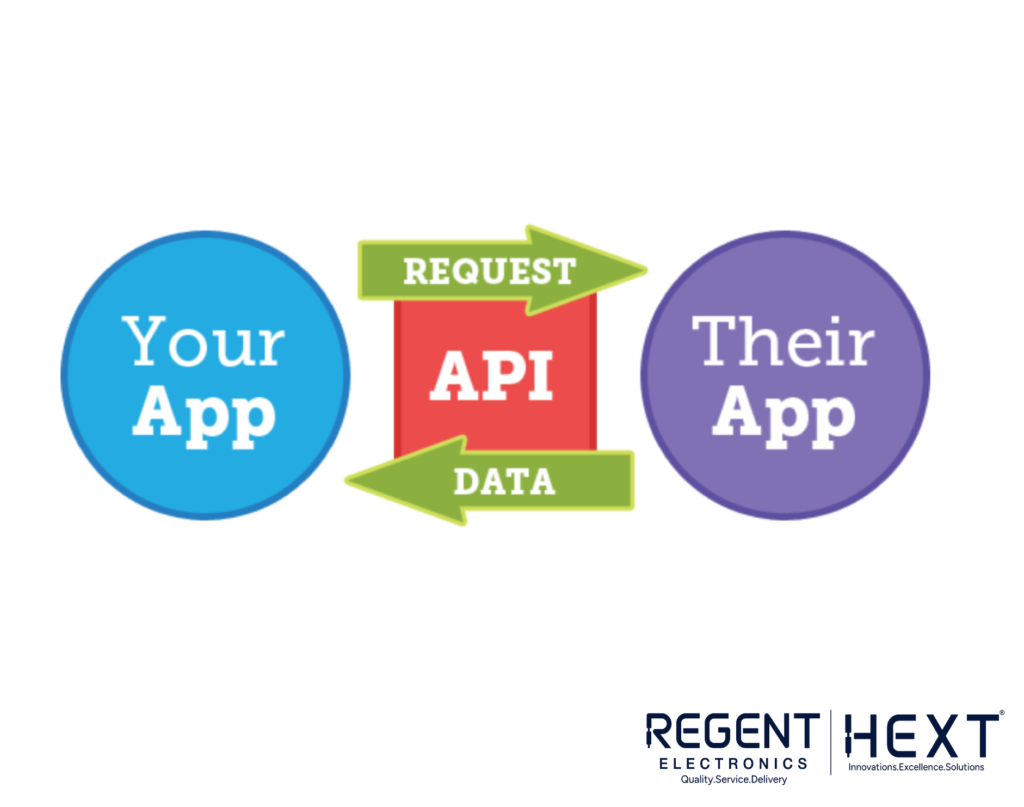
An API (Application Programming Interface) acts as a bridge between a software application and a website, enabling data exchange. In this project, our ESP32 board will send temperature data to ThingSpeak using an API.
What is ThingSpeak?

ThingSpeak is an IoT cloud platform that provides real-time data visualization and storage for sensor data. Users can send data from devices like ESP32 and create live charts for analysis.
Components Required
- ESP32 Dev Board
- DHT11 Temperature and Humidity Sensor
- Jumper Wires (M to M) – 3 pieces
- Micro USB Cable
Getting API from ThingSpeak and Testing It
Follow these steps to create an account and obtain the API key from ThingSpeak:
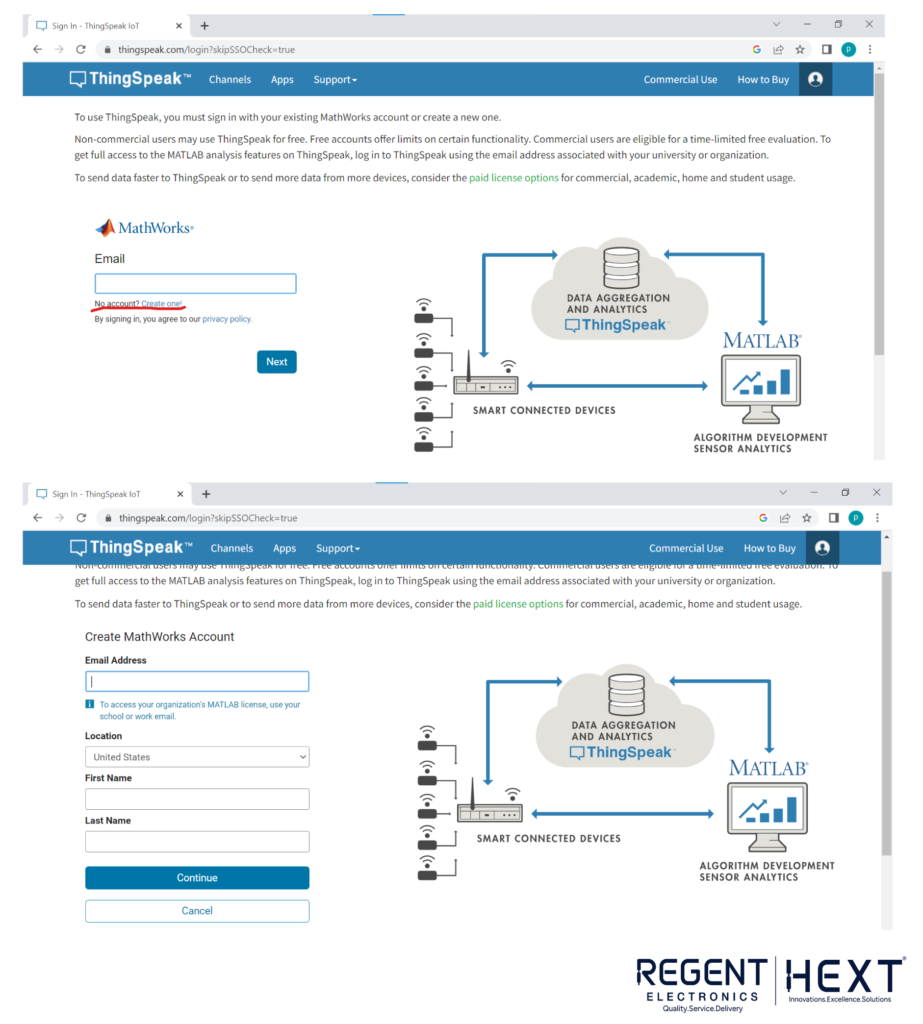

- Go to the ThingSpeak website and click on Sign In.
- If you don’t have an account, click on Create One, fill in your credentials, and verify your email.
- Log in and click on New Channel.
- Enter the channel name and description. Assign a name to Field 1 (e.g., Temperature).
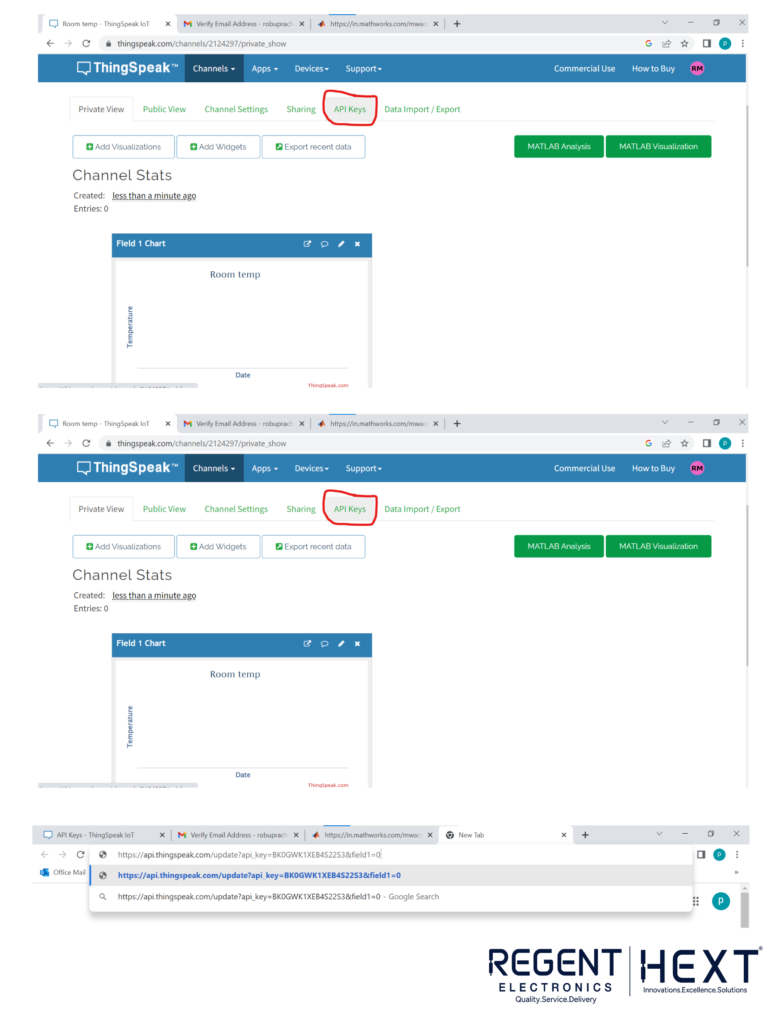
- Save the channel and navigate to API Keys.
- Copy the provided API URL.
- Test the API by pasting the URL into your browser with a sample data value.
- Check your channel’s Private View to see the updated temperature graph.
Circuit Diagram
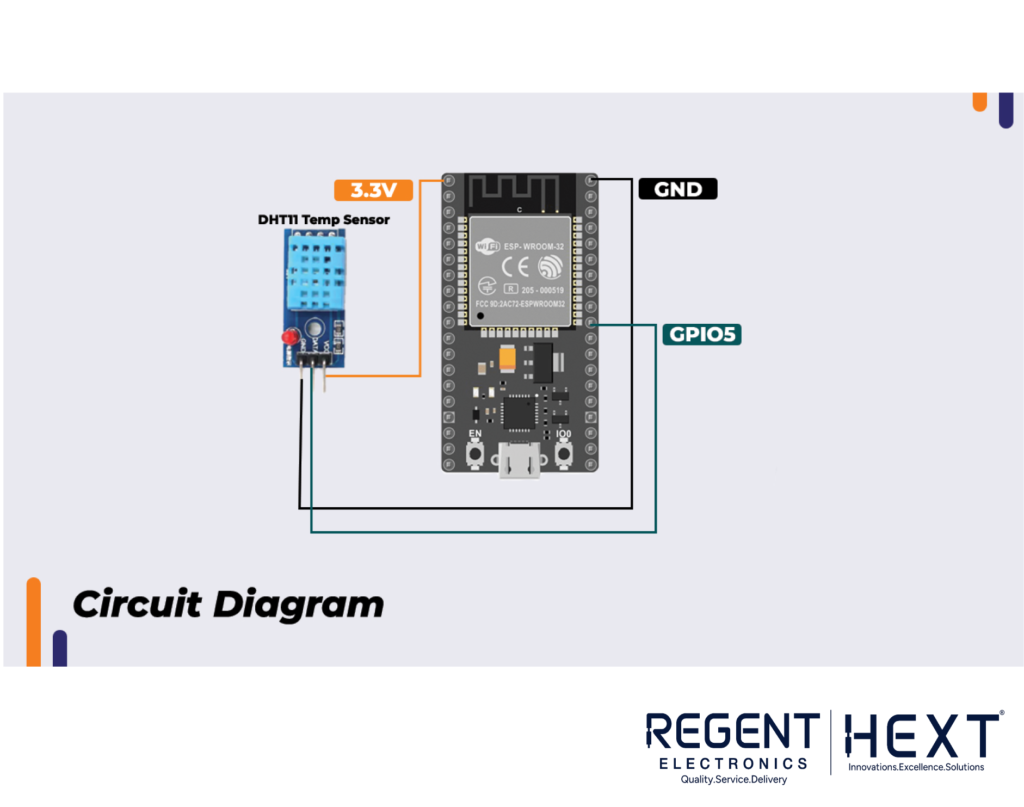
Connect the components as shown below:
- DHT11 Sensor:
- VCC → 3.3V on ESP32
- GND → GND on ESP32
- Data → GPIO 5 on ESP32
The DHT11 sensor provides calibrated temperature readings in degrees Celsius, making it ideal for this project.
Setting Up Arduino IDE
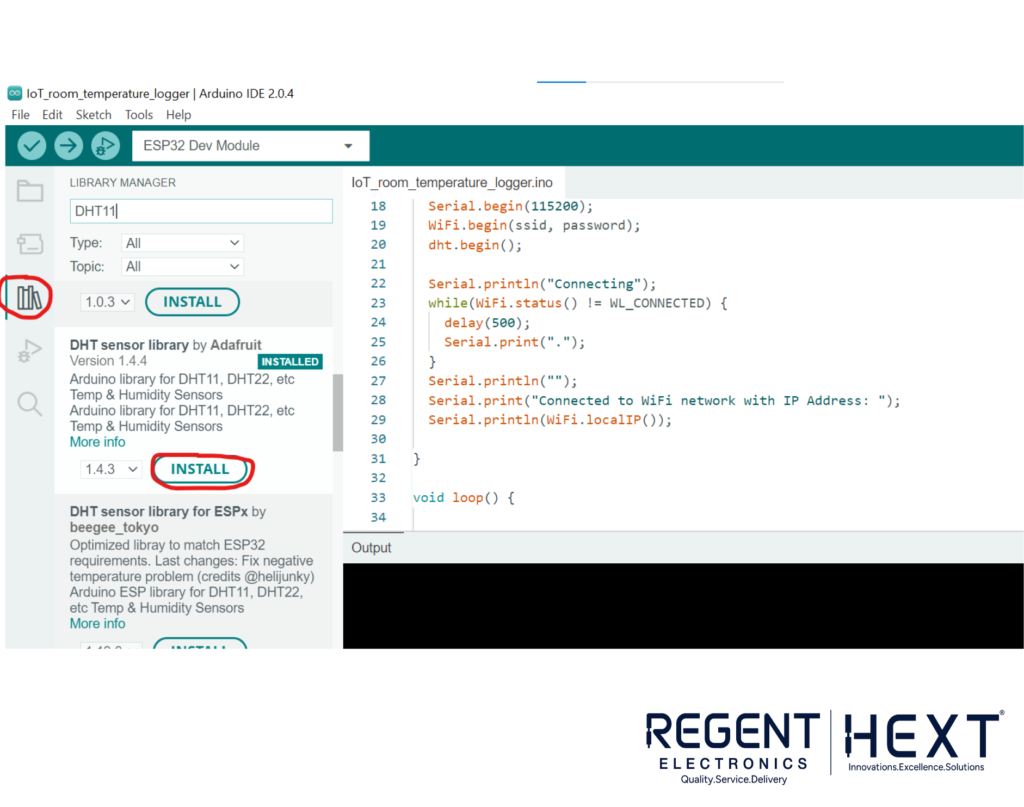
- Install Arduino IDE and open it.
- Install the DHT Sensor Library by Adafruit from the Library Manager.
- Select the board: ESP32 Dev Module.
- Choose the correct COM Port as per your Device Manager.
- Modify the provided code with your WiFi credentials and ThingSpeak Write API Key.

ESP32 Temperature Sensor Code
#include <WiFi.h>
#include <HTTPClient.h>
#include “DHT.h”
#define DHTPIN 5
#define DHTTYPE DHT11
DHT dht(DHTPIN, DHTTYPE);
const char* ssid = “your_WiFi_SSID”;
const char* password = “your_WiFi_password”;
const char* serverName = “http://api.thingspeak.com/update”;
String apiKey = “your_write_API_key”;
void setup() {
Serial.begin(115200);
WiFi.begin(ssid, password);
dht.begin();
Serial.println(“Connecting”);
while (WiFi.status() != WL_CONNECTED) {
delay(500);
Serial.print(“.”);
}
Serial.println(“\nConnected to WiFi network with IP Address: ” + WiFi.localIP());
}
void loop() {
if (WiFi.status() == WL_CONNECTED) {
WiFiClient client;
HTTPClient http;
delay(10000);
float t = dht.readTemperature();
if (isnan(t)) {
Serial.println(“Failed to read from DHT sensor!”);
return;
}
http.begin(client, serverName);
http.addHeader(“Content-Type”, “application/x-www-form-urlencoded”);
String httpRequestData = “api_key=” + apiKey + “&field1=” + String(t);
int httpResponseCode = http.POST(httpRequestData);
Serial.print(“HTTP Response code: “);
Serial.println(httpResponseCode);
http.end();
} else {
Serial.println(“WiFi Disconnected”);
}
}
How the Code Works
- The setup() function initializes WiFi and the DHT11 sensor.
- The loop() function reads temperature data and posts it to ThingSpeak every 10 seconds.
- If WiFi is disconnected, the system waits to reconnect before sending data.
- The HTTP response code verifies if the data transmission was successful.
Conclusion
With this simple IoT project, we successfully streamed real-time temperature data from an ESP32 board to ThingSpeak. If you have any questions or need assistance, feel free to comment.
For more exciting projects, visit Regent Electronics and subscribe to our YouTube channel!