
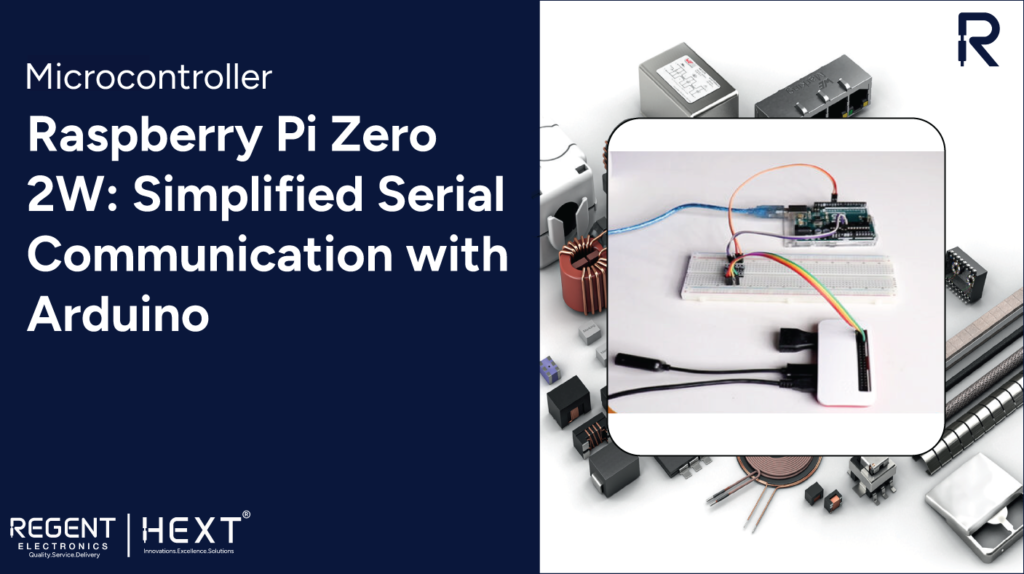
Raspberry Pi Zero 2W: Simplified Serial Communication with Arduino
Introduction
In this guide, we will explore how to establish seamless serial communication between Raspberry Pi Zero 2W and Arduino Uno using the UART protocol. This process may slightly differ based on the type of Raspberry Pi board being used.
So, without further delay, let’s dive in!
What is Raspberry Pi?
Raspberry Pi is a compact, cost-effective, single-board computer developed by the Raspberry Pi Foundation. Initially designed for educational purposes, it has become a popular choice among hobbyists and professionals for applications such as home automation, robotics, and media centers.
The Raspberry Pi runs on various operating systems, with Raspberry Pi OS (formerly Raspbian) being the most common. It supports multiple programming languages, including Python, C, C++, and Java. With USB ports, HDMI output, GPIO pins, and network connectivity, it serves as a versatile tool for numerous projects.
Raspberry Pi Zero 2W Overview
The Raspberry Pi Zero 2W is a compact and budget-friendly version of the Raspberry Pi series, offering significant performance improvements over its predecessor, the Raspberry Pi Zero W.
Features:
- Quad-core 64-bit ARM Cortex-A53 CPU for enhanced performance
- 512MB LPDDR2 SDRAM
- Integrated 2.4GHz IEEE 802.11b/g/n wireless LAN and Bluetooth 4.2
- CSI-2 camera connector
- Mini HDMI port for video output
Its improved performance and connectivity make it an ideal choice for IoT projects, embedded applications, and DIY electronics.
Hardware Requirements
- Raspberry Pi Zero 2W
- Pi Zero/Zero 2W Case
- 32GB MicroSD Card
- Heat Sinks
- Cables
- Arduino Uno
- Bi-Directional Logic Converter
Software Requirements
- Arduino IDE
- Raspberry Pi Imager Tool
- Serial Package for Python3
Circuit Diagram and Hardware Interfacing
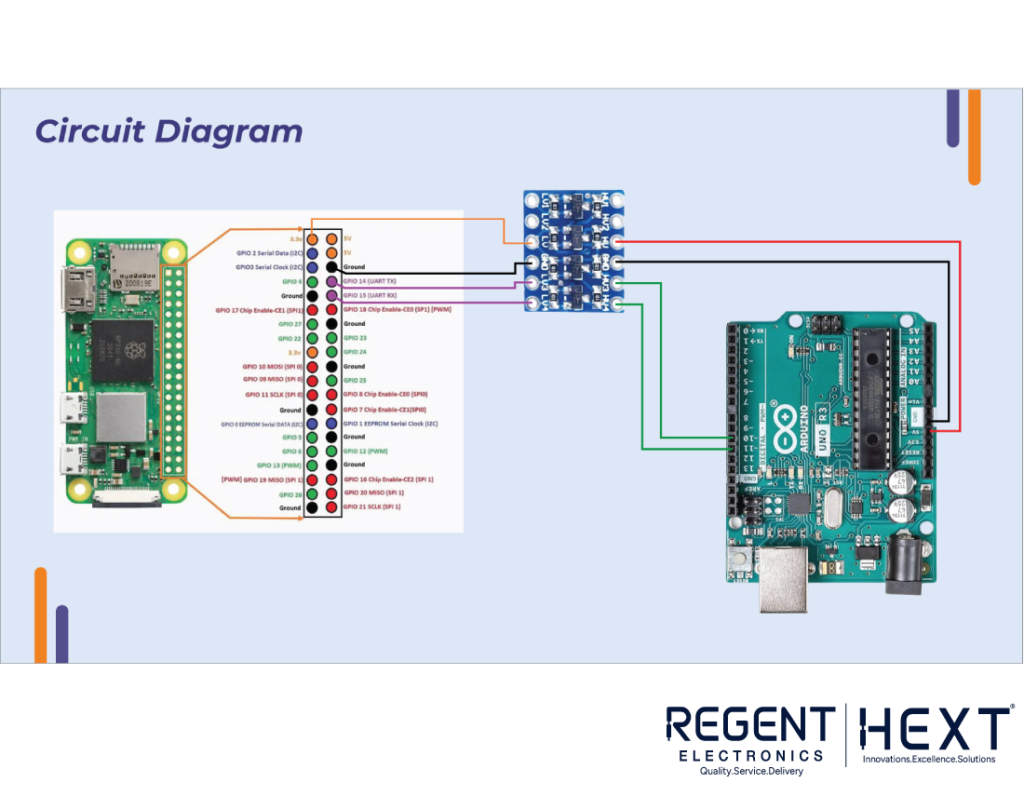
Circuit Diagram
Establish the following connections:
Raspberry Pi Zero 2W to Bi-Directional Logic Shifter
- +3.3V → LV
- GND → LVGND
- RX → L1
- TX → L2
Arduino Uno to Bi-Directional Logic Shifter
- +5V → HV
- GND → HVGND
- Pin 10 → H2
- Pin 11 → H1
Setting Up the Raspberry Pi Zero 2W
SSH Access
Non-SSH Method:
Login using the username and password created during the MicroSD card setup.
SSH Method:
Open the Command Prompt (CMD) on your PC and enter:
ssh [username]@[hostname]
Upon the first connection, approve the device by typing “yes,” then enter your password.
Preparing the Raspberry Pi
Before proceeding, update the system:
sudo apt-get update && sudo apt-get upgrade -y
Install the serial package:
sudo apt-get install python3-serial
Check if serial is enabled:
ls -l /dev
If “serial0” is missing, enable it through:
sudo raspi-config
Navigate to Interface Options > Serial Port, and select No on the first prompt and Yes on the second.
Organizing Files
Create a directory for the project:
mkdir Serial_Test
cd Serial_Test/
Create a Python script:
sudo nano Serial_Send.py
Save and exit using Ctrl + S and Ctrl + X.
Coding
Raspberry Pi Zero 2W Send Data to Arduino
Modify ‘/dev/ttyS0’ with the appropriate serial port.
from serial import Serial
import time
arduino_serial = Serial(‘/dev/ttyS0’, 9600, timeout=0.1)
arduino_serial.flush()
while True:
try:
arduino_serial.write(b”ON\n”)
time.sleep(1)
arduino_serial.write(b”OFF\n”)
time.sleep(1)
except KeyboardInterrupt:
arduino_serial.close()
break
Arduino Uno Read Data from Raspberry Pi
#include <SoftwareSerial.h>
SoftwareSerial mySerial(10, 11); // RX, TX
void setup() {
Serial.begin(9600);
mySerial.begin(9600);
}
void loop() {
String data = mySerial.readStringUntil(‘\n’);
Serial.println(data);
}
Raspberry Pi Zero 2W Read Data from Arduino
import serial
import time
arduino_serial = serial.Serial(‘/dev/ttyS0’, 9600, timeout=0.1)
arduino_serial.flush()
while True:
line = arduino_serial.readline().decode(‘utf-8’).rstrip()
print(line)
time.sleep(1)
Arduino Uno Send Data to Raspberry Pi
#include <SoftwareSerial.h>
SoftwareSerial mySerial(10, 11); // RX, TX
void setup() {
mySerial.begin(9600);
}
void loop() {
serial_send(1, 2, 3);
delay(1000);
}
void serial_send(uint8_t x, uint8_t y, uint8_t z) {
Serial.print(“A = “);
Serial.print(x);
Serial.print(” B = “);
Serial.print(y);
Serial.print(” C = “);
Serial.println(z);
}
Conclusion
By following this guide, we successfully established serial communication between Raspberry Pi Zero 2W and Arduino Uno. With minor modifications, you can implement bidirectional communication for more complex applications.
This combination of Arduino’s analog input capabilities and Raspberry Pi’s processing power allows for the creation of advanced and cost-effective embedded systems.
For more exciting projects, stay tuned to Regent Electronics!