
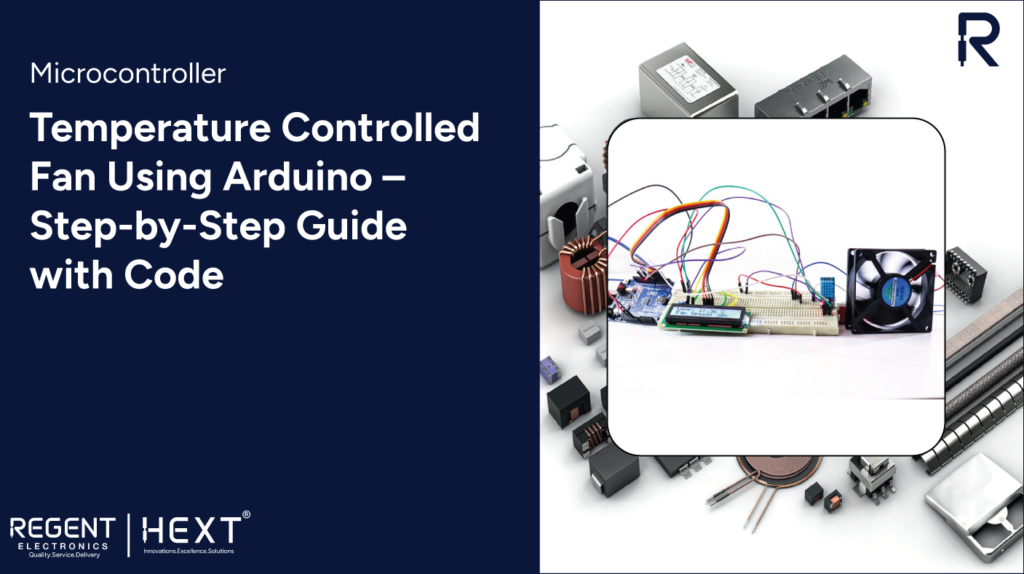
Temperature Controlled Fan Using Arduino – Step-by-Step Guide with Code
Introduction
Temperature control is essential in various settings, including server rooms, homes, and industries. A temperature-controlled fan can help regulate temperature efficiently, providing automatic cooling when necessary.
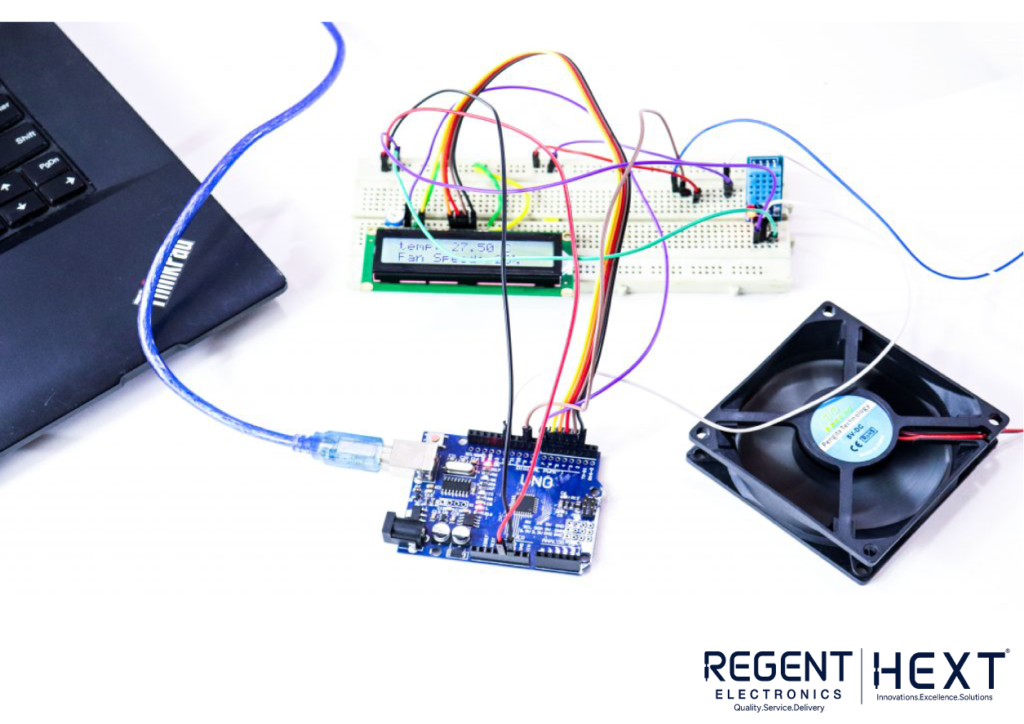
In this tutorial, we will guide you through building a temperature-controlled fan using an Arduino, a DHT11 temperature and humidity sensor, and a DC fan. This project is a great way to understand temperature regulation and can be used as a DIY project for personal or industrial applications.
How It Works
This project consists of three primary steps:
- The DHT11 sensor detects the temperature and humidity levels.
- The Arduino processes the temperature data and adjusts the fan speed accordingly using PWM (Pulse Width Modulation).
- The fan speed and temperature values are displayed on a 16×2 LCD screen.
The system automatically increases or decreases the fan speed based on the temperature, ensuring energy efficiency and optimal cooling.
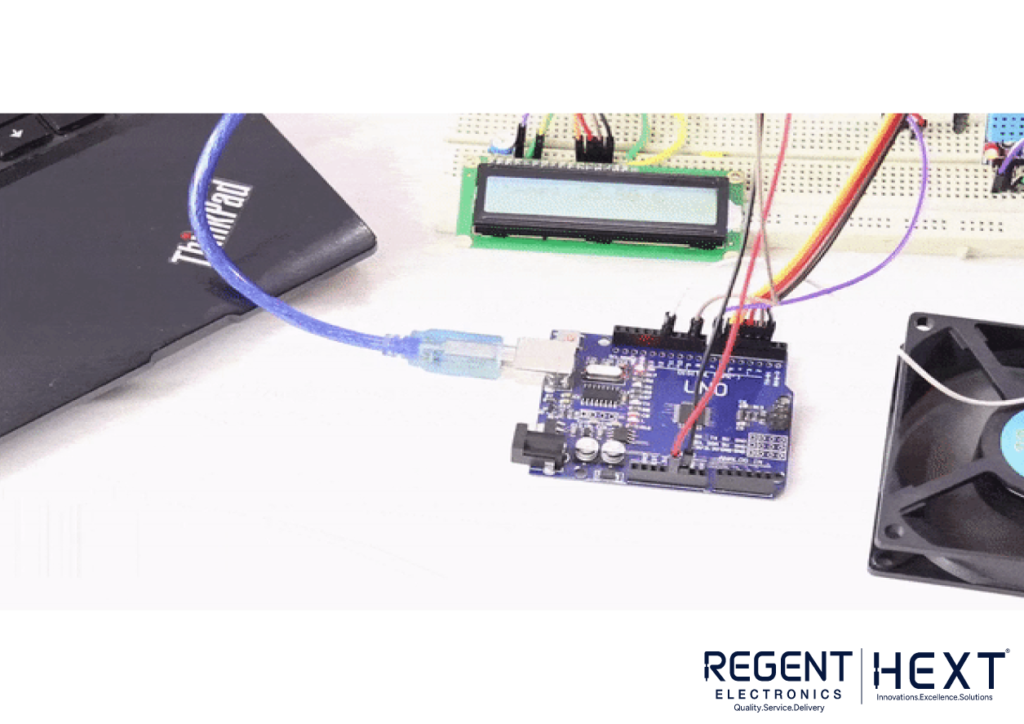
Components Required
To build this project, you will need the following components:
- Arduino UNO
- USB A to B Cable
- Breadboard
- DHT11 Temperature and Humidity Sensor
- DC Fan
- 2N2222 Transistor
- 16×2 LCD Display
- Jumper Wires
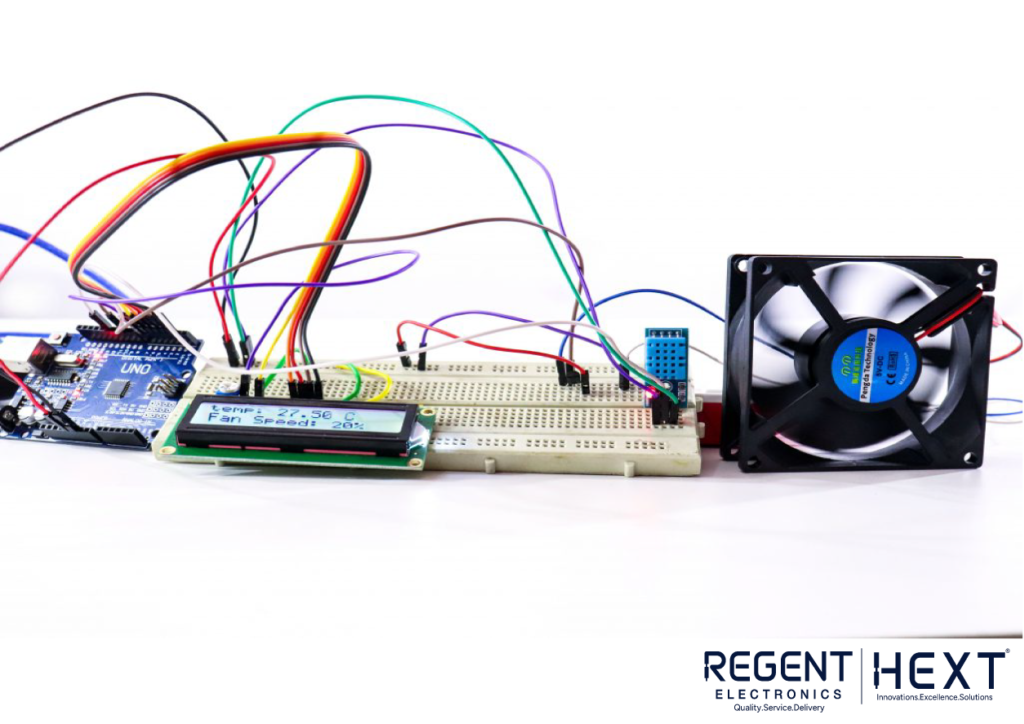
Circuit Connections
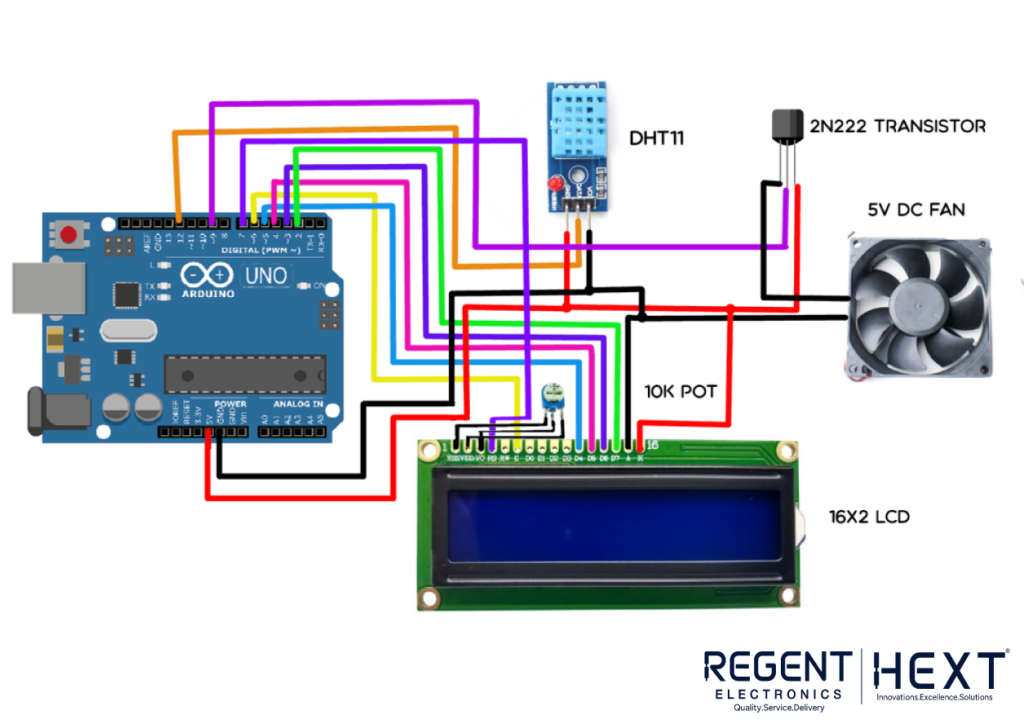
Step 1: Connect the LCD to the Arduino
The LCD is used to display temperature and fan speed status. Connect it as follows:
| LCD Pin | Arduino Pin |
| RS | 7 |
| EN | 6 |
| D4 | 5 |
| D5 | 4 |
| D6 | 3 |
| D7 | 2 |
Step 2: Connect the DHT11 Sensor
The DHT11 sensor module detects temperature and humidity. Connect it as follows:
| DHT11 Pin | Arduino Pin |
| VCC | 5V |
| GND | GND |
| Data | 12 |
Step 3: Connect the Fan and Transistor
The DC fan is controlled using a 2N2222 transistor, which acts as a switch. Connect it as follows:
| Component | Arduino Pin |
| Fan (+) | 12V Supply |
| Fan (-) | Collector (Transistor) |
| Base (Transistor) | Pin 9 (PWM) |
| Emitter (Transistor) | GND |
Uploading the Code
Before uploading the code, ensure your Arduino IDE is installed and the necessary libraries are included. Use the following code:
#include “DHT.h”
#include<LiquidCrystal.h>
LiquidCrystal lcd(7, 6, 5, 4, 3, 2);
#define DHTPIN 12 // Pin connected to DHT11
#define DHTTYPE DHT11
#define pwm 9
DHT dht(DHTPIN, DHTTYPE);
void setup() {
lcd.begin(16, 2);
lcd.print(” Fan Speed Control “);
delay(2000);
Serial.begin(9600);
dht.begin();
}
void loop() {
delay(2000);
float h = dht.readHumidity();
float t = dht.readTemperature();
if (isnan(h) || isnan(t)) {
Serial.println(“Failed to read from DHT sensor!”);
return;
}
lcd.setCursor(0,0);
lcd.print(“Temp: “);
lcd.print(t);
lcd.print(” C”);
lcd.setCursor(0,1);
if(t < 20) {
analogWrite(pwm, 0);
lcd.print(“Fan OFF”);
}
else if(t >= 20 && t < 26) {
analogWrite(pwm, 51);
lcd.print(“Fan Speed: 20%”);
}
else if(t >= 26 && t < 28) {
analogWrite(pwm, 102);
lcd.print(“Fan Speed: 40%”);
}
else if(t >= 28 && t < 29) {
analogWrite(pwm, 153);
lcd.print(“Fan Speed: 60%”);
}
else if(t >= 29 && t < 30) {
analogWrite(pwm, 204);
lcd.print(“Fan Speed: 80%”);
}
else {
analogWrite(pwm, 255);
lcd.print(“Fan Speed: 100%”);
}
delay(3000);
}
How to Use the Temperature-Controlled Fan
- Power on the system – The LCD will display a welcome message.
- Monitor the temperature – The LCD will show the current room temperature.
- Fan operation – The fan will turn on/off and adjust speed automatically based on temperature readings.
Applications
- Home Automation – Control the cooling of rooms based on temperature.
- Server Rooms – Prevent overheating of computer servers.
- Industrial Applications – Maintain optimal working temperatures in manufacturing units.
Conclusion
This tutorial demonstrated how to build a temperature-controlled fan using Arduino. The project is simple yet effective in real-life applications where automatic cooling is required. By using an Arduino, DHT11 sensor, and a DC fan, we can regulate temperature efficiently without manual intervention.
We hope you found this guide helpful! If you have any questions, feel free to leave a comment. Stay tuned for more DIY electronics projects from Regent Electronics!