
Temperature Sensor Interfacing with Arduino – Connections and Code

In this article, we will explore the fundamentals of temperature sensors, their types, and the interfacing of the PT100-S Temperature Sensor with an Arduino UNO.
Introduction
Measuring temperature using Arduino is an exciting and practical project. Temperature monitoring is essential across various applications, ensuring that devices operate within optimal temperature ranges. Some common applications include:
- Automobiles
- Computers
- Home appliances
- Medical devices
- Industrial automation
Temperature sensors help maintain the safety and longevity of devices by monitoring temperature levels and ensuring they remain within permissible limits.
This guide will provide insights into temperature sensors, their types, and a step-by-step approach to interfacing them with an Arduino.
Table of Contents
- What is a Temperature Sensor and its Types?
- Contact Sensors
- Non-Contact Sensors
- Interfacing a Temperature Sensor with Arduino
- What is the PT100-S Sensor?
- Connecting PT100-S with Arduino
- Code Implementation
- Conclusion
What is a Temperature Sensor?
A temperature sensor detects and measures temperature changes in the environment and converts them into readable data. These sensors operate based on changes in resistance or voltage in response to temperature variations.
Accurate temperature measurement is crucial to preventing device failure and maintaining operational efficiency.
Types of Temperature Sensors

1. Contact Temperature Sensors
These sensors are in direct contact with the object they measure. They work on the principle of heat conduction and are commonly used in various industrial and domestic applications.
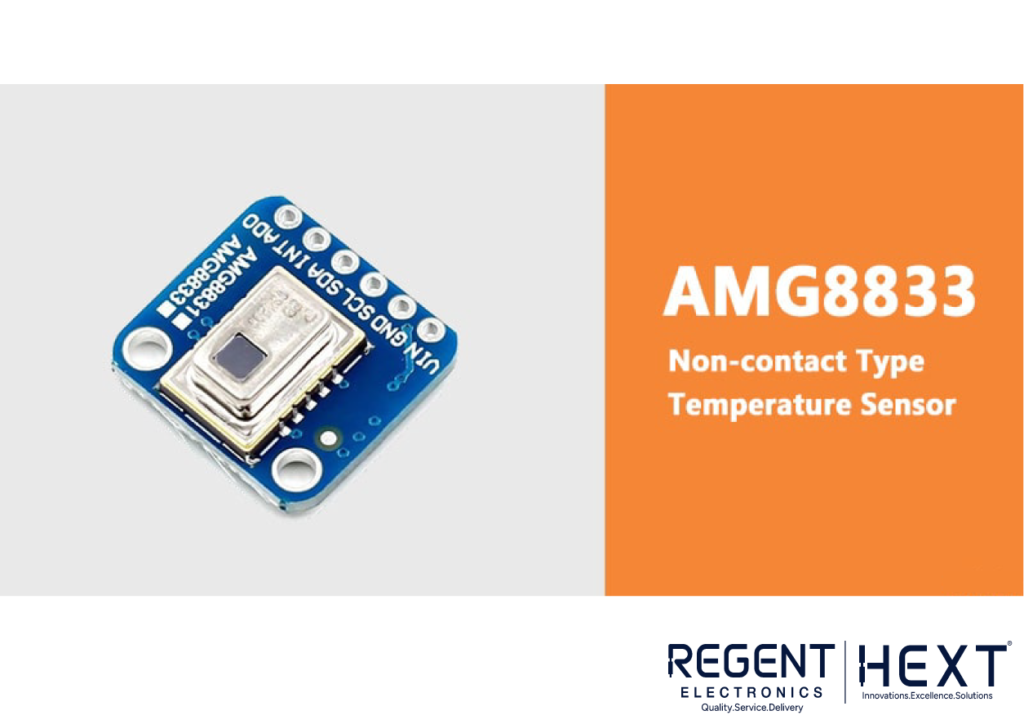
2. Non-Contact Temperature Sensors
Non-contact sensors measure temperature based on the energy emitted by an object due to convection and radiation. These sensors are ideal for measuring the temperature of liquids, gases, and moving objects.
Interfacing a Temperature Sensor with Arduino
For this project, we will use the PT100-S Temperature Sensor to demonstrate the interfacing process.
What is the PT100-S Temperature Sensor?
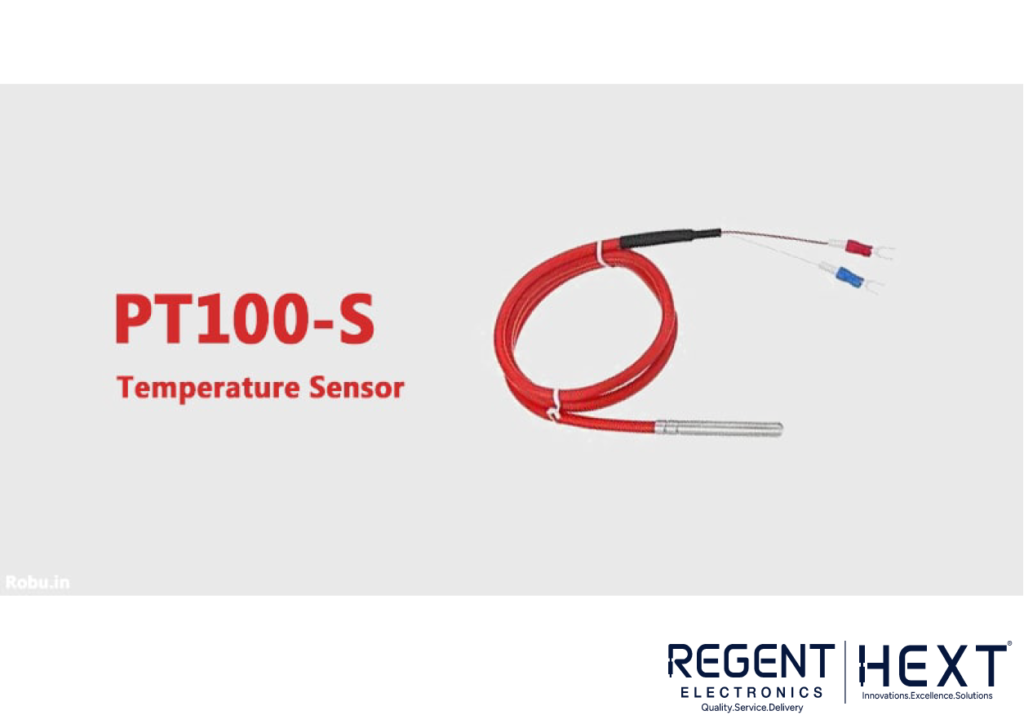
The PT100-S is a thermistor that changes resistance based on temperature variations. It provides high accuracy, stability, and fast response time, making it suitable for laboratory and industrial applications.
- Composed of a platinum strip with a resistance range of 100Ω – 138.4Ω
- Works efficiently at temperatures up to 420°C
- Protected by a 316L stainless steel shield for enhanced durability
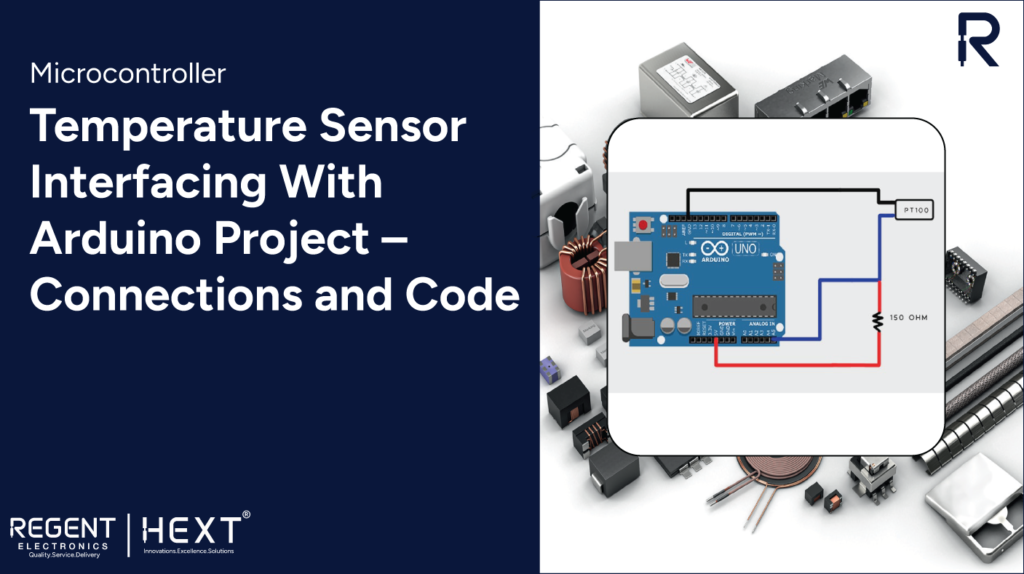
Connecting PT100-S with Arduino

Setting up the PT100-S with an Arduino takes just a few minutes. Follow these steps carefully:
Step 1: Connect one terminal of the PT100-S sensor to an analog pin (A5) on the Arduino.
Step 2: Connect the same end of the sensor to 5V on the Arduino through a 150Ω resistor to prevent overheating. The resistor value can be calculated using the formula:
R2=R1×1(Vin/Vout−1)R2 = R1 \times \frac{1}{(V_{in}/V_{out} – 1)}
Step 3: Connect the other terminal of the PT100-S sensor to the GND pin on the Arduino.
To test the setup, place the sensor near hot (e.g., a candle) or cold (e.g., ice) objects and observe the readings.
Code Implementation
#include <Wire.h>
const int analogInPin = A5; // PT100-S sensor connected to A5 pin
const int SensorValueLow = 463;
const int SensorValueDiff = 36; // Difference between high and low sensor values
const int TempValueDiff = 42; // Difference between high and low temperature values
const int TempValueLow = 9;
int sensorValue = 0;
double Temp = 0;
void setup()
{
Serial.begin(9600); // Initialize serial communication
}
void loop()
{
sensorValue = analogRead(analogInPin);
Temp = (sensorValue – SensorValueLow) / SensorValueDiff;
Temp = Temp * TempValueDiff + TempValueLow;
Serial.print(“Sensor Value: “);
Serial.print(sensorValue);
Serial.print(” | Temperature: “);
Serial.print(Temp);
Serial.println(” °C”);
delay(200); // Delay before fetching new data
}
Conclusion
This tutorial provided a detailed guide on temperature sensors and their interfacing with an Arduino. By following these steps, you can successfully monitor temperature variations in real-time.
We would love to see your temperature sensor Arduino project! Share your experiences in the comments below.
For more high-quality electronic components, visit Regent Electronics today! 🚀