
Boost Your Raspberry Pi 5 Storage with HAT+ NVMe | Regent Electronics
The long-awaited official Raspberry Pi 5 HAT+ NVMe expansion is finally here! In this detailed guide brought to you by Regent Electronics, we’ll walk you through everything you need to know about this incredible upgrade, including step-by-step setup instructions.
Whether you’re expanding your Pi’s storage for high-performance projects, faster boot times, or just better data handling, this is the add-on you’ve been waiting for.
Table of Contents:
- What is Raspberry Pi 5?
- What is a HAT?
- What is NVMe SSD?
- Setting Up Raspberry Pi 5 HAT+ NVMe
- Final Thoughts
What is Raspberry Pi 5?

The Raspberry Pi 5 is the latest and most powerful single-board computer in the Raspberry Pi family. Developed by the Raspberry Pi Foundation in partnership with Broadcom, this compact powerhouse features a 2.4GHz quad-core 64-bit CPU, enhanced GPU, and faster memory bandwidth.
Perfect for DIY electronics, programming, and home automation projects, the Pi 5 delivers smooth, efficient performance in a small package.
What is a HAT?

HAT stands for Hardware Attached on Top. These accessories are designed to plug directly into the 40-pin GPIO header of your Raspberry Pi, enabling easy add-on functionality like sensors, motor drivers, and in this case, SSD storage.
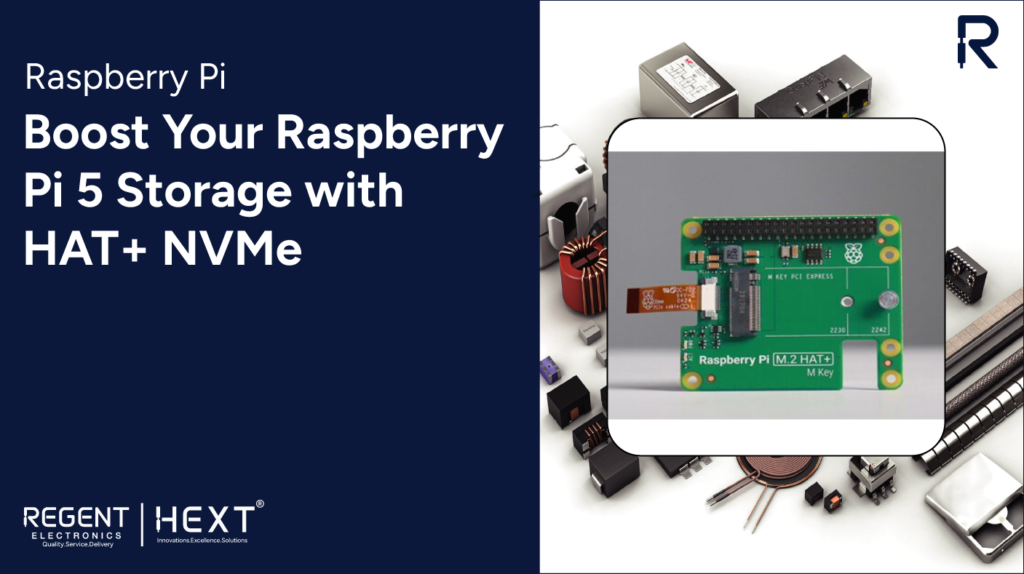
HATs make your Pi setup highly modular and tailored to your project needs. The official NVMe HAT for the Raspberry Pi 5 is designed to add fast, reliable NVMe SSD storage via the PCIe interface.
What is an NVMe SSD?

NVMe (Non-Volatile Memory Express) is a protocol that allows lightning-fast communication between your storage drive and the CPU through a PCIe interface. Compared to traditional SATA SSDs, NVMe drives offer significantly higher data transfer speeds.
With the Raspberry Pi 5 now supporting a single PCIe lane, you can harness the speed of NVMe SSDs to supercharge your storage.
How to Set Up Raspberry Pi 5 HAT+ NVMe
Hardware Installation:
- Unbox your NVMe HAT and check that all components are present.
- Screw the 4 nylon spacers into the Raspberry Pi 5.
- Connect the 40-pin GPIO extender to the Pi.
- Align and press the HAT onto the GPIO pins.
- Connect the PCIe ribbon cable to the Pi’s PCIe slot and secure the clip.
- Insert your NVMe SSD (sizes 2230 or 2242 supported) into the HAT’s M.2 slot.
- Use the provided screw to fasten the SSD securely.
- Connect your power supply and display.
Software Setup:
- Boot into Raspberry Pi OS (latest version recommended).
- If your SSD is not auto-mounted, open the terminal and type:
- sudo nano /boot/firmware/config.txt
- Scroll to the [all] section and add the following lines:
- dtparam=nvme
- dtparam=pciex1_gen2
- Save with CTRL + O, exit with CTRL + X.
- Reboot the Pi:
- sudo reboot
- After rebooting, check if your drive is detected:
- lsblk
Formatting and Mounting:
- Format the SSD to EXT4:
- sudo mkfs.ext4 /dev/nvme0n1
- Mount the SSD:
- sudo mount /dev/nvme0n1 /mnt/exdisk
You can now use the /mnt/exdisk directory to store files on your NVMe SSD!
To check drive performance:
sudo hdparm -t –direct /dev/nvme0n1
(Replace nvme0n1 with your drive’s identifier if different.)
Final Thoughts
Adding an NVMe SSD to your Raspberry Pi 5 using the official HAT+ expansion significantly boosts performance, especially for tasks like running databases, handling media files, or booting your OS.
At Regent Electronics, we highly recommend this setup for tech enthusiasts and professionals who want faster, more reliable storage solutions.
Ready to take your Raspberry Pi 5 to the next level? Upgrade today with Regent Electronics!