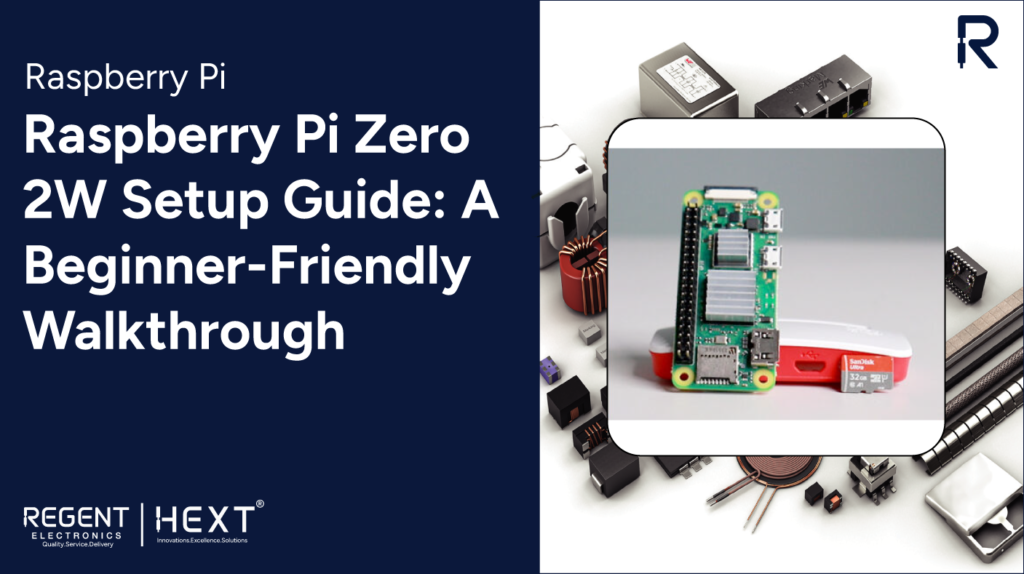
Raspberry Pi Zero 2W Setup Guide: A Beginner-Friendly Walkthrough
Looking to set up your Raspberry Pi Zero 2W but not sure where to start? This beginner-friendly guide by Regent Electronics will walk you through every step of the setup process—from basic configuration to running your first Python script. Let’s dive in!
Table of Contents
- What is Raspberry Pi?
- Overview: Raspberry Pi Zero 2W
- Key Features
- Hardware Requirements
- Software Requirements
- Circuit Diagram & Hardware Interfacing
- Setting Up the MicroSD Card
- Writing & Running Code
- Project Functionality
- Final Thoughts
What is Raspberry Pi?
The Raspberry Pi is a small, affordable single-board computer developed by the Raspberry Pi Foundation. Originally designed for education, it has evolved into a versatile tool for professionals, hobbyists, and students.
This powerful board supports various programming languages like Python, Java, C/C++, and operates mainly on Raspberry Pi OS, a Linux-based system. Due to its flexibility and cost-effectiveness, it’s widely used in robotics, home automation, IoT, and countless other applications.
Raspberry Pi Zero 2W: Overview
The Raspberry Pi Zero 2W is a compact yet powerful upgrade over the original Zero W. It maintains a small form factor while delivering significant performance enhancements, making it ideal for embedded systems, IoT applications, and educational projects.
Key Features
- Quad-core 64-bit ARM Cortex-A53 CPU
- 512MB LPDDR2 SDRAM
- Built-in 2.4GHz Wi-Fi (IEEE 802.11b/g/n) and Bluetooth 4.2
- Mini HDMI and USB On-The-Go (OTG) port
- CSI-2 camera connector
These features make the Zero 2W perfect for low-power projects that still demand decent computing capabilities.
Hardware Requirements
- Raspberry Pi Zero 2W
- Protective Case
- 32GB MicroSD Card
- Heat Sinks (optional)
- Micro USB cables and HDMI adapter
Software Requirements
- Raspberry Pi Imager Tool
- Arduino IDE (for further expansions)
Circuit Diagram & Hardware Interfacing

Basic LED Circuit Using GPIO 4
| Component | Pin Connection |
| LED (+) | GPIO 4 |
| LED (-) | GND |
This basic circuit demonstrates the GPIO capabilities of the Raspberry Pi Zero 2W.
Setting Up the MicroSD Card
- Insert your MicroSD card into a card reader connected to your PC.
- Launch the Raspberry Pi Imager tool.
- Choose the OS (usually Raspberry Pi OS), select your SD card, and click “Write”.
- Before writing, adjust the settings: hostname, username, password, and Wi-Fi credentials.
- Once the flashing process completes, insert the SD card into the Pi Zero 2W.
Writing & Running Python Code
Accessing Your Pi
- Non-SSH: Attach a monitor and keyboard.
- SSH Method:
- ssh [username]@[hostname]
Accept the connection and enter your password to gain terminal access.
Preparation Steps
sudo apt-get update && sudo apt-get upgrade -y
mkdir blink
cd blink/
sudo nano blink.py
Example LED Blinking Code:
import RPi.GPIO as GPIO
from time import sleep
pinLED = 4
GPIO.setmode(GPIO.BCM)
GPIO.setwarnings(False)
GPIO.setup(pinLED, GPIO.OUT)
while True:
GPIO.output(pinLED, GPIO.HIGH)
print(“LED on”)
sleep(1)
GPIO.output(pinLED, GPIO.LOW)
print(“LED off”)
sleep(1)
Save and run the script:
python3 blink.py
Project Functionality
This simple script turns an LED on and off using GPIO 4. It showcases the fundamental concept of digital output via Raspberry Pi GPIO pins.
Final Thoughts
Setting up the Raspberry Pi Zero 2W is straightforward and opens up a world of possibilities. From blinking LEDs to full-scale IoT systems, the Pi Zero 2W is an excellent starting point.
