
Raspberry Pi Zero 2W and Arduino UNO Serial Communication | Easy UART Setup Guide
In this tutorial by Regent Electronics, we’ll walk you through establishing seamless serial communication between the Raspberry Pi Zero 2W and Arduino UNO using UART protocol. Whether you’re building a smart sensor network or experimenting with microcontroller-to-microprocessor integration, this guide covers everything you need—from circuit wiring to code examples.
Let’s dive right in.
🔍 Overview
What is Raspberry Pi?
The Raspberry Pi is a compact, cost-effective, single-board computer created for educational and DIY projects. It supports multiple programming languages like Python, C, and Java and offers GPIO pins for hardware interaction, making it ideal for everything from home automation to robotics.
Introducing the Raspberry Pi Zero 2W
The Raspberry Pi Zero 2W is a powerful upgrade over its predecessor, combining performance and portability. It’s designed for lightweight applications requiring minimal power without compromising computing capability.
✅ Key Features:
- Quad-core 64-bit ARM Cortex-A53 processor
- 512MB LPDDR2 SDRAM
- Built-in 2.4GHz Wi-Fi (802.11b/g/n) and Bluetooth 4.2
- CSI-2 camera interface
- Mini HDMI output
- GPIO compatibility for HATs and sensors
🧰 Project Requirements
🔧 Hardware:
- Raspberry Pi Zero 2W
- Arduino UNO
- Bi-directional logic level converter
- 32GB microSD card
- Pi Zero 2W case
- Heat sinks
- Micro USB and HDMI cables
💻 Software:
- Raspberry Pi Imager Tool
- Arduino IDE
- Python3 Serial Library
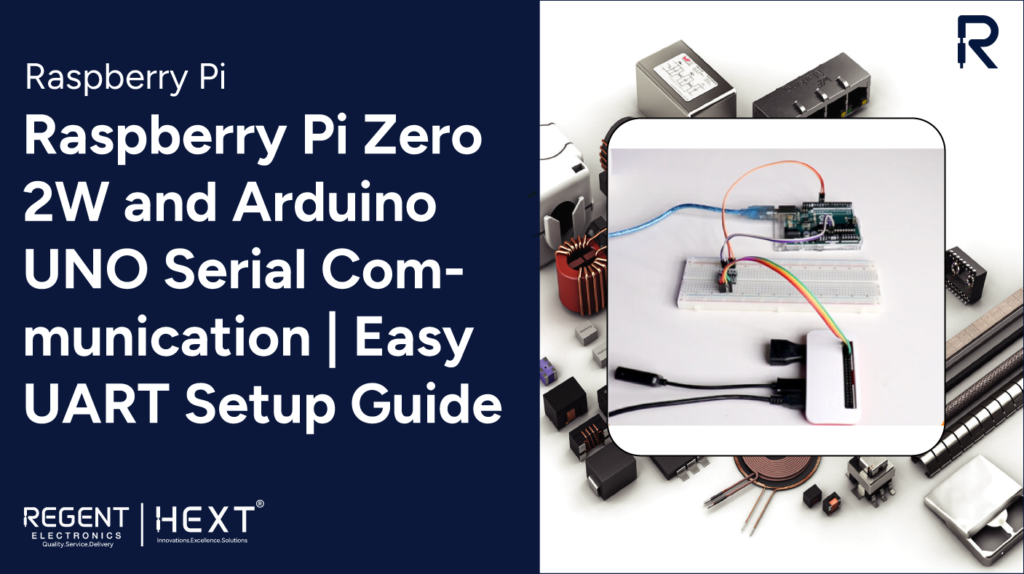
🔌 Circuit Diagram and Wiring

To ensure safe and stable serial communication, we’re using a bi-directional logic level shifter to match the Pi’s 3.3V signals with Arduino’s 5V logic levels.
Raspberry Pi Zero 2W ➝ Logic Level Shifter:
- 3.3V ➝ LV
- GND ➝ LVGND
- TX ➝ L1
- RX ➝ L2
Arduino UNO ➝ Logic Level Shifter:
- 5V ➝ HV
- GND ➝ HVGND
- Pin 10 ➝ H2 (RX)
- Pin 11 ➝ H1 (TX)
💽 Preparing Raspberry Pi Zero 2W
- Insert your microSD card into your PC.
- Open the Raspberry Pi Imager Tool.
- Select the OS, storage, and go to “Advanced Settings” to configure your:
- Hostname
- Username & Password
- Wi-Fi Credentials (important for SSH access)
- Click “Write” and wait for the flashing process to complete.
- Insert the microSD card into your Pi Zero 2W and power it up.
🖥️ SSH into Raspberry Pi (Optional)
If you’re connecting remotely:
bash
CopyEdit
ssh [username]@[hostname]
Enter your password to log in.
🐍 Python Code for UART Communication
🔄 Enable Serial on Raspberry Pi:
bash
CopyEdit
sudo raspi-config
Go to: Interface Options > Serial Port
- Login shell: No
- Enable serial hardware: Yes
Install required library:
bash
CopyEdit
sudo apt-get update && sudo apt-get upgrade -y
sudo apt-get install python3-serial
💻 Code Examples
Raspberry Pi Zero 2W: Sending Data to Arduino
python
CopyEdit
from serial import Serial
import time
arduino_serial = Serial(‘/dev/ttyS0’, 9600, timeout=0.1)
arduino_serial.flush()
while True:
try:
arduino_serial.write(b”ON\n”)
time.sleep(1)
arduino_serial.write(b”OFF\n”)
time.sleep(1)
except KeyboardInterrupt:
arduino_serial.close()
break
Arduino UNO: Reading Data from Pi
cpp
CopyEdit
#include <SoftwareSerial.h>
SoftwareSerial mySerial(10, 11); // RX, TX
void setup() {
Serial.begin(9600);
mySerial.begin(9600);
}
void loop() {
String data = mySerial.readStringUntil(‘\n’);
Serial.println(data);
}
Arduino UNO: Sending Data to Raspberry Pi
cpp
CopyEdit
#include <SoftwareSerial.h>
SoftwareSerial mySerial(10, 11); // RX, TX
void setup() {
mySerial.begin(9600);
}
void loop() {
serial_send(1, 2, 3);
delay(1000);
}
void serial_send(uint8_t x, uint8_t y, uint8_t z){
mySerial.print(“A = “);
mySerial.print(x);
mySerial.print(” B = “);
mySerial.print(y);
mySerial.print(” C = “);
mySerial.println(z);
}
Raspberry Pi Zero 2W: Reading Data from Arduino
python
CopyEdit
import serial
import time
arduino_serial = serial.Serial(‘/dev/ttyS0’, 9600, timeout=0.1)
arduino_serial.flush()
while True:
line = arduino_serial.readline().decode(‘utf-8’).rstrip()
print(line)
time.sleep(1)
🧠 Why Combine Raspberry Pi and Arduino?
The Raspberry Pi lacks analog input support, while the Arduino excels at reading analog sensors. By combining the Pi’s computing power with Arduino’s sensor capabilities, you can build more robust, low-cost, and scalable IoT systems.
✅ Conclusion
With this guide, you’ve learned how to set up reliable serial communication between Raspberry Pi Zero 2W and Arduino UNO using UART. Whether you’re building home automation systems or industrial prototypes, this integration is a solid foundation for advanced projects.
Stay tuned with Regent Electronics for the latest in embedded development!