

Developing a Simple GUI Using Tkinter to Control GPIOs of Raspberry Pi
Welcome to this step-by-step guide on creating a simple Graphical User Interface (GUI) using Tkinter in Python to control GPIOs of Raspberry Pi. This tutorial will help you understand the basics of GUI development and how it can be used to interact with the Raspberry Pi’s GPIO pins.
What is a Graphical User Interface (GUI)?
A GUI is a visual interface that enables users to interact with electronic devices using graphical elements like buttons and icons, instead of command-line instructions. In this tutorial, we will build a simple GUI on Raspberry Pi that allows users to control its GPIOs.
What is Tkinter?
Tkinter is a built-in Python library used for creating GUI applications. It is one of the most commonly used libraries for Python GUI development, and the best part is that it comes pre-installed with Python.
Step 1: Making Connections
We will use GPIO26 (Pin 37) and GPIO20 (Pin 38) as output pins to control LEDs. Pin 39 will serve as the ground connection. Connect the circuit as shown in the diagram below.
Step 2: Writing Python Code
Open Python IDLE on your Raspberry Pi and create a new Python file. Then, enter the following code:
from tkinter import * # Importing Tkinter Library
import tkinter.font as tkFont
import RPi.GPIO as GPIO # Importing GPIO library
# Setting up GPIO mode
GPIO.setmode(GPIO.BOARD)
GPIO.setup(37, GPIO.OUT)
GPIO.output(37, GPIO.LOW)
GPIO.setup(38, GPIO.OUT)
GPIO.output(38, GPIO.LOW)
# Creating Tkinter window
win = Tk()
win.title(“Raspberry Pi GPIO Control”)
win.geometry(‘800×300’)
# Setting up font
myFont = tkFont.Font(family=’Helvetica’, size=36, weight=’bold’)
def led1_toggle():
if GPIO.input(37):
GPIO.output(37, GPIO.LOW)
led1Button.config(text=”LED 1 ON”)
else:
GPIO.output(37, GPIO.HIGH)
led1Button.config(text=”LED 1 OFF”)
def led2_toggle():
if GPIO.input(38):
GPIO.output(38, GPIO.LOW)
led2Button.config(text=”LED 2 ON”)
else:
GPIO.output(38, GPIO.HIGH)
led2Button.config(text=”LED 2 OFF”)
def exit_program():
GPIO.cleanup()
win.quit()
# Creating buttons
exitButton = Button(win, text=”Exit”, font=myFont, command=exit_program, height=2, width=6)
exitButton.pack(side=BOTTOM)
led1Button = Button(win, text=”LED 1 ON”, font=myFont, command=led1_toggle, height=2, width=8)
led1Button.place(x=37, y=50)
led2Button = Button(win, text=”LED 2 ON”, font=myFont, command=led2_toggle, height=2, width=8)
led2Button.place(x=520, y=50)
win.mainloop()
Step 3: Running the Program
- Save the script as gpio_gui.py.
- Open the terminal and navigate to the script location.
- Run the program using the command:
- sudo python gpio_gui.py

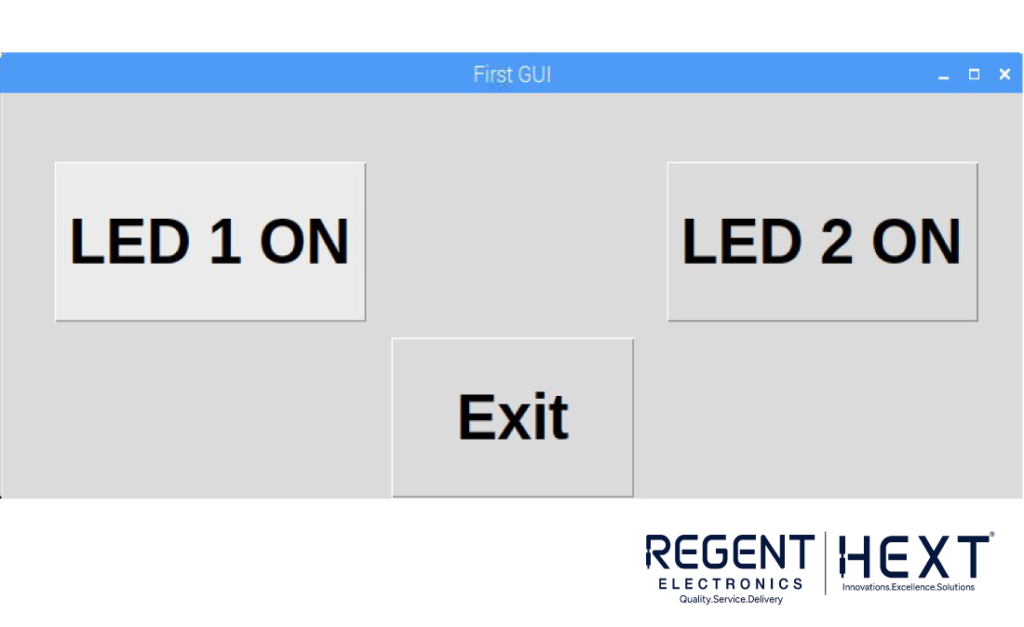
Once executed, a window named “Raspberry Pi GPIO Control” will appear. You can now toggle the LEDs using the GUI buttons. If using a touchscreen display, you can interact with it directly via touch.
Conclusion
With this simple Tkinter project, you have successfully created a basic GUI to control Raspberry Pi’s GPIOs. This concept can be expanded to control various sensors and components for more complex projects. Happy coding!
For additional Tkinter documentation, visit: Tkinter Documentation.