
Installing Any Operating System on an SD Card for Raspberry Pi
Raspberry Pi | Tutorials
This tutorial will guide you through the process of installing any official operating system (OS) for any model of Raspberry Pi onto an SD card.
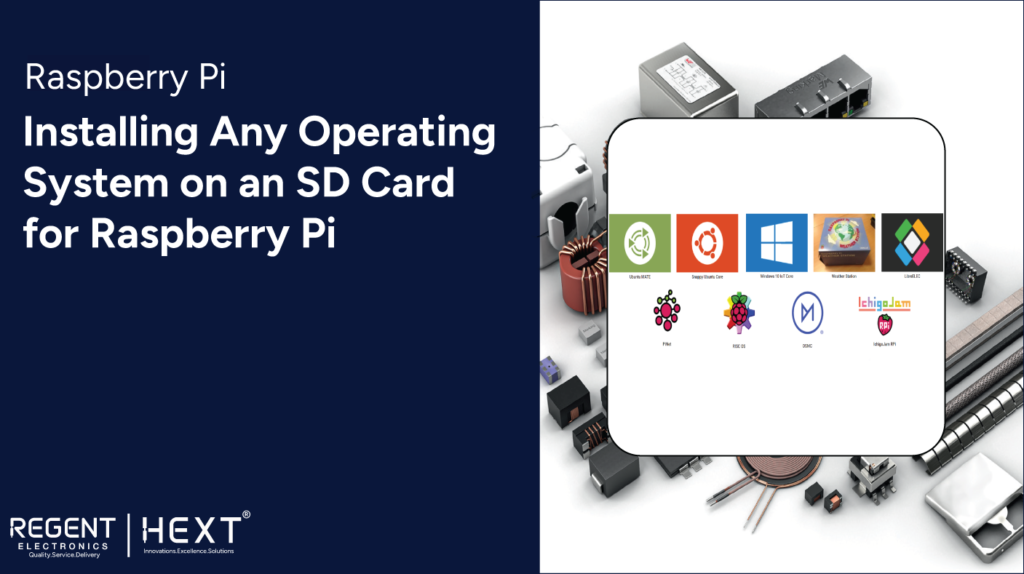
Supported Operating Systems for Raspberry Pi
The officially available OS options for Raspberry Pi include:
- Ubuntu MATE
- Snappy Ubuntu Core
- Windows 10 IoT Core
- OSMC (Open Source Media Centre)
- LibreELEC (Just enough OS for KODI)
- PiNet
- RISC OS
For this tutorial, we will demonstrate the installation of LibreELEC on Raspberry Pi.
Hardware Requirements
- Raspberry Pi board (any model)
- Class 10 MicroSD card (16GB) with an adapter
- Power supply for Raspberry Pi
- Display with HDMI support
- HDMI to HDMI cable
- USB mouse and keyboard
Methods to Install LibreELEC on an SD Card
There are two ways to install LibreELEC on an SD card:
- Using the LibreELEC Installation Media
- Using an Image File and Writing it to the SD Card with Win32 Disk Imager
Method 1: Installing LibreELEC Using the Installation Media
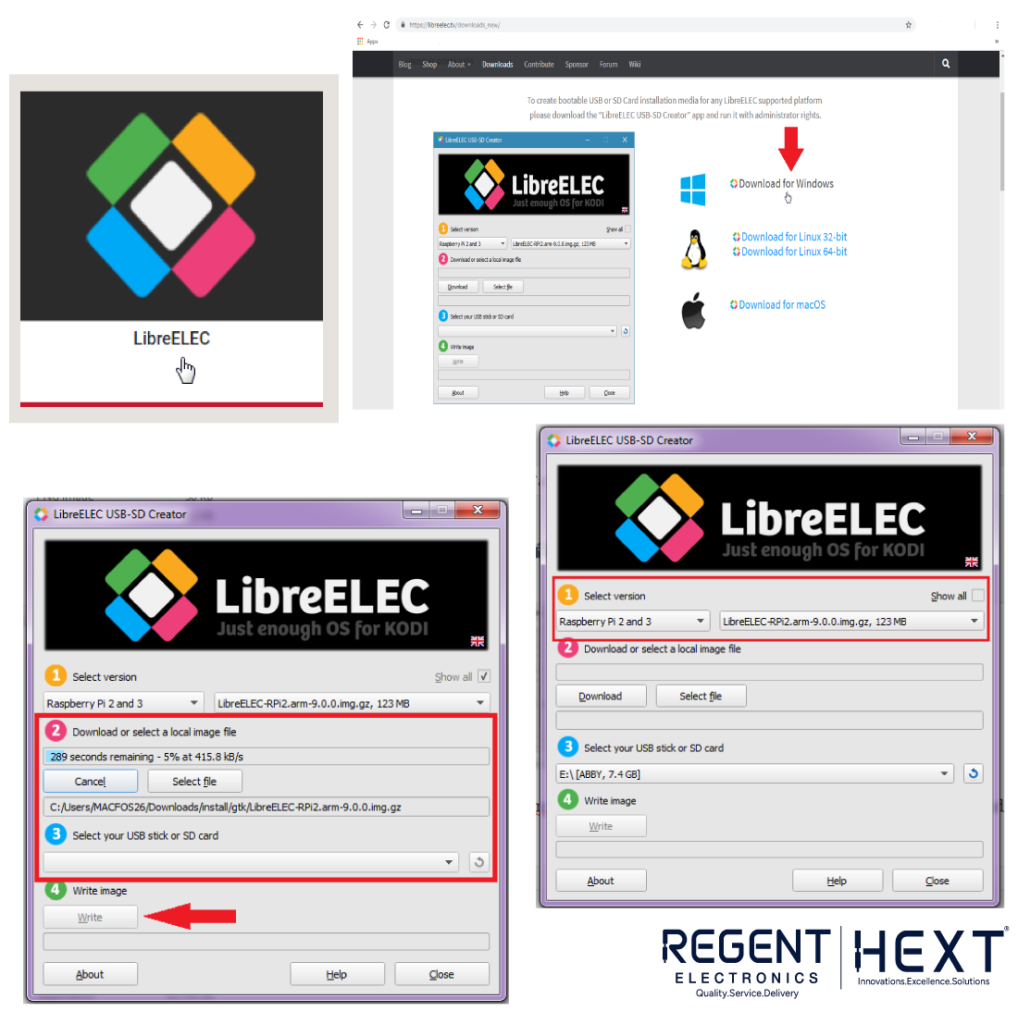
Step 1: Download the Required Installation Media
For this tutorial, we will install LibreELEC, but the process for other OS installations is similar.
- Visit the official LibreELEC download page: LibreELEC Downloads
- Select the appropriate installation media for your operating system (Windows, Linux, or macOS).
- For Windows, download LibreELEC.USB-SD.Creator.Win32.exe.
- Run the file as an administrator to open the installation media tool.
Step 2: Download and Burn the Image File to an SD Card
- Select the appropriate OS version from the tool.
- Ensure the SD card is formatted.
- Download the image file to your desired folder.
- Select the SD card drive and click “Write” to begin the installation.
- The process will take a few minutes.
- Once complete, eject the SD card and insert it into your Raspberry Pi to boot up.
Method 2: Installing LibreELEC Using an Image File
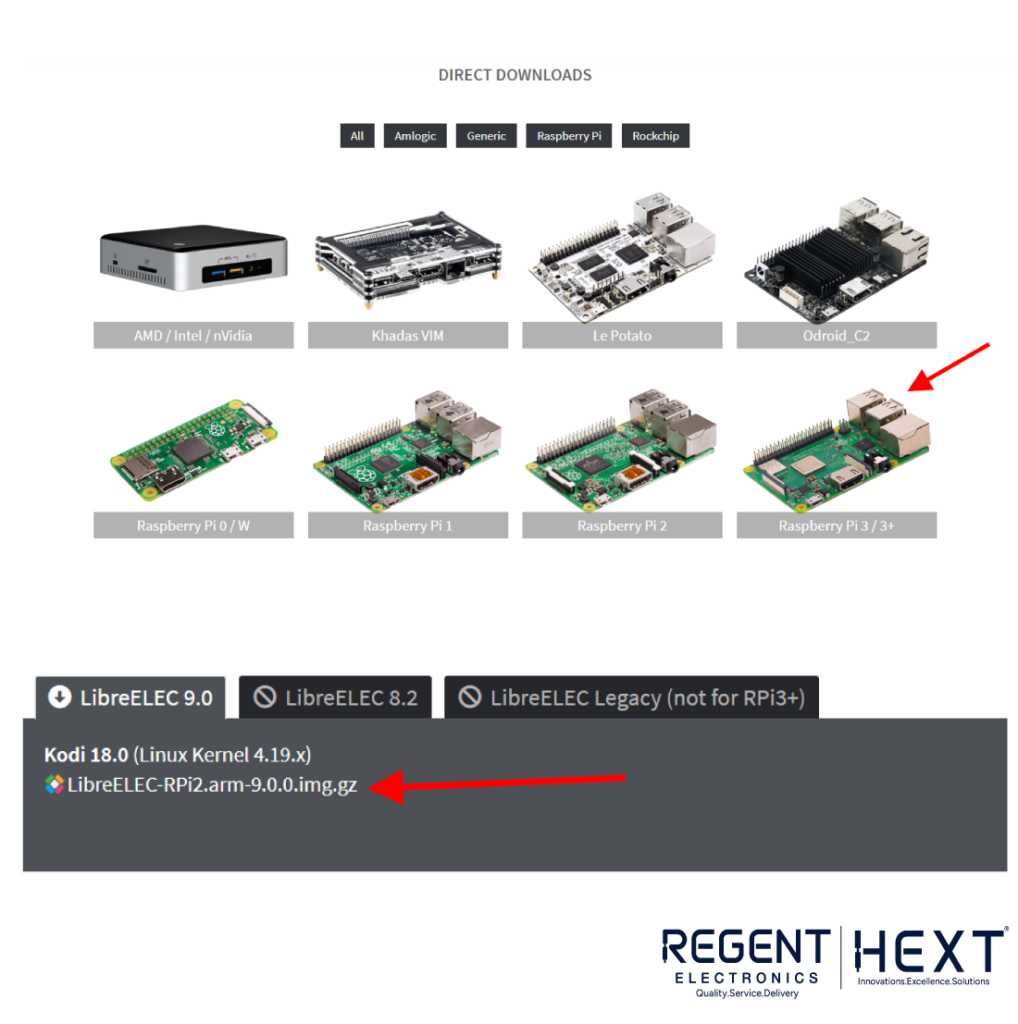
Step 1: Download the OS Image File
- Visit the official LibreELEC download page.
- Scroll down and select the appropriate Raspberry Pi model.
- Download the compressed image file (e.g., LibreELEC-RPi2.arm-9.0.0.img.gz).
- Extract the .img file from the .gz archive using WinZip or a similar tool.
Step 2: Burn the Image File to an SD Card
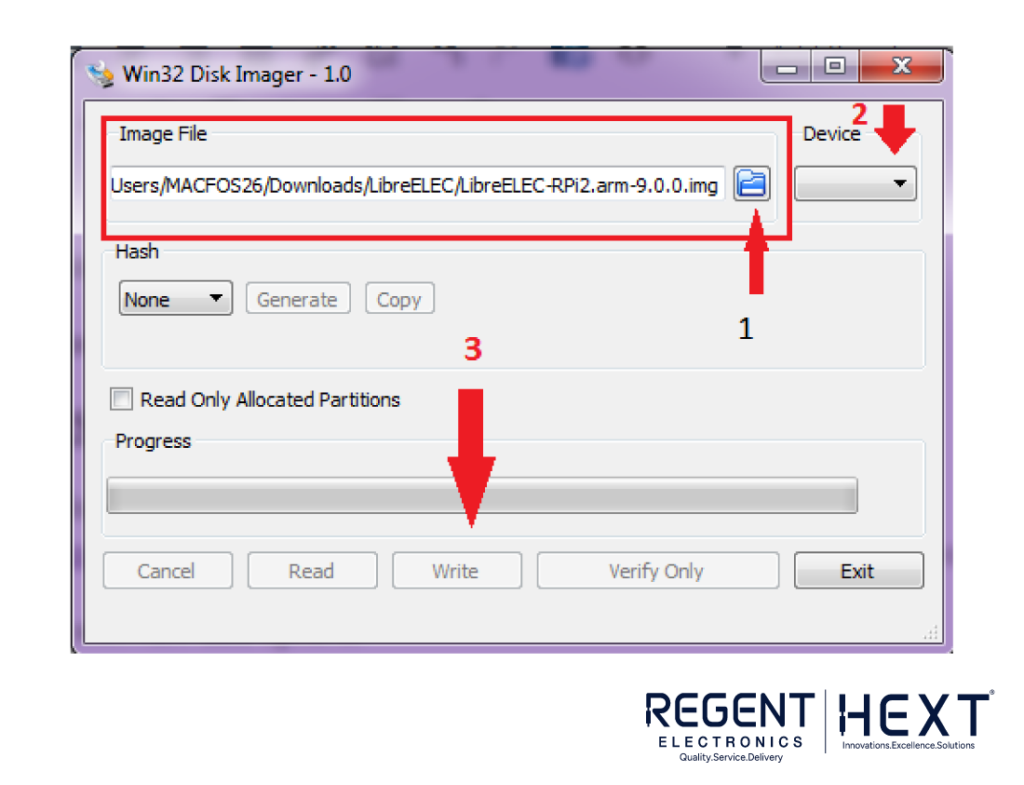
- Download Win32 Disk Imager: Win32 Disk Imager Download
- Install and open the Win32 Disk Imager software.
- Click the folder icon to select the extracted .img file.
- Choose the SD card drive and click “Write.”
- A confirmation dialog will appear; click “OK” to proceed.
- Writing will take a few minutes depending on your system’s speed.
- Once completed, safely eject the SD card and insert it into your Raspberry Pi.
- Power on your Raspberry Pi to boot the OS.
Conclusion
Method 2 is the simplest and most efficient way to install any OS onto an SD card. All you need is the disk image file and Win32 Disk Imager to complete the installation.
We hope this guide helps you install the OS smoothly. If you have any questions, feel free to leave a comment below!