
Interfacing Gesture Sensor with Arduino
Introduction
In this article, we will explore the APDS-9960 RGB and Gesture Sensor in detail. We will discuss its working principles, applications, and how to interface it with an Arduino, along with the necessary code implementation.
What is a Gesture Sensor?
A gesture sensor is a widely used technology that enables touchless control of devices. Many modern smartphones integrate gesture control features to replace traditional buttons. Gesture-based human-machine interaction is a revolutionary step in technology, allowing users to control devices simply by moving their hands.
By swiping a hand over the sensor, users can control robots, computers, HMIs (Human-Machine Interfaces), games, smartphones, and more. This method is not only time-efficient but also enhances usability and provides an intuitive way of interaction.
Today, we will cover the basics of gesture sensors, their functionality, interfacing with Arduino, and practical applications. Let’s dive in!
Understanding Gestures
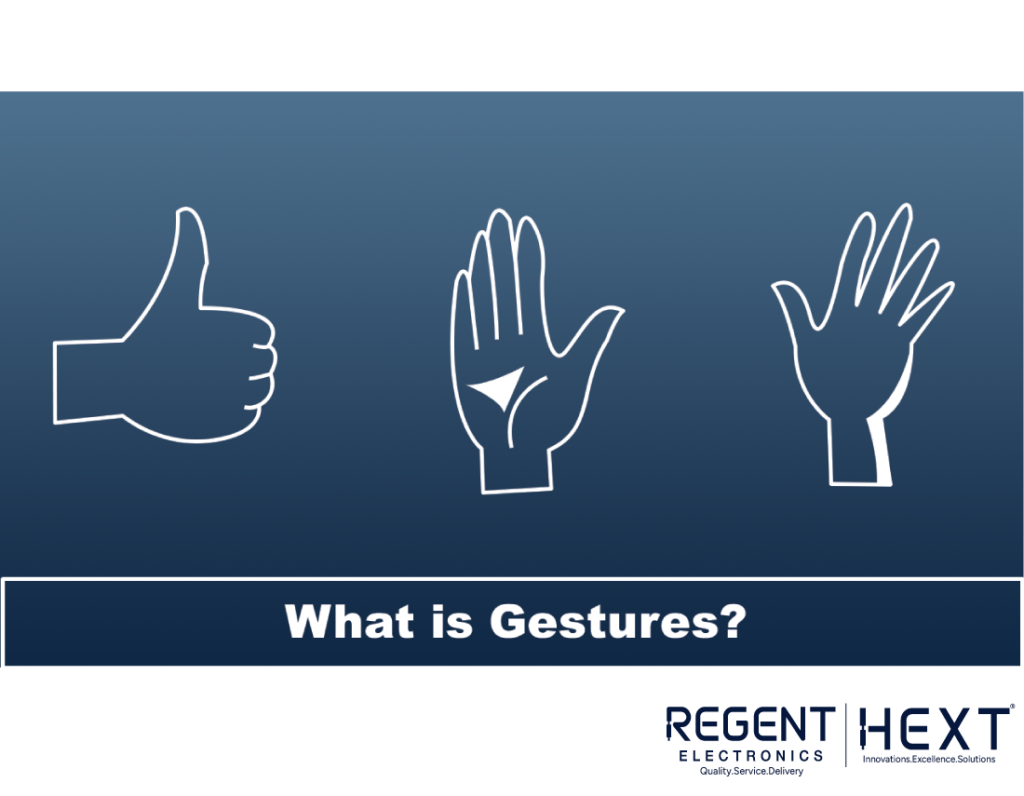
Gestures are a form of non-verbal communication that involve bodily movements to convey specific messages. Gesture sensors detect these hand movements and translate them into actionable commands.
The APDS-9960 gesture sensor can detect the following gestures:
- Left
- Right
- Up
- Down
- Forward
- Backward
- Clockwise
- Counterclockwise
- Waving
By combining multiple gestures, complex commands can be executed.
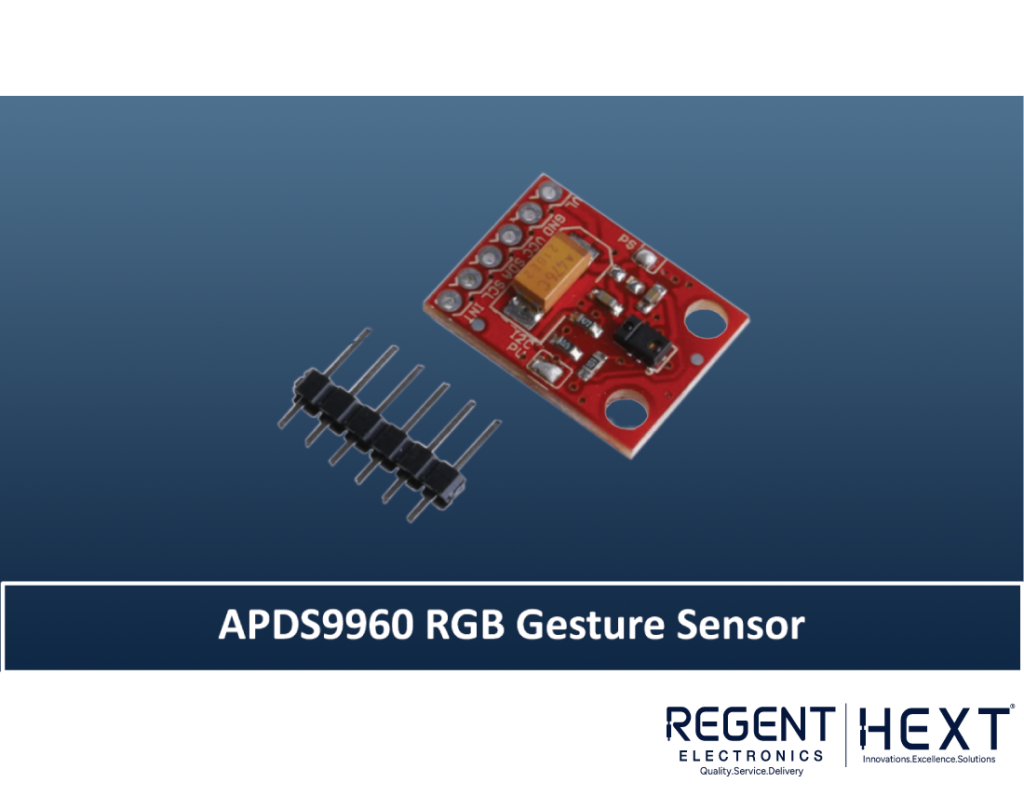
Introduction to APDS-9960 Gesture Sensor
The APDS-9960 is a versatile IR-based sensor that detects gestures, ambient light, and RGB color values. It communicates via the I2C protocol and operates at 3.3V.
Working Principle
The sensor consists of an IR LED and four photodiodes. The IR LED emits infrared waves, and the photodiodes detect the reflected IR signals. The sensor processes these reflections to determine the direction and speed of movement, which is then converted into digital data for gesture recognition.
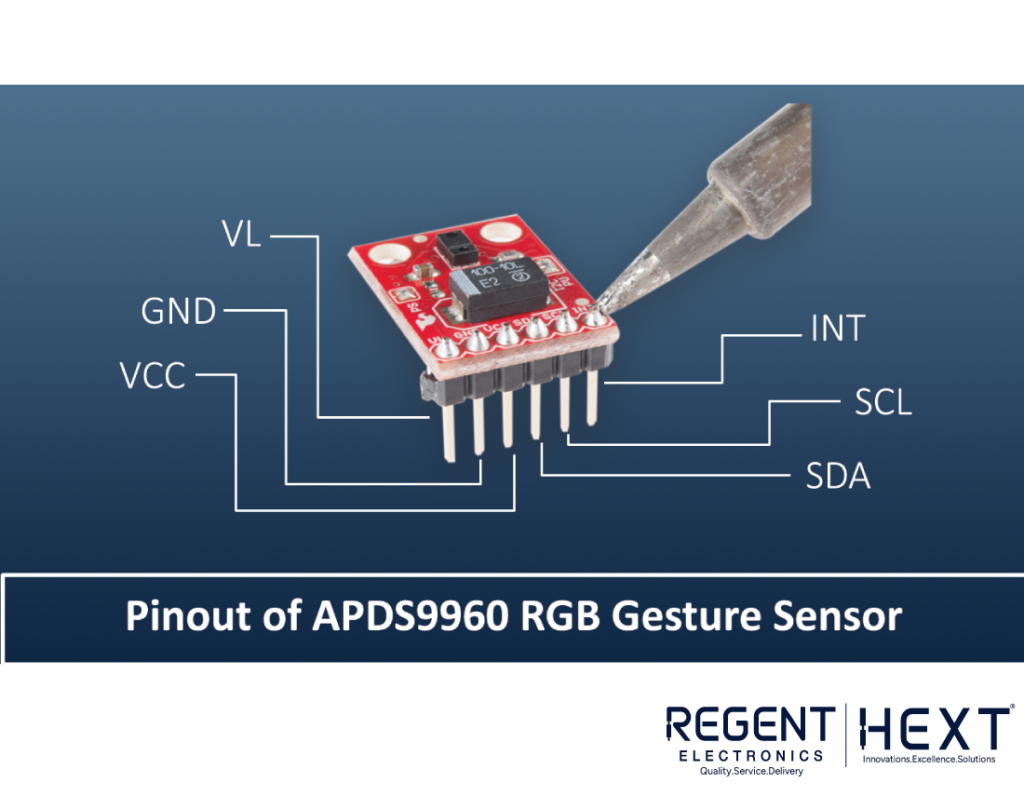
Pin Configuration
| Pin | Description |
| VL | Optional power to IR LED (3.0 – 4.5V) |
| GND | Ground connection |
| VCC | Power supply (2.4 – 3.6V) |
| SDA | I2C data line |
| SCL | I2C clock line |
| INT | Interrupt pin (active LOW) |
Additional Features
- PS Jumper: Connects power supply to the IR LED. If left open, both VCC and VL need separate power inputs.
- I2C PU Jumper: Enables or disables pull-up resistors for I2C lines.
Components Required
- Arduino Uno
- Power Cable
- APDS-9960 Gesture Sensor
- Servo Motor
- Breadboard
- Jumper Wires
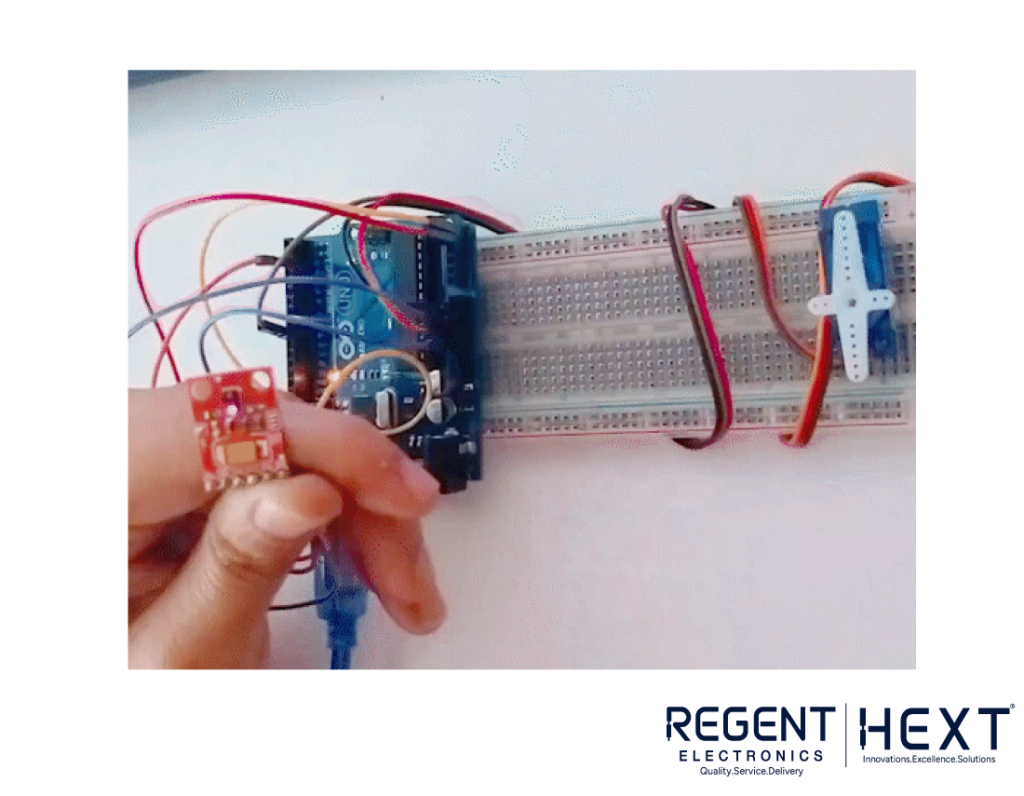
Connecting the Gesture Sensor with Arduino
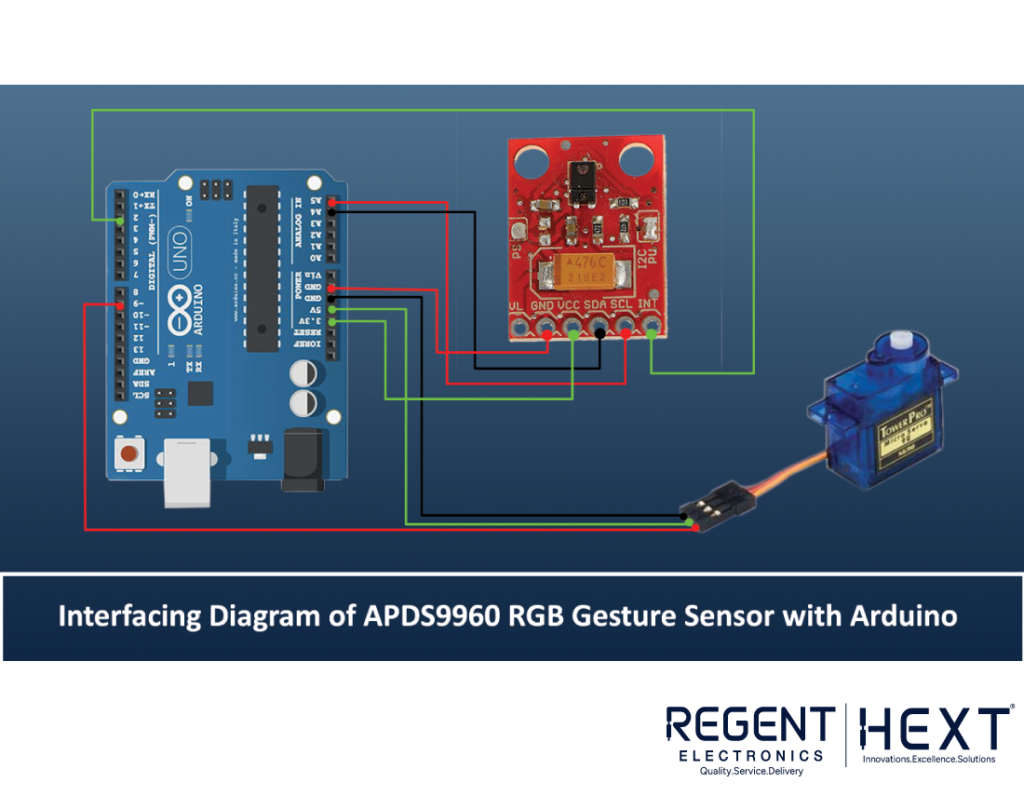
To demonstrate the gesture sensor’s capabilities, we will control a servo motor based on detected gestures.
Wiring Connections
| APDS-9960 Pin | Arduino Pin |
| VCC | 3.3V |
| GND | GND |
| SCL | A5 |
| SDA | A4 |
| INT | 2 |
| Servo Motor Pin | Arduino Pin |
| VCC | 5V |
| GND | GND |
| Signal | 9 |
Code & Software
Before uploading the code, install the SparkFun_APDS9960.h library from the Arduino Library Manager.
#include <Wire.h>
#include <Servo.h>
#include <SparkFun_APDS9960.h>
Servo myservo;
#define APDS9960_INT 2
SparkFun_APDS9960 apds;
int isr_flag = 0;
void setup() {
myservo.attach(9);
pinMode(APDS-9960_INT, INPUT);
Serial.begin(9600);
Serial.println(“APDS-9960 Gesture Sensor Test”);
attachInterrupt(0, interruptRoutine, FALLING);
if (apds.init()) {
Serial.println(“APDS-9960 Initialized Successfully”);
} else {
Serial.println(“Initialization Failed!”);
}
if (apds.enableGestureSensor(true)) {
Serial.println(“Gesture Sensor Activated”);
} else {
Serial.println(“Failed to Start Gesture Sensor”);
}
}
void loop() {
if (isr_flag == 1) {
detachInterrupt(0);
handleGesture();
isr_flag = 0;
attachInterrupt(0, interruptRoutine, FALLING);
}
}
void interruptRoutine() {
isr_flag = 1;
}
void handleGesture() {
if (apds.isGestureAvailable()) {
switch (apds.readGesture()) {
case DIR_UP:
Serial.println(“UP”);
break;
case DIR_DOWN:
Serial.println(“DOWN”);
break;
case DIR_LEFT:
Serial.println(“LEFT”);
myservo.write(180);
break;
case DIR_RIGHT:
Serial.println(“RIGHT”);
myservo.write(0);
break;
case DIR_NEAR:
Serial.println(“NEAR”);
break;
case DIR_FAR:
Serial.println(“FAR”);
break;
default:
Serial.println(“NONE”);
}
}
}
Applications of APDS-9960 Gesture Sensor
- Gesture-based smartphone control
- Mechanical switch replacement
- RGB color detection for screens
- Backlight adjustment in TVs and smartphones
- Robotics and automation
- Medical equipment
- LCD and RGB displays
Advantages of APDS-9960 Gesture Sensor
- Replaces traditional input devices like a keyboard and mouse
- Enables navigation in virtual environments
- Enhances interaction with 3D applications
- Contactless operation for improved hygiene and convenience
Conclusion
Thank you for reading this guide on interfacing the APDS-9960 gesture sensor with Arduino. We hope you now understand how gestures can be used to control devices seamlessly. If you found this article helpful, please share it and leave a comment below!